12
211M -
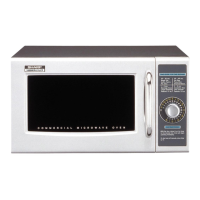
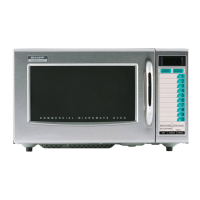
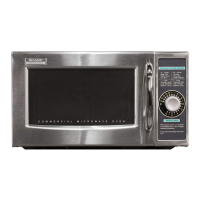
DOOR REPLACEMENT
1. CARRY OUT 3D CHECKS.
2. Remove choke cover taking care not to break
clips by inserting an iron plate (thickness of about
0.5mm) or flat type screw driver into the gap between
the choke cover and door panel to free the engaged
part.
3. Remove door assembly by lifting and easing
it forward.
4. On re-installation make sure the door is
parallel with the bottom line of the oven face
plate and the latch head pass through the
latch holes correctly.
5. CARRY OUT 4R CHECKS.
NOTE : After any service to the door, the
approved microwave survey meter should be
used to assure in compliance with proper
microwave radiation standards.
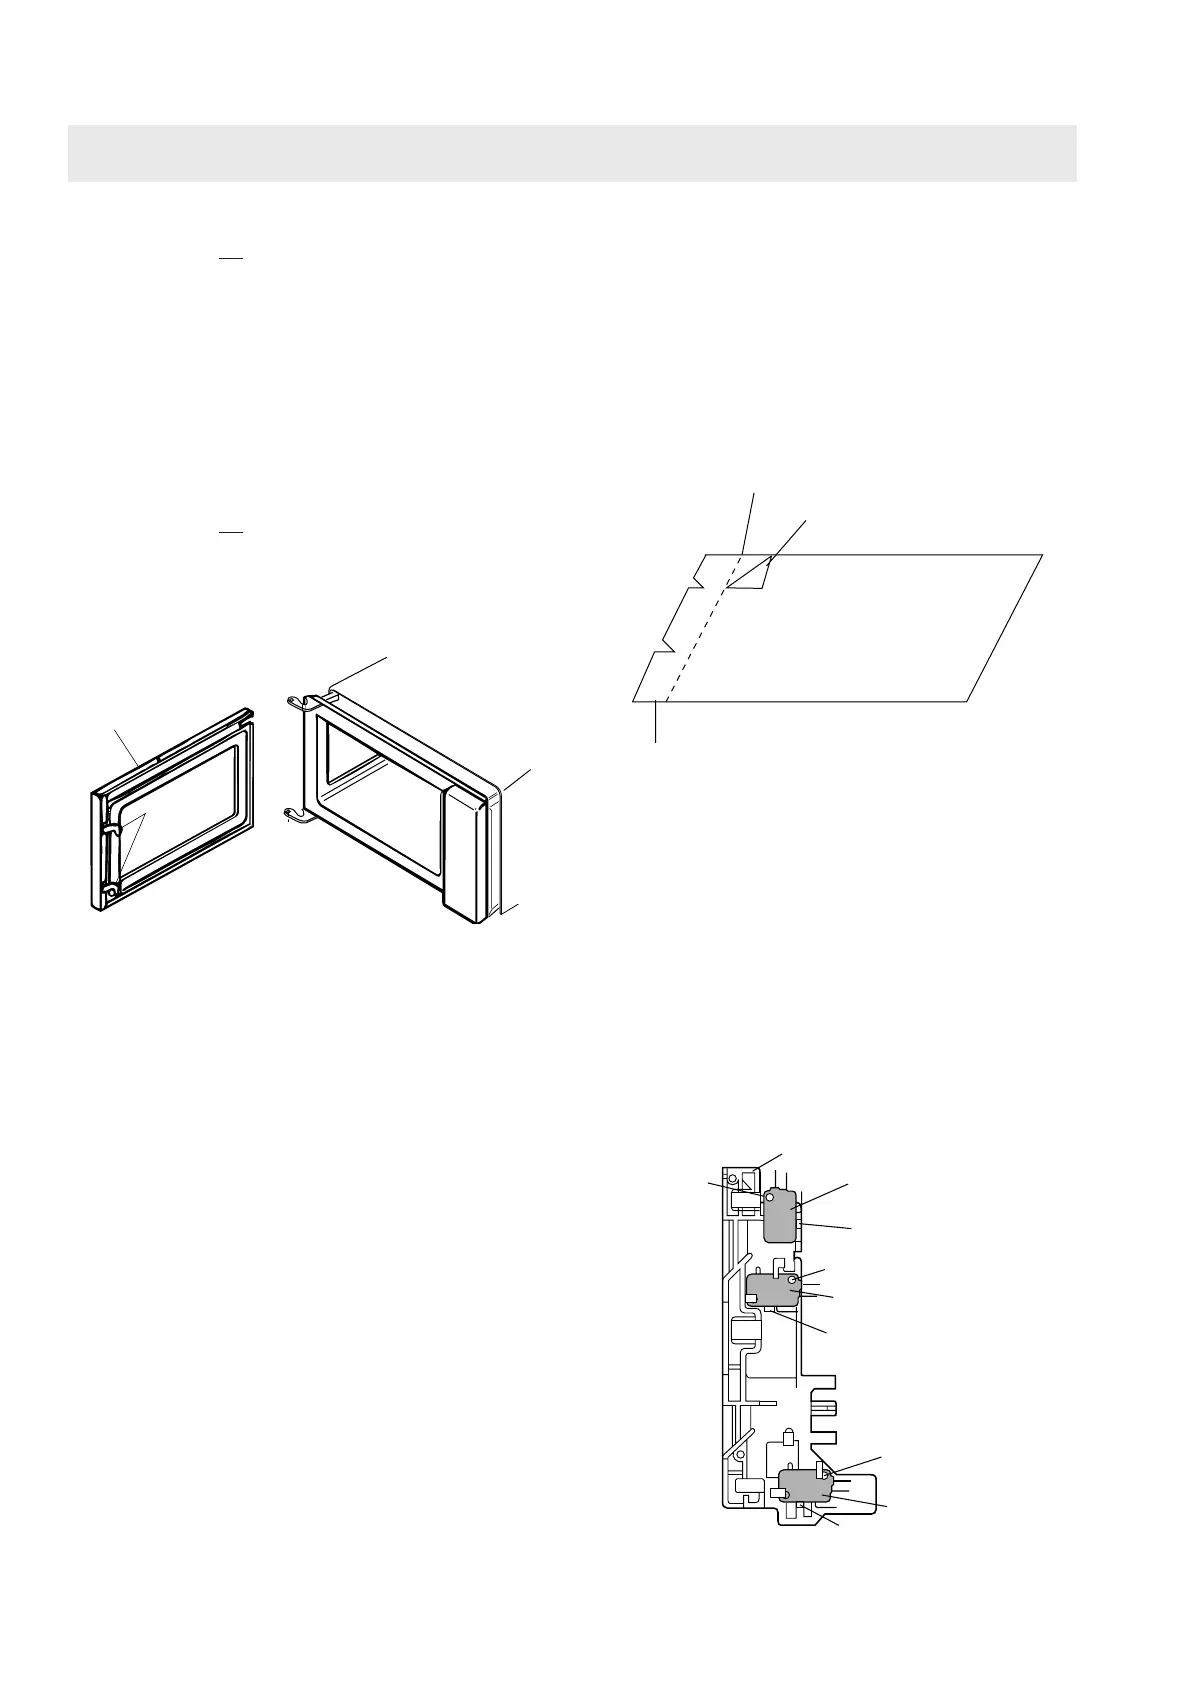
DOOR ASSEMBLY
OUTER CASE
CABINET
LATCH HEADS
Figure C-6. Door Assembly Replacement and
Adjustment
COMPONENT REPLACEMENT
OUTER DOOR FILM
INNER DOOR FILM
Removal
1. Tear the door film from the door panel.
2. Now the door film is free.
Installation
1. Tear away the backing film.
2. Put the pasted side of the door film on the door
panel.
Removal
1. Remove the door film from the clips on the door frame.
Installation
1. Attach the door film to the clips on the door frame.
Finger tab
Door film
Backing film
LATCH HEAD REMOVAL
1. Remove the choke as described in door
replacement.
2. Unhook the spring and lift the latch head clear.
3. Replacement, the reverse of the above.
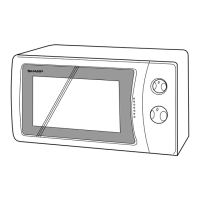
MONITORED LATCH SWITCH, LATCH
SWITCH, AND MONITOR SWITCH REMOVAL
1. CARRY OUT 3D CHECKS.
2. Disconnect the leads from all switches.
3. Remove the one (1) screw holding the latch hook to the
oven cavity.
4. Remove the latch hook.
5. Push the retaining tab slightly and remove the switch.
Figure C-4. Switches
LATCH HOOK
SW3: STOP
SWITCH
SW1: MONITORED
LATCH SWITCH
SW2: MONITOR
SWITCH
Tab
Post
Tab
Tab
Post
Post