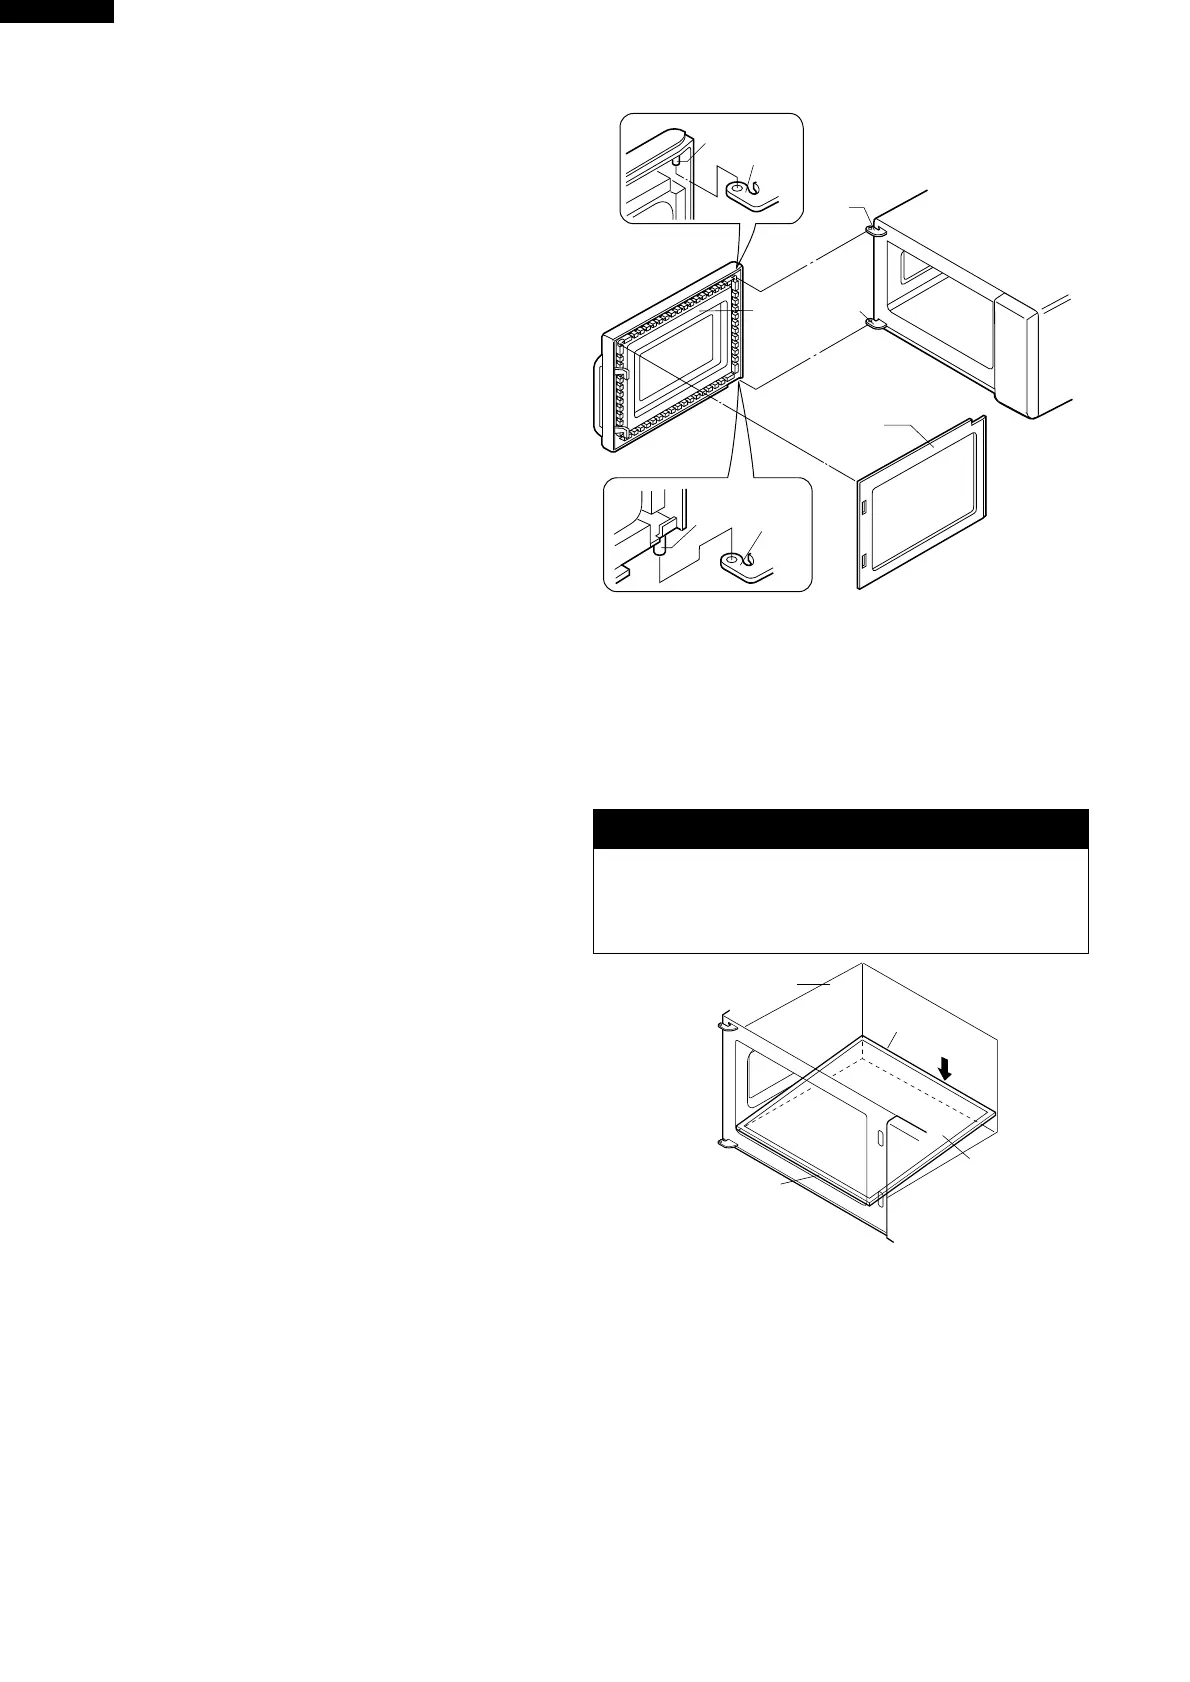
26
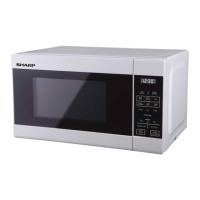
R-2197
Upper Oven
Hinge
Upper
Oven
Hinge
Lower
Oven
Hinge
Lower
Oven
Hinge
Pin
Pin
Choke Cover
Door
Panel
(B) An approved microwave survey meter should be
used to assure compliance with proper micro-
wave radiation emission limitation standards.
(Refer to Microwave Measurement Procedure.)
After any service, make sure of the following :
1. Door latch heads smoothly catch latch hook through
latch holes and that latch head goes through center of
latch hole.
2. Deviation of door alignment from horizontal line of
cavity face plate is to be less than 1.0mm.
3. Door is positioned with its face pressed toward cavity
face plate.
4. Check for microwave leakage around door with an
approved microwave survey meter. (Refer to Micro-
wave Measurement Procedure.)
Note: The door on a microwave oven is designed to act as
an electronic seal preventing the leakage of micro-
wave energy from oven cavity during cook cycle.
This function does not require that the door be air-
tight, moisture (condensation)-tight or light-tight.
Therefore, occasional appearance of moisture, light
or sensing of gentle warm air movement around
oven door is not abnormal and do not in themselves
indicate a leakage of microwave energy from oven
cavity.
Figure C-7. Door Replacement
1. Disconnect the oven from the power supply.
2. Open the oven door and wedge it open.
3. Make sure that the smooth surface of the ceramic shelf
face up.
4. Make sure that the rubber packing without a fin of the
ceramic shelf faces the front of the oven.
NOTE: The three (3) rubber packings with the fins and the
one (1) rubber packing without a fin are attached
to the four (4) edges of the ceramic shelf. The one
(1) rubber packing without a fin is the front edge of
the ceramic shelf.
5. Put the front edge of the ceramic shelf into the front
edge of the oven cavity bottom plate.
6. Push down the rear edge of the ceramic shelf into the
oven cavity bottom plate.
7. Now, the ceramic shelf is installed.
INSTALLATION OF CERAMIC SHELF
Rear Edge
Push
Front Edge
Ceramic
Shelf
Oven Cavity
WARNING
Make sure that the rubber packing is not caught be-
tween the oven door and the oven cavity front plate, to
avoid possible exposure to excessive microwave en-
ergy.