24
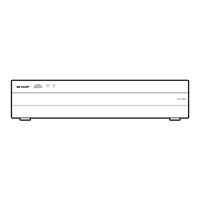
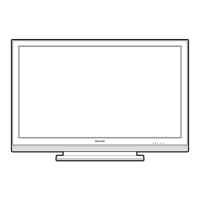
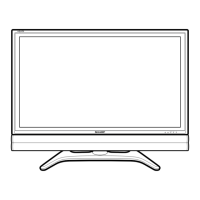
TU-GD10U-T
TU-45GAD/T
LC-45GX6U/D/T
26
Fixing Metal
24
24
Fixing Metal
RC/LED PWB
Bracket Angle Bracket Angle
25
25
23
14
Fan
14
Fan
15
DC/DC PWB
16
MOTOR CONTROL PWB
18
POWER SUPPLY PWB
17
19
INVERTER 1 PWB
INVERTER 2 PWB
20
21
INVERTER 3 PWB
INVERTER 4 PWB
22
15.Remove the four lock screws r and detach the Fans.
16.Remove the four lock screws t and detach the DC/DC PWB.
17.Remove the three lock screws y and detach the MOTOR CONTROL PWB.
18.Remove the six lock screws u and the 2 lock screws i, and detach the POWER SUPPLY PWB.
19.Remove the five lock screws o and detach the INVERTER 1 PWB.
20.Remove the five lock screws p and detach the INVERTER 2 PWB.
21.Remove the five lock screws a and detach the INVERTER 3 PWB.
22.Remove the five lock screws s and detach the INVERTER 4 PWB.
23.Remove the two lock screws d and detach the R/C LED PWB.
24.Remove the eight lock screws f and detach the Fixing Metals.
25.Remove the six lock screws g and detach the Bracket Angles.
26.Remove the six lock screws h and detach the LCD Panel.