29
Dimensions: 257 ⳯ 182 mm
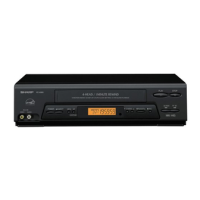
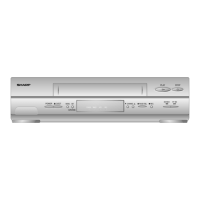
VC-A565U/VC-H965U (26-36)
Recording a TV Programme
Tape Dubbing Connection Instructions
Your VCR can dub (copy) video material from another video device. It can also output video and audio signals
for recording on other video or audio equipment. Audio/Video dubbing cannot be done separately.
! Switch your VCR to the auxiliary input by pressing INPUT on the remote control.
or lights up on the
multi-function display. (You can also use CHANNEL ∂/ƒ on the VCR or CH ∂/ƒ on the remote control.)
@ Begin recording on the dubbing VCR and playback on the source VCR simultaneously.
• When using special playback functions (still picture, video search, frame advance and variable slow motion) during
dubbing, a blue screen may appear.
Set BLUE SCREEN mode on the dubbing VCR (for recording) to OFF. (See Mode Selection.)
• To use the TV as a monitor while dubbing, press TV/VCR to “VCR” on the dubbing VCR.
• Use an RCA pin–type connection cable (not supplied with VCR, but supplied with VIEWCAM) to connect source VCR to
dubbing VCR.
• Refer to the manual of the VCR connected to this unit when dubbing a tape.
• You can also use the front AV jacks. Select “ ” (Aux. 2 input) by pressing INPUT twice.
Only for Hi-Fi model
•If source VCR is a monaural mode, connect the audio cable to “AUDIO-L” of the dubbing VCR.
(VC-A565U) (VC-H965U)
ANT/CABLE
TV Rear
Source VCR
(for playback)
Sharp Viewcam
(for playback)
To Front
Dubbing VCR
(for recording)
or
Audio/Video
cable (supplied
with Viewcam)
Audio/Video
cable
(not supplied)
Coaxial cable
(supplied)
ANT/CABLE
TV Rear
Source VCR
(for playback)
Sharp Viewcam
(for playback)
To Front
Dubbing VCR
(for recording)
or
Audio/Video
cable (supplied
with Viewcam)
Audio/Video
cable
(not supplied)
Coaxial cable
(supplied)