MX-FX10 6 - 3
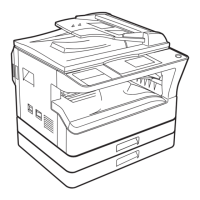
9) Paste label on the rear cabinet of the copier.
After installing FAX Expansion Kit, paste the supplied label on the
position shown in the illustration.
10) Setup date and time.
Press [FUNCTION] key on the Operation Panel, select [Key
Operator Program], enter 5-digit key operator code, and select
[FAX] mode.
Select [Initial setup] and then [Date and Time]. Enter date in the
order of year, Month, Day and press [OK] to set.
Select [Time Setup], enter time in the order of Hour and Minute, and
press [OK] to set.
11) Clear image memory.
* When additional memory board (AR-MM9) is installed, you must
clear the memory using the Simulation [66-10]. If no additional
memory is installed, there is no need for this memory clear process.
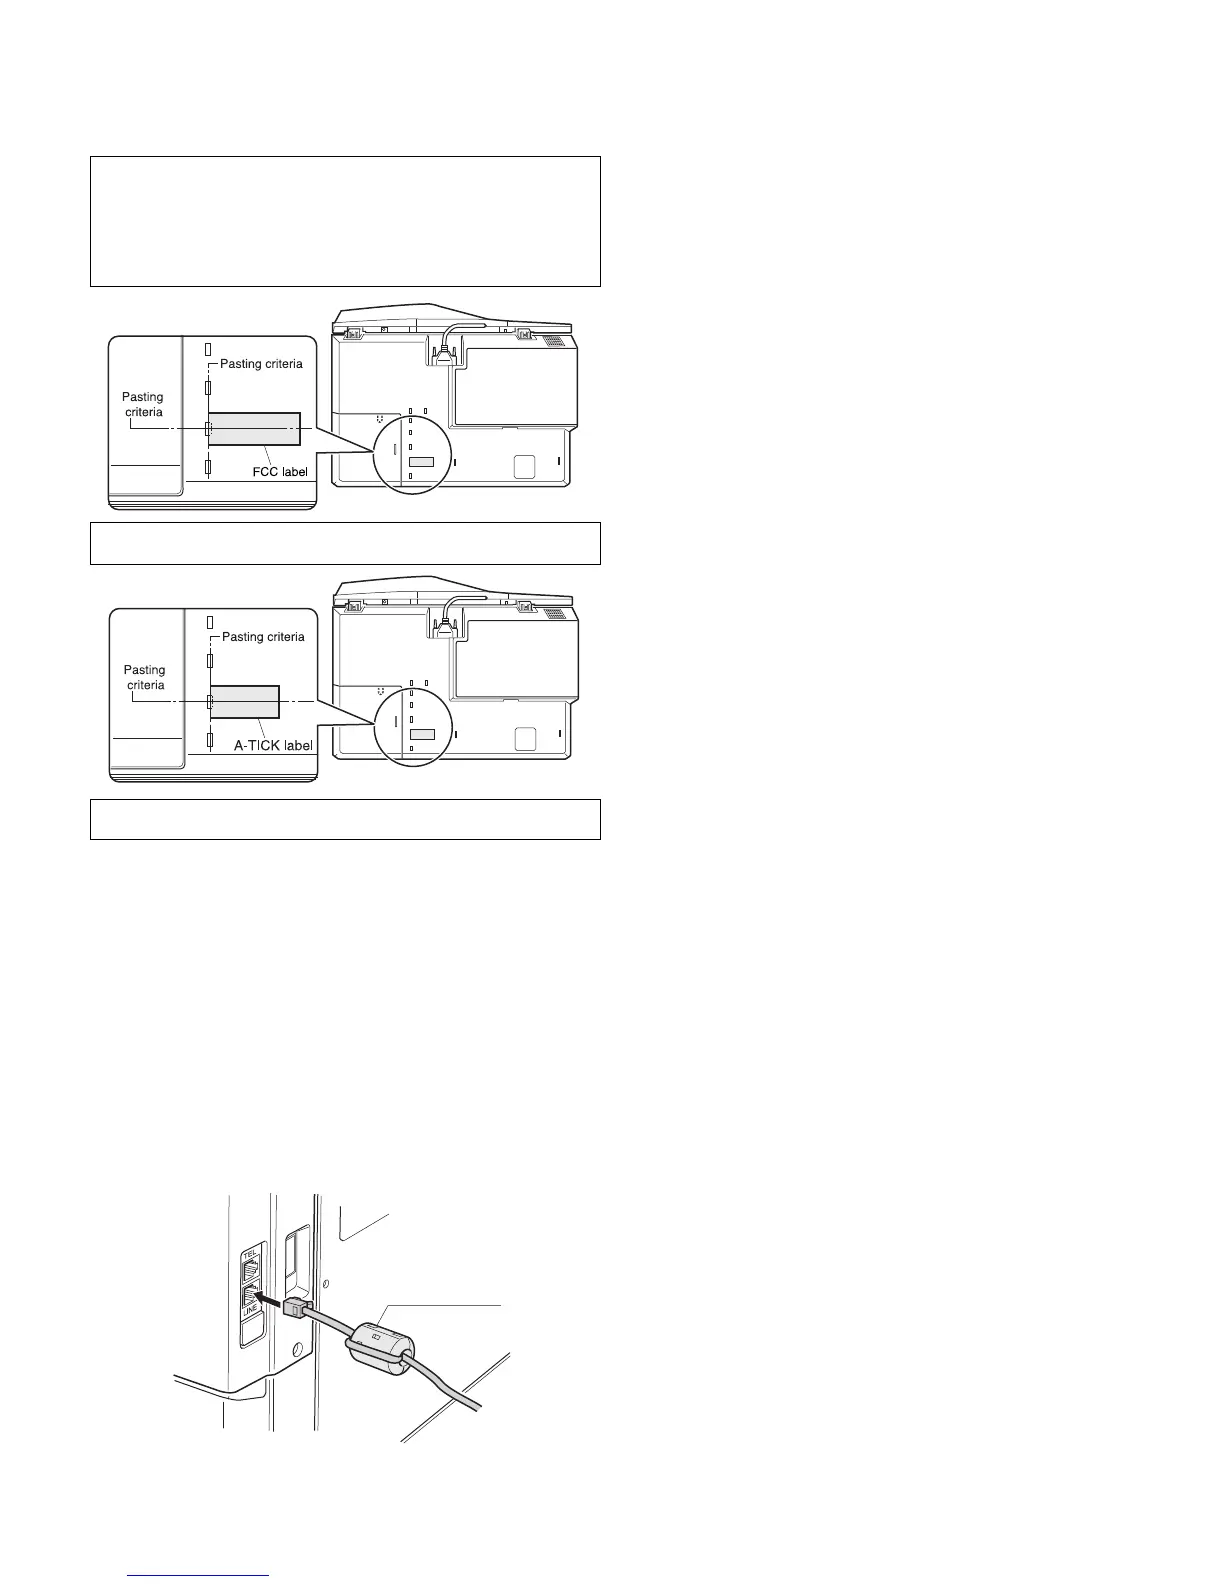
12) Connect line cable.
Connect the line cable to the FAX Expansion Kit.
Even when connecting the telephone line to TEL line, attach the core to
the telephone line.
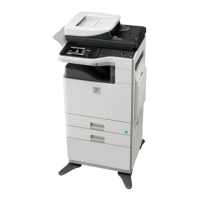
USA, Canada only
In order to manifest the compliance with FCC Part 68 and IC CS-03, it
is required to provide the machine with the FCC Registration Number
(USA), Ringer Equivalence (USA) and Ringer Eqivalence(Canada).
After installing the FAX expansion kit in the machine, please put the
registration label, packed with the kit, on the prescribed location.
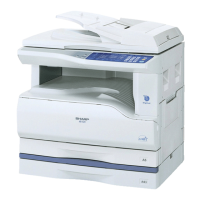
Australia, New Zealand only
A-TICK label attachment.
Insert the power plug of the copier to the outlet, and then turn on the
main switch of the copier.
200V Series Only
 Loading...