MX-NB10 7 - 1
[7] MX-NB10
1. UNPACKING AND INSTALLATION
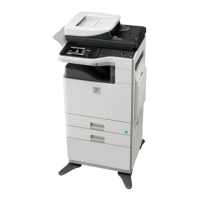
1-1. UNPACKING
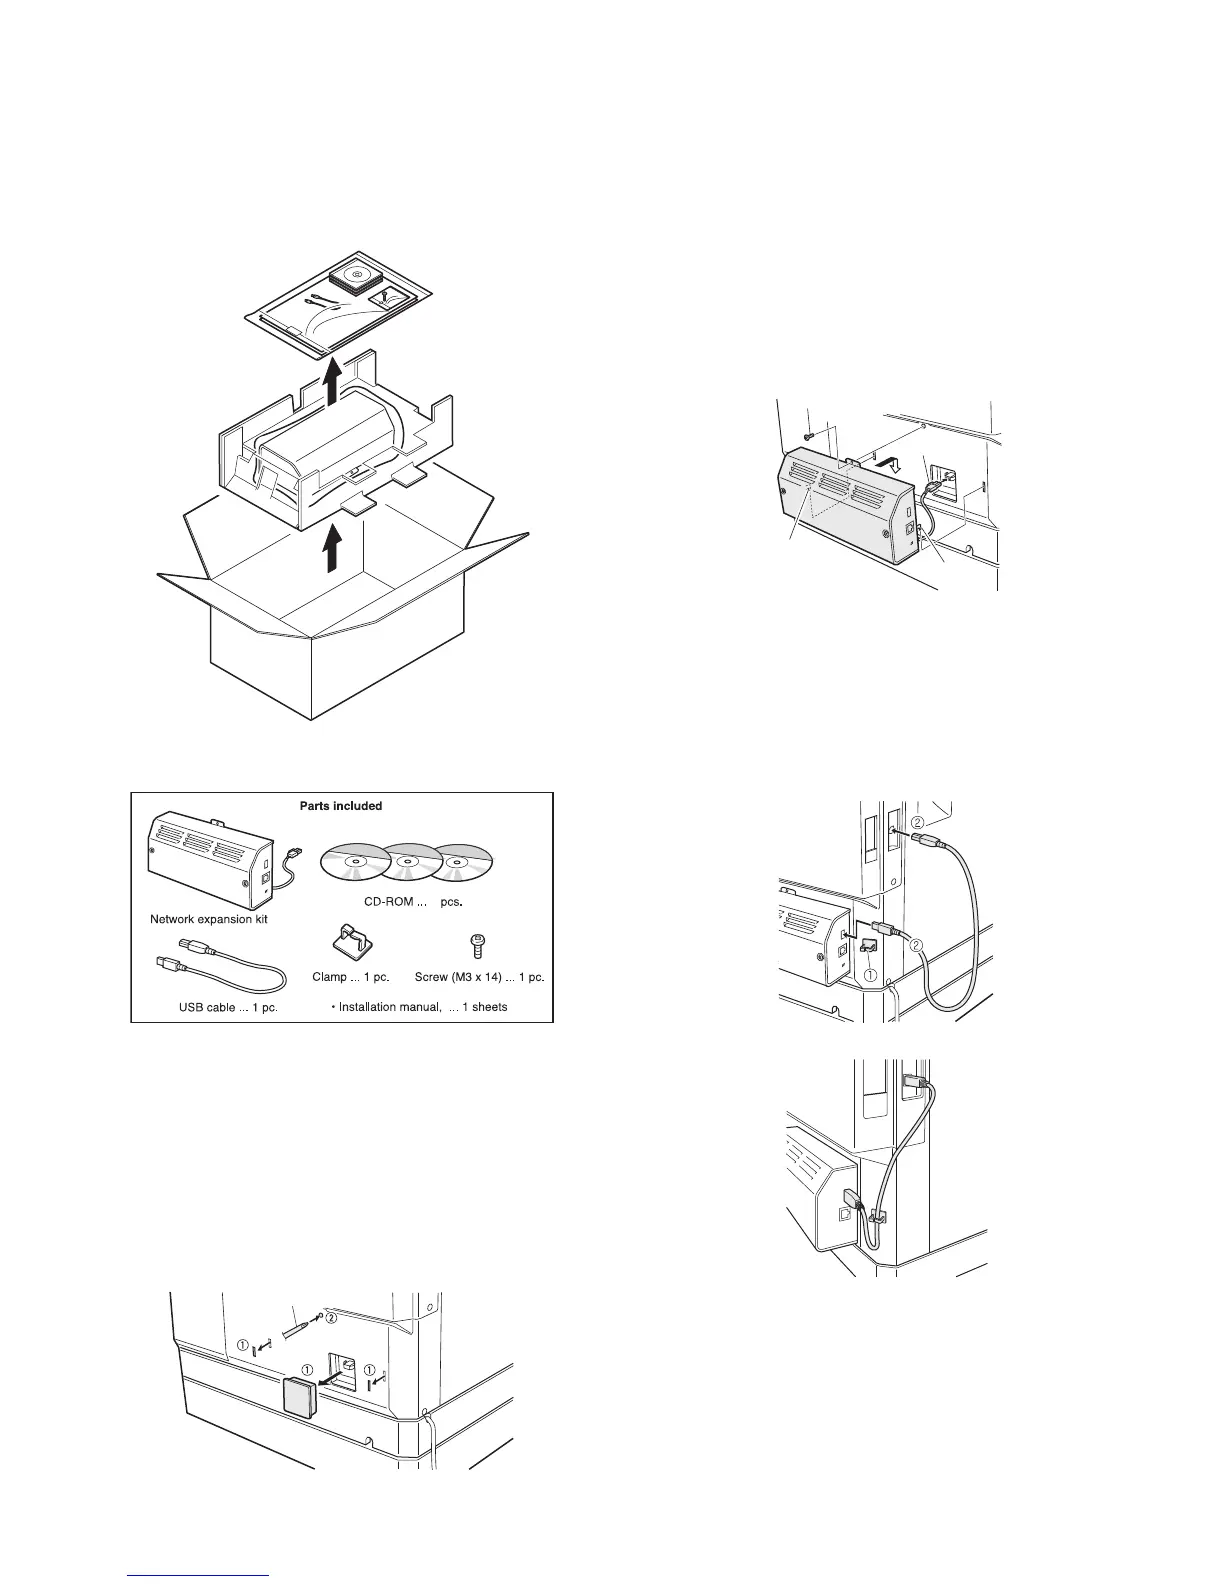
1-2. PACKAGED GOODS
1-3. INSTALLATION PROCEDURE
Turn off the main switch of the main unit and remove the power
plug of the main unit from the outlet.
1) Cut out the cut-out portions from the rear cabinet.
1) Cut out three cut-out portions from the rear cabinet using a cutter or
the like.
2) Use a Phillips screwdriver or the like to open a hole.
2) Attach the network expansion kit.
Connect the connector of the network expansion kit to the connector of
the main unit and put excessive harness into the cut-out portion in the
main unit.
Engage the two pawls on the rear of the network expansion kit with the
cut-out portions of the main unit and network expansion kit using the
supplied screw (3 x 14).
3) Connect the USB cable and the network cable.
1) Attach the supplied cable clamp to the position shown in the illustra-
tion.
2) Connect the USB cable to the network expansion kit and the main
unit. At this time, reduce slack of the cable with the cable clamp as
shown in the illustration.
3) Connect the network cable.
Insert the power plug of the copier to the outlet, turn the main
switch of the copier to the "ON" position, and perform network set
-
ting and installation of the software.
Screw (M3x14)
Connector
Pawl
Pawl
 Loading...