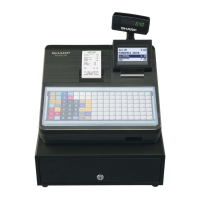
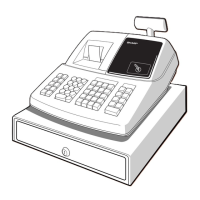
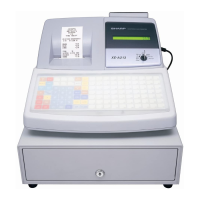
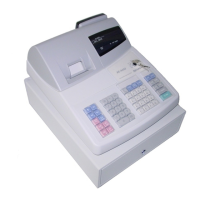
XE-A202 Quick Start Guide
English
The following describes how to get the cash register ready to operate. Follow these steps before you use the cash register for the first time.
Before you set up the cash register, prepare three new “AA” batteries which are necessary for memory backup. Find a stable and flat surface not subject to direct radiation, to place the cash register.
1
Initializing the Cash Register
To ensure the cash register operates properly, please use the
following procedure:
1. Make sure the power cord is unplugged and batteries are
not installed on the register.
2. Insert the manager
(MA) key into the
mode switch and turn
it to the REG position.
3. Insert the plug of the power cord into
the AC outlet. The buzzer will sound three
times.
IMPORTANT:
This operation must be performed
without batteries installed.
4. The cash register has now been initialized.
The register display will show “0.00” with “ ”.
2
Installing the Batteries
1. Push the printer cover forward and detach
it.
2. Open the battery compartment
cover next to the paper roll
cradle.
3. Install three new “AA”
batteries as shown below.
(Batteries are not supplied
with the cash register.) Make
sure that positive (+) and
negative (-) poles of each
battery are properly oriented.
4. When the batteries are properly installed, “ ” on the
display will disappear. Close the battery compartment
cover.
4
Basic Programming
Set the mode switch to the PGM position.
Setting the Date
Enter the date in 8 digits using the month-day-year format. Then press
s
.
Example:
08262003 s
Date (August 26, 2003)
Setting the Time
Enter the time in 4 digits (“hhmm” format) using the 24 hour system. Then press
s
.
Example:
1430 s
Time (2:30 p.m.)
Tax Programming
1. Selecting the Tax System
First, you must select the tax system. This cash register has 11 types of tax system.
Each tax system is different in calculation method of GST (Goods and Service Tax)
and PST (Provincial Sales Tax) (“Add on tax” or “VAT”/“Tax on base” or “Tax on tax”).
Contact your local tax office for the correct sales tax information.
Select one tax system suitable for your province and for your type of retail business,
and set it for your register.
For most situations tax type number 6 (Tax 4 = GST and Taxes 1, 2, and 3 for PST)
is recommended. For provinces whose provincial sales tax is “tax on tax”, use the
type number 5.
Use the following key sequence to set tax type number 6:
s
➔
70
➔
@
➔
6
➔
s
➔
A
Tax type number (6)
Below is an explanation of all the tax system options.
Printed in China / Imprimé en Chine
KS(TCADH2446RCZZ) 1
REG
OPX/Z MGR
PGM
X1/Z1
X2/Z2
OFF
VOID
Tax type
Tax 4 method Tax 3 method Tax 2, 1 method
number
GST GST PST PST
1 VAT VAT - Tax on tax
2 VAT VAT - Tax on base
3 VAT - Tax on tax Tax on tax
4 VAT - Tax on base Tax on base
5 Add on Tax - Tax on tax Tax on tax
6 Add on Tax - Tax on base Tax on base
7 Add on Tax VAT - Tax on tax
8 Add on Tax VAT - Tax on base
9 Add on Tax Add on Tax - Tax on tax
10 Add on Tax Add on Tax - Tax on base
11 VAT - VAT (Tax on base) Tax on tax
Continued...
3
Installing the Paper (for receipt printing)
1. Lift up the print roller release lever to unlock and open the print roller
arm.
2. Set a paper roll in the paper roll cradle as illustrated below.
3. Feed the end of the paper along with the
paper positioning guides as
illustrated at the right.
4. While holding down the paper, slowly close
the print roller arm, and push down the
arm until you hear a click locking the arm.
Make sure securely you push down the
center of the wing part of the arm as
illustrated at the right. The paper will be
fed automatically.
5. Cut off the excess paper using the edge of
the inner cover, and replace the printer
cover. Press the
F
key to make sure the
paper end comes out of the printer cover
and clean paper appears.
NOTE: If the print roller arm is not securely
locked, printing is not done right. If this problem occurs, open the arm,
and close the arm as instructed above.