EN
EN – 18EN – 18
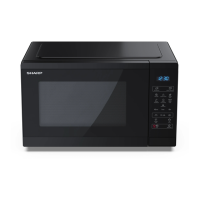
GRILL COOKING/MIX GRILL COOKING*
1. GRILL ONLY COOKING
The grill at the top of the oven cavity has one power setting only. The grill is assisted by the turntable which rotates
simultaneously to ensure even browning. Use the rack for grilling small items of food such as bacon, gammon and
teacakes. Food can be placed either directly onto the rack, or into a an dish/heat-resistant plate on the rack.
Example:
To grill for 20 minutes, using GRILL key.
1. Press GRILL key once.
x1
2. Enter the required heating time
by pressing the 10 min key
twice.
3. Press the START/ +30s key to
start the grilling.
(The display will count down
through the set grilling time.)
2. MIX GRILL COOKING
MIX GRILL combines microwave power with the grill. MIX means to cook by Microwave power and Grill power
alternately.
The combination of microwave power with the grill reduces cooking time and provides a crisp, brown nish.
There are 2 choices for the combination:
COMBINATION 1 (Display: C-1)
55% time for microwave power, 45% time for grill cooking. Use for sh and au gratin.
COMBINATION 2 (Display: C-2)
36% time for microwave cooking, 64% time for grill cooking. Use for pudding omelets, and poultry.
Example:
To cook for 15 minutes, using MIX GRILL with 55% time microwave power and 45% grill power (C-1).
1. Press MIX GRILL key once.
x1
2. Enter the required heating time
by pressing the 10 min key once
and the 1 min key 5 times.
3. Press the START/ +30s key to
start the cooking.
(The display will count down
through the set cooking time.)
NOTES for GRILL and MIX GRILL COOKING:
• It is not necessary to preheat the grill.
• When browning foods in a deep container, place on the turntable.
• You may detect smoke or a burning smell when using the grill for the rst time. This is normal and not a sign that the
oven is faulty. To avoid this problem, when rst using the oven, heat the oven without food for 20 minutes on grill.
IMPORTANT: During operation, to allow smoke or smells to disperse open a window or switch the kitchen ventilation
on.
NOTE: When using the grill function, the grill will turn on and o at regular intervals to prevent overheating.
WARNING: The door, outer cabinet, oven cavity and accessories will become very hot during operation.
To prevent burns, always use thick oven gloves.
* - Only for models with Grill.
EN – 19
OTHER CONVENIENT FUNCTIONS
1. SEQUENCE COOKING
This function allows you to cook using up to 2 di erent stages which can include manual cooking time and mode
and/or time defrost as well as weight defrost function. Once programmed there is no need to interfere with the
cooking operation as the oven will automatically move onto the next stage. The audible signal will sound once after
the rst stage.
Note: Auto menu cannot be set as one of the multiple sequences.
Example: If you want to defrost the food for 5 minutes, then to cook with 80P microwave power for 7 minutes.
The steps are as follows:
1. Press the TIME DEFROST key once, in the LED display will appear 0:10.
2. Enter the cooking time by pressing the 1 min key 5 times.
3. Input the power level (80P) by pressing the MICROWAVE POWER LEVEL key 3 times.
4. Enter the cooking time by pressing the 1 min key 7 times.
5. Press the START key once to start cooking.
2. +30s FUNCTION (Auto-start)
The +30s key allows you to operate the two following functions:
a. Direct start
You can directly start cooking on 100 P microwave power level for 30 seconds by pressing the
+30s key.
b. Extend the cooking time
You can extend the cooking time during manual cooking, time defrost and auto menu operation for multiples of
30 seconds if the +30s key is pressed while the oven is in operation. During the weight defrost, the cooking time
cannot be increased.
NOTE: The cooking time may be extended to a maximum of 99 minutes 50 seconds.
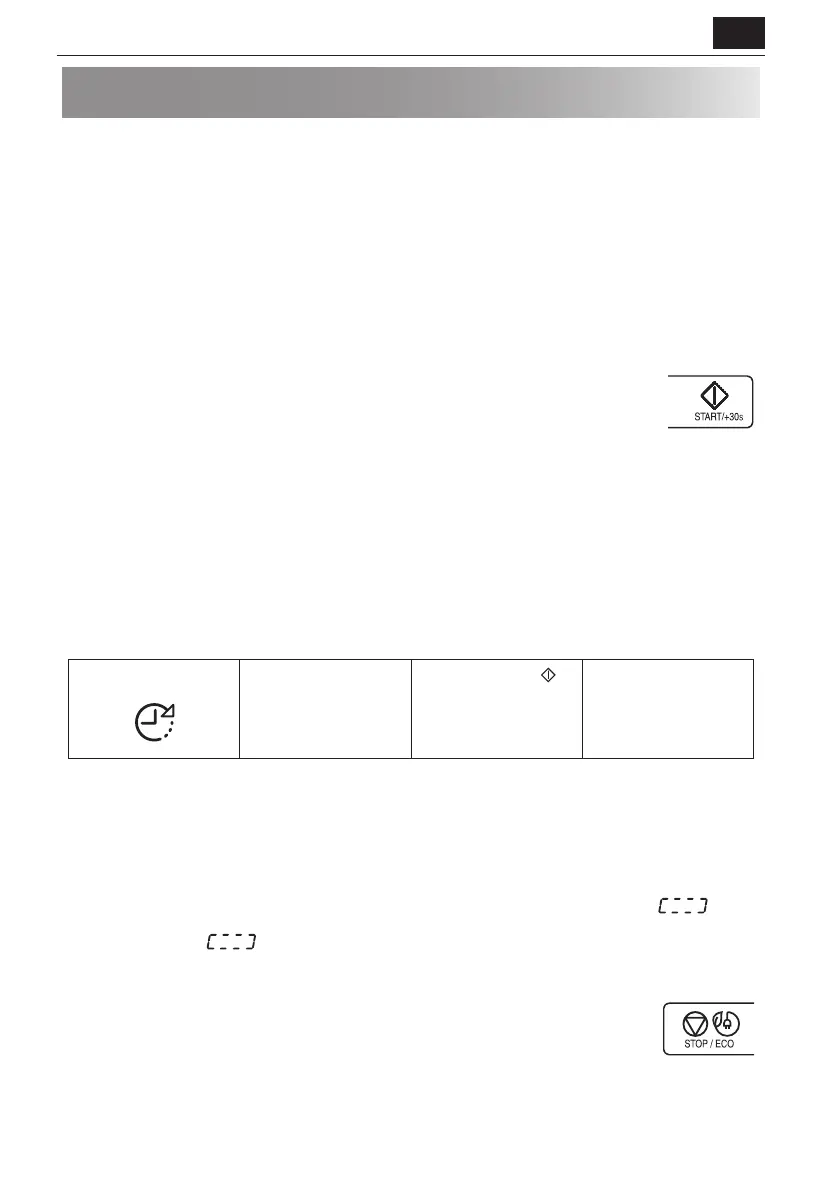
3. KITCHEN TIMER FUNCTION:
You can use the kitchen timer for timing where microwave cooking is not involved for example to time boiled eggs
cooked on conventional hob or to monitor the standing time for cooked/defrosted food.
Example:
To set the timer for 5 minutes.
1. Press the KITCHEN
TIMER key once.
2. Enter the desired time
by pressing the 1 min
key 5 times.
3. Press the START/
+30s key to start the
timer.
4. Check the display.
(The display will count
down through the set
cooking/defrosting
time.)
When the timer time arrives, the audible signal will sound 5 times and the LED will then display the time of day.
You can enter any time up to 99 minutes, 50 seconds. To cancel the KITCHEN TIMER whilst counting down, simply
press the STOP key.
NOTE: The KITCHEN TIMER function cannot be used whilst cooking.
4. CHILD LOCK:
Use to prevent unsupervised operation of the oven by little children.
a. To set the CHILD LOCK:
Press and hold the STOP key for 3 seconds, a long bleep will be heard and the display will indicate
. The
oven is now in the CHILD LOCK mode. While in this mode, the display will show the clock, if any key is pressed or
the door is opened,
will be seen for ten seconds.
b. To cancel the CHILD LOCK:
Press and hold the STOP key for 3 seconds until a long beep sound.
5. ECO MODE:
In standby mode, press the “ECO” button once, the LED display will be o and microwave oven enter
to ECO mode, any operation can light the LED display again, and the microwave oven will return to
standby mode.
 Loading...