EasyManua.ls Logo

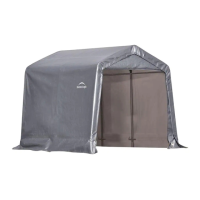
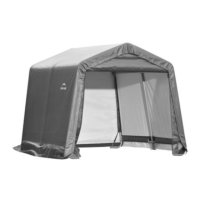
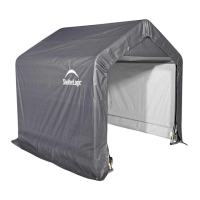
ShelterLogic Shed-in-a-Box 70401 User Manual

ShelterLogic Shed-in-a-Box 70401
24 pages
To Next Page IconTo Next Page
Page #1 background imageLoading...
Page #1 background image
05-70401-70402-70405-0HPage 1
Before you start: 1+ individual recommended for assembly, approximate time 1 hr.
Please read instructions COMPLETELY before assembly. This shelter MUST be securely anchored.
THIS IS A TEMPORARY STRUCTURE AND NOT RECOMMENDED AS A PERMANENT STRUCTURE.
6' x 6' x 6' Shed-in-a-Box
®
Peak Style Shelter
Assembly Instructions
150 Callender Road
Watertown, CT 06795
www.shelterlogic.com
1-800-524-9970
1-800-559-6175
Canada:
DESCRIPTION MODEL #
6'x6'x6' Shed-in-a-Box
®
- Gray
70401
6'x6'x6' Shed-in-a-Box
®
- Gray
70402
6'x6'x6' Shed-in-a-Box
®
- Tan
70405
RECOMMENDED TOOLS
4/12/10

Other manuals for ShelterLogic Shed-in-a-Box 70401

Question and Answer IconNeed help?

Do you have a question about the ShelterLogic Shed-in-a-Box 70401 and is the answer not in the manual?

ShelterLogic Shed-in-a-Box 70401 Specifications

General IconGeneral
Product TypeStorage Shed
BrandShelterLogic
Model70401
CategoryTent
MaterialPolyethylene
Frame MaterialSteel
ColorGreen
Warranty1 Year
Door / Entrance Width Bottom6' 3"
Door / Entrance Height Top72 in.

Summary

Safety and Important Information

Attention and Warnings

Read instructions, warnings, and cautions before assembly. Proper anchoring is consumer responsibility.

Danger: Electrical Wires and Digging

Keep away from electrical wires. Check for underground pipes or wires before digging. Avoid overhead structures.

Warning: Fire Hazards

Do not smoke or use open flame devices. Do not store flammable liquids in or around the shelter.

Caution: Assembly Safety

Use caution when erecting the frame. Use safety goggles and secure poles during assembly.

Proper Anchoring and Frame Installation

Parts, Service, and Support

Replacement Parts and Special Orders

Genuine replacement parts and accessories are available directly from the factory.

Customer Service Hotline

Contact customer service for questions, claims, or special orders. Hours of operation provided.

Care, Cleaning, and Warranty

Care and Cleaning Instructions

Maintain a tight cover. Remove snow with soft-sided instrument. Clean fabric cover with mild soap and water.

Product Warranty

One-year limited warranty for cover fabric, end panels, and framework against defects.

Parts List

1. Layout Roof Frame

2. Assemble Roof Frame

3. Assemble Legs & Attach to Roof Frame

4. Assemble Cover Rails

5. Squaring Up the Frame

6. Properly Anchor the Frame

7. Door and Solid End Panel Installation

8. Installing Cover and Cover Rails

Related product manuals