Do you have a question about the ShelterLogic Shed-in-a-Box 70483 and is the answer not in the manual?
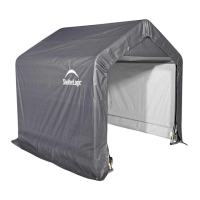
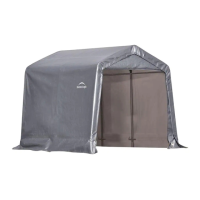
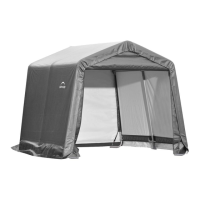
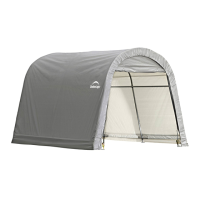
| Product Type | Shed |
|---|---|
| Brand | ShelterLogic |
| Model | 70483 |
| Category | Tent |
| Material | Polyethylene |
| Frame Material | Steel |
| Cover Material | Polyethylene |
| Color | Green |
| UV Protection | Yes |
| Assembly Required | Yes |
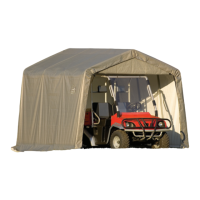
| Assembled Exterior Dimensions Depth | 96 in |
| Warranty | 1 Year Limited |
| Door Height | 60 in |
| Assembled Exterior Dimensions Height | 6 ft. |
| Assembled Exterior Dimensions Width | 6 ft. |
Assemble the primary arched poles and vertical supports to form the side frames.
Attach the central ridge pole to the vertical supports of the second frame section.
Connect the assembled arched side frames to the central ridge structure using fasteners.
Attach and tighten fasteners at intermediate frame connection points (A, B, C).
Measure and ensure the structure's dimensions (2.4m, 3.4m) are correct for stability.
Drive ground stakes (10014) through the base of the frame poles.
Use ropes (10015) and fasteners (10016) to tie down the structure securely.
Drape the first cover panel (805622) over the assembled frame structure.
Drape the second cover panel and align it with the frame and the first cover.
Use tools to securely tighten all frame connections after end panels are installed.
Secure the edges of the cover using the provided fasteners and straps.
Tighten the ratchet straps evenly on both sides of the cover for a snug fit.