Product: 50740 / 50741 / 50742 / 50743
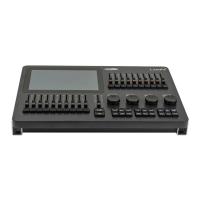
8. Operation
8.1. Begin Using the Console
8.1.1. Unpack Console and Accessories
Before you can use the console, unpack it and its accessories from the shipping carton or flight case.
Attention
Before connecting any accessories to the LAMPY Lighting Control Console, the console
must be located on a sturdy and flat surface in a dry, dust free environment.
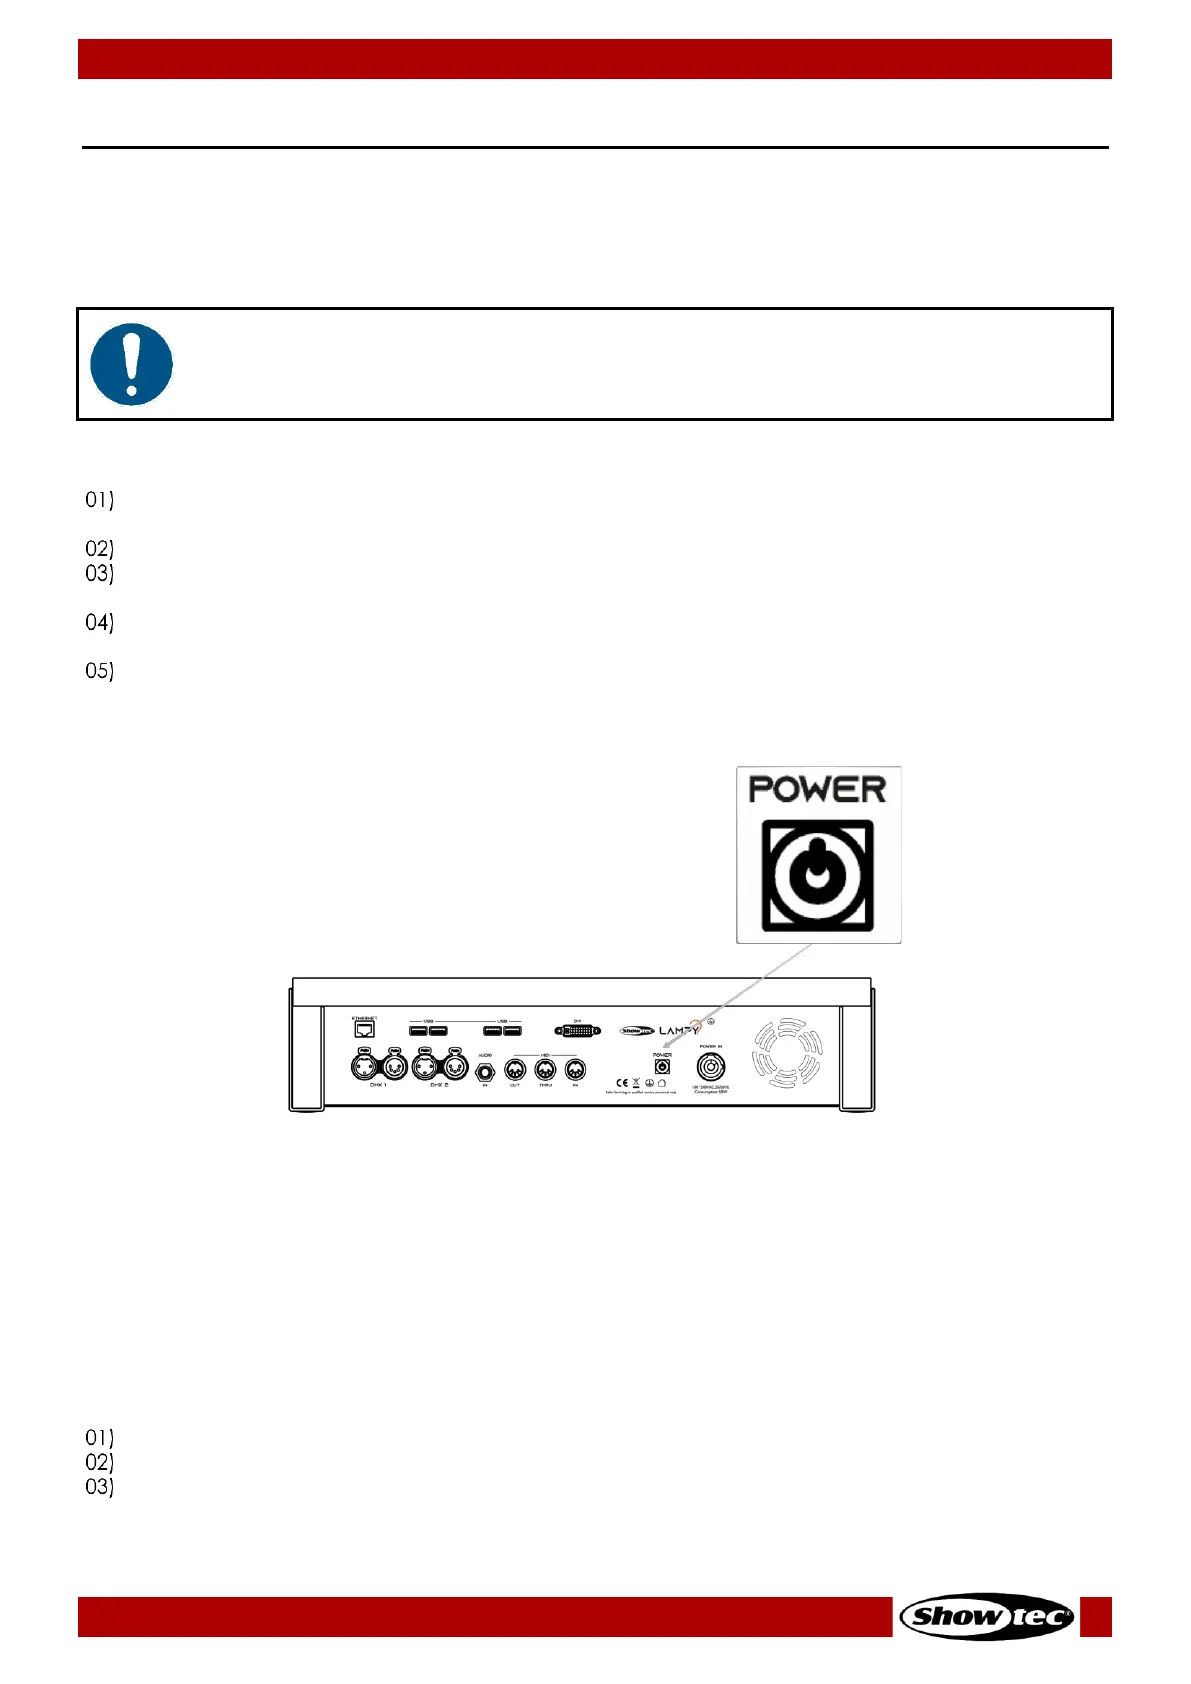
8.1.2. Connect Console to Any Accessories and Power
Connect all optional accessories such as USB keyboard, mouse, external (touch)screen, etc. to the
console.
Connect DMX cables to the console’s DMX output ports.
If you are using Art Net or sACN for data output (only available with LAMPY DNGL), also connect the
network cable to the consoles network port.
Use the supplied AC power cable to connect the console to a grounded, AC power source. The
console operates on an AC voltage of 100 to 240VAC.
Press the power button on the back of the console, next to the Power Input connector.
During the boot process a boot screen will be shown.
This boot screen provides maintenance utilities; however, it will continue to automatically boot the
Console OS without user intervention.
Once the system is ready to use the initial screen, as shown below will appear. This screen will only
appear in 3 case scenarios:
Is the first time using the LAMPY and there are no show files saved on the console.
There is an error.
The console tried to load the last opened Showfile but the Showfile uses a more advanced OS
version than the one installed on the console.