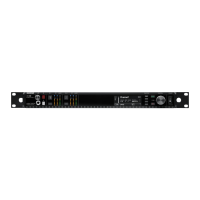
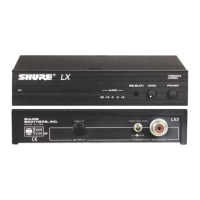
Shure LX4 Diversity Receiver
12
Disassembly and Assembly
25D1008 (BK)
Remove the printed circuit board (pcb):
1. Remove the nuts and washers from the antenna input
connectors and the HI-Z audio output connector.
2. Remove the two screws on either side of the balanced
output XLR connector.
3. Unplug the dc power input from the pcb.
4. Remove the six screws anchoring the pcb to the bottom
of the chassis.
5. Lift the pcb from the front and pull forward. Note the lock
washers on the inside of the antenna connectors and HI-Z
audio output connector.
Reassembly
Replace the printed circuit board:
1. Carefully replace the six screws that anchor the pcb to the
bottom of the chassis and replug the dc power input to the pcb.
Note the lock washers on the inside of the antenna connectors
and HI-Z audio output connector.
2. Replace the two screws on either side of the balanced output
XLR connector.
3. Replace the nuts and washers from the antenna input
connectors and the HI-Z audio output connector.
Replace the front panel:
1. Slide the case on the frame from front to back.
2. Lock the four snap-in tabs to attach the front panel.
3. Replace the six screws from the case top (two screws on the top
and two screws on each side).
4. Replace the clip from the center front panel frame screw tabs.
 Loading...