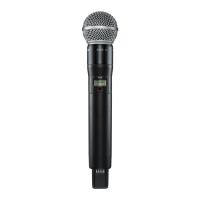
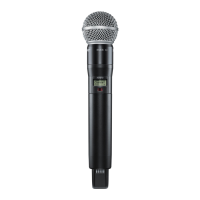
Shure T2 Vocal Artist Microphone Transmitter
10
Disassembly and Assembly
25C1018 (CC)
Reassembly
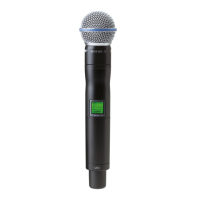
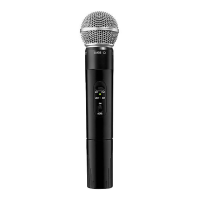
1. Insert the transmitter subassembly (audio, RF, and head circuit
boards) into the internal guides of the handle (Figure 3).
2. Orient the retaining ring so its gap will fit over the flat edge of the
head board (to avoid shorting the board). Use snap-ring pliers to
insert the retaining ring into the groove inside the handle.
3. Drop in the switch actuators and position the label plate (older
bezels only) over them. Position the bezel over the switches
then press until it snaps into place.
4. Screw on the microphone cartridge and ball screen. Install a bat-
tery (if desired) and screw on the battery cup.
 Loading...