classification of those points to be changed. The example shown is for DNP3 points, and the user
can change settings for both Digital and Analog DNP3 points.
The rows are colour coded to distinguish between DNP3 classifications. In addition, rows that are
shown in red indicate that the rows have a duplicate DNP3 index and need to be fixed before saving
or sending to a Remote Control Unit is allowed.
Unmapped DNP3 points appear at the end of the list in dark grey.
The user can print the Protocol Database point mapping screens by clicking the Print button. For
more information regarding the Protocol Database, refer to the relevant Protocol Manual supplied.
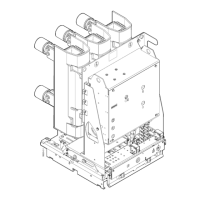
7.4 Loading a Configuration into an RCU
The process for configuring an RCU can occur on-site or be conducted in the workshop. The
sequence for loading a configuration into the RCU is as follows:
1 Connect a USB antenna into a PC and start RCU Connect
2 Open the door of the RCU and power up the RCU
3 The user can load a configuration to a Remote Control Unit by clicking the "Configure
RCU" button from the main menu of RCU Connect. If the user has no template files or
no layout files, RCU Connect will prompt the user to import the files (see section 0). If
RCU Connect cannot find any layout files, or the user has more than one layout file, RCU
Connect will open a file selection box allowing the user to locate and select the desired
layout file. A layout file must be selected, or the user will be returned to the main menu.
If RCU Connect cannot find any configuration templates, or the user has more than one
configuration template, RCU Connect will open a file selection box allowing the user to
locate and select the desired configuration template. A configuration template must be
selected, or the user will be returned to the main menu.
4 When suitable layout files and configuration templates have been selected, the
"Connection" screen is displayed as shown below in figure 42.