Preventing en
45
Preventing
2 Preventing material
damage
Preventing
ATTENTION!
Risk of damage to the appliance. If
the appliance is not started up cor-
rectly, it may be damaged.
▶ Use the appliance in frost-free
rooms only.
▶ If the appliance has been transpor-
ted or stored below 0°C, wait
3hours at room temperature be-
fore starting it up.
▶ After plugging in, always wait ap-
prox.5seconds.
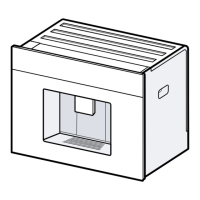
Improper installation may cause ma-
terial damage.
▶ Observe the installation instruc-
tions for the appliance installed
above or below.
▶ When installing theappliance
above awarming drawer, observe
a niche height of 590mm.
Unsecured units may fall over.
▶ Secure units to the wall using a
standard bracket.
3 Environmental protec-
tion and saving energy
3.1 Disposing of packaging
The packaging materials are environ-
mentally compatible and can be re-
cycled.
▶ Sort the individual components by
type and dispose of them separ-
ately.
3.2 Tips for saving energy
If you follow these instructions, your
appliance will use less power.
Set the interval for automatic switch-
off to the smallest value.
a
If the appliance is not being used,
it will switch itself off earlier.
→"Basic settings", Page55
Do not interrupt the dispensing pro-
cess prematurely.
a
The amount of water or milk that is
heated is used optimally.
Descale the appliance regularly.
a
Limescale deposits increase the
appliance's energy consumption.
4 Installation and con-
nection
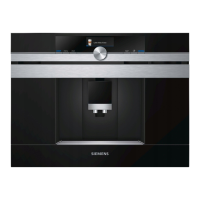
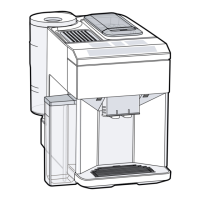
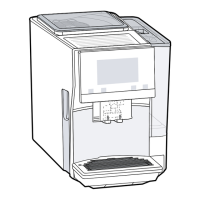
4.1 Scope of delivery
After unpacking all parts, check for
any damage in transit and complete-
ness of the delivery.
Note:Different accessories are en-
closed depending on the appliance
model. This accessory is shown in a
frame with a dashed line.
→Fig. 1
Fully automatic coffee ma-
chine
Milk container
Installation instructions
Water filter
1
Water hardness testing strip
User manual
Microfibre cloth
1
Depending on the appliance spe-
cifications
 Loading...