s
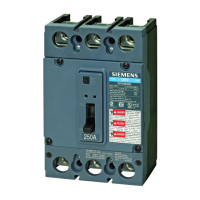
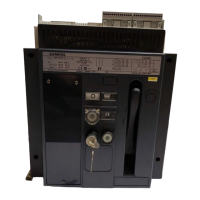
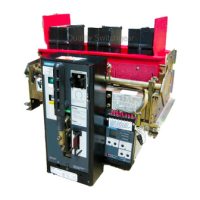
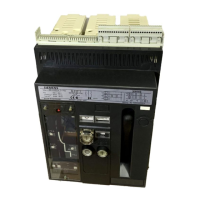
Circuit Breaker Frame QR
Interruptor, Caja Base QR
Disjoncteur, de Base QR
Installation Instructions / Instructivo de Instalación / Instructions d'installation
Type [Tipo]:
QR2, QRH2, HQR2, HQR2H
Tensión peligrosa.
Puede causar la muerte o lesiones graves.
Tension dangereuse.
Provoquera la mort ou des blessures graves.
Hazardous Voltage
Will cause death or serious injury
Use only with Siemens certified Components.
Utilizar únicamente con componentes certificados de Siemens.
À utiliser uniquement avec les composantes certifiées Siemens.
Turn off and lock out all power supplying this device before
working on this device.
Replace all covers before power supplying this device is
turned on.
Mettre hors tension et verrouiller l’alimentation avant
d’intervenir sur cet appareil.
Remettre tous les couvercles en place avant de remettre
cet appareil sous tension.
Desenergice totalmente antes de instalar o darle servicio.
Reemplace todas las barreras y cubiertas antes de
energizar el interruptor.
Cal. ISO 6789
5/16“
NOTE - These instructions do not purport to cover all details or variations in equipment, or to provide for every possible
contingency to be met in connection with installation, operation or maintenance. Should further information be desired or
should particular problems arise, which are not covered sufficiently for the purchaser’s purposes, the matter should be
referred to the local Siemens sales office. The contents of this instruction manual shall not become part of or modify any prior
or existing agreement, commitment or relationship. The sales contract contains the entire obligation of Siemens. The
warranty contained in the contract between the parties is the sole warranty of Siemens. Any statements contained herein do
not create new warranties or modify the existing warranty.
Trademarks - Unless otherwise noted, all names identified by ® are registered trademarks of Siemens AG or Siemens
Industry, Inc. The remaining trademarks in this publication may be trademarks whose use by third parties for their own
purposes could violate the rights of the owner.
NOTA - Estas instrucciones no pretenden incluir todos los detalles o variaciones de los equipos ni indicar cada posible
contingencia que pudiese encontrar en relación con la instalación, el funcionamiento o el mantenimiento. Si desea más
información o si surgen problemas en particular, que no estén explicados suficientemente para fines del comprador, el
t d b f i l fi i d t l l d Si El t id d t l d i t i d b
asun
o se
e
e re
er
r a
a o
c
na
e ven
as
oca
e
emens.
con
en
o
e es
e manua
e
ns
rucc
ones no
e
e
formar parte ni modificar una relación, acuerdo o compromiso o previo o existente. El contrato de venta contiene toda la
obligación por parte de Siemens. La garantía contenida en el contrato establecido entre las partes es la única garantía de
Siemens. Las declaraciones contenidas en el presente documento no crean nuevas garantías ni modifican la que está en
vigor.
Marcas comerciales - A menos que se indique lo contrario, todos los nombres identificados con ® son marcas
comerciales registradas de Siemens AG o Siemens Industry, Inc. Las marcas comerciales restantes que aparecen en esta
publicación pueden ser marcas comerciales cuyo uso por parte de terceros para sus propios fines podría violar los
.
REMARQUE - Ces instructions ne prétendent pas couvrir tous les détails ou les variations de l'équipement, ni prévoir
chaque éventualité pouvant être rencontrée lors de la connexion, l'exploitation ou l’entretien. Si plus d’information est
désirée ou si des problèmes particuliers surviennent, qui ne sont pas couverts suffisamment aux fins de l'acheteur, il faut
adresser ces questions au bureau local de Siemens. Le contenu de ce manuel d'instruction ne fera pas partie de tout
accord, engagement ou relation préalable ou existant et ne le modifiera pas. Le contrat de vente contient l'obligation
intégrale de Siemens. La garantie contenue dans le contrat entre les parties est la garantie unique offerte par Siemens.
Toute autre déclaration contenue aux présentes ne crée pas de nouvelles garanties et ne modifie pas la garantie existante.
1 / 3 I.L. No. 814516A
814516A
Marques de commerce – Sauf indication contraire, tous les noms identifiés par MD sont des marques déposées de
Siemens AG ou de Siemens Industry, Inc. Les autres marques dans cette publication peuvent être des marques dont
l'utilisation par des tiers à leurs propres fins pourrait violer les droits du propriétaire.