Installation
5.2 Installing a switch
SCALANCE X-300
112 Operating Instructions, 02/2012, A5E01113043-12
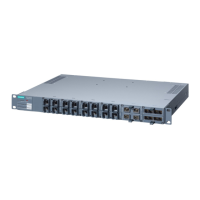
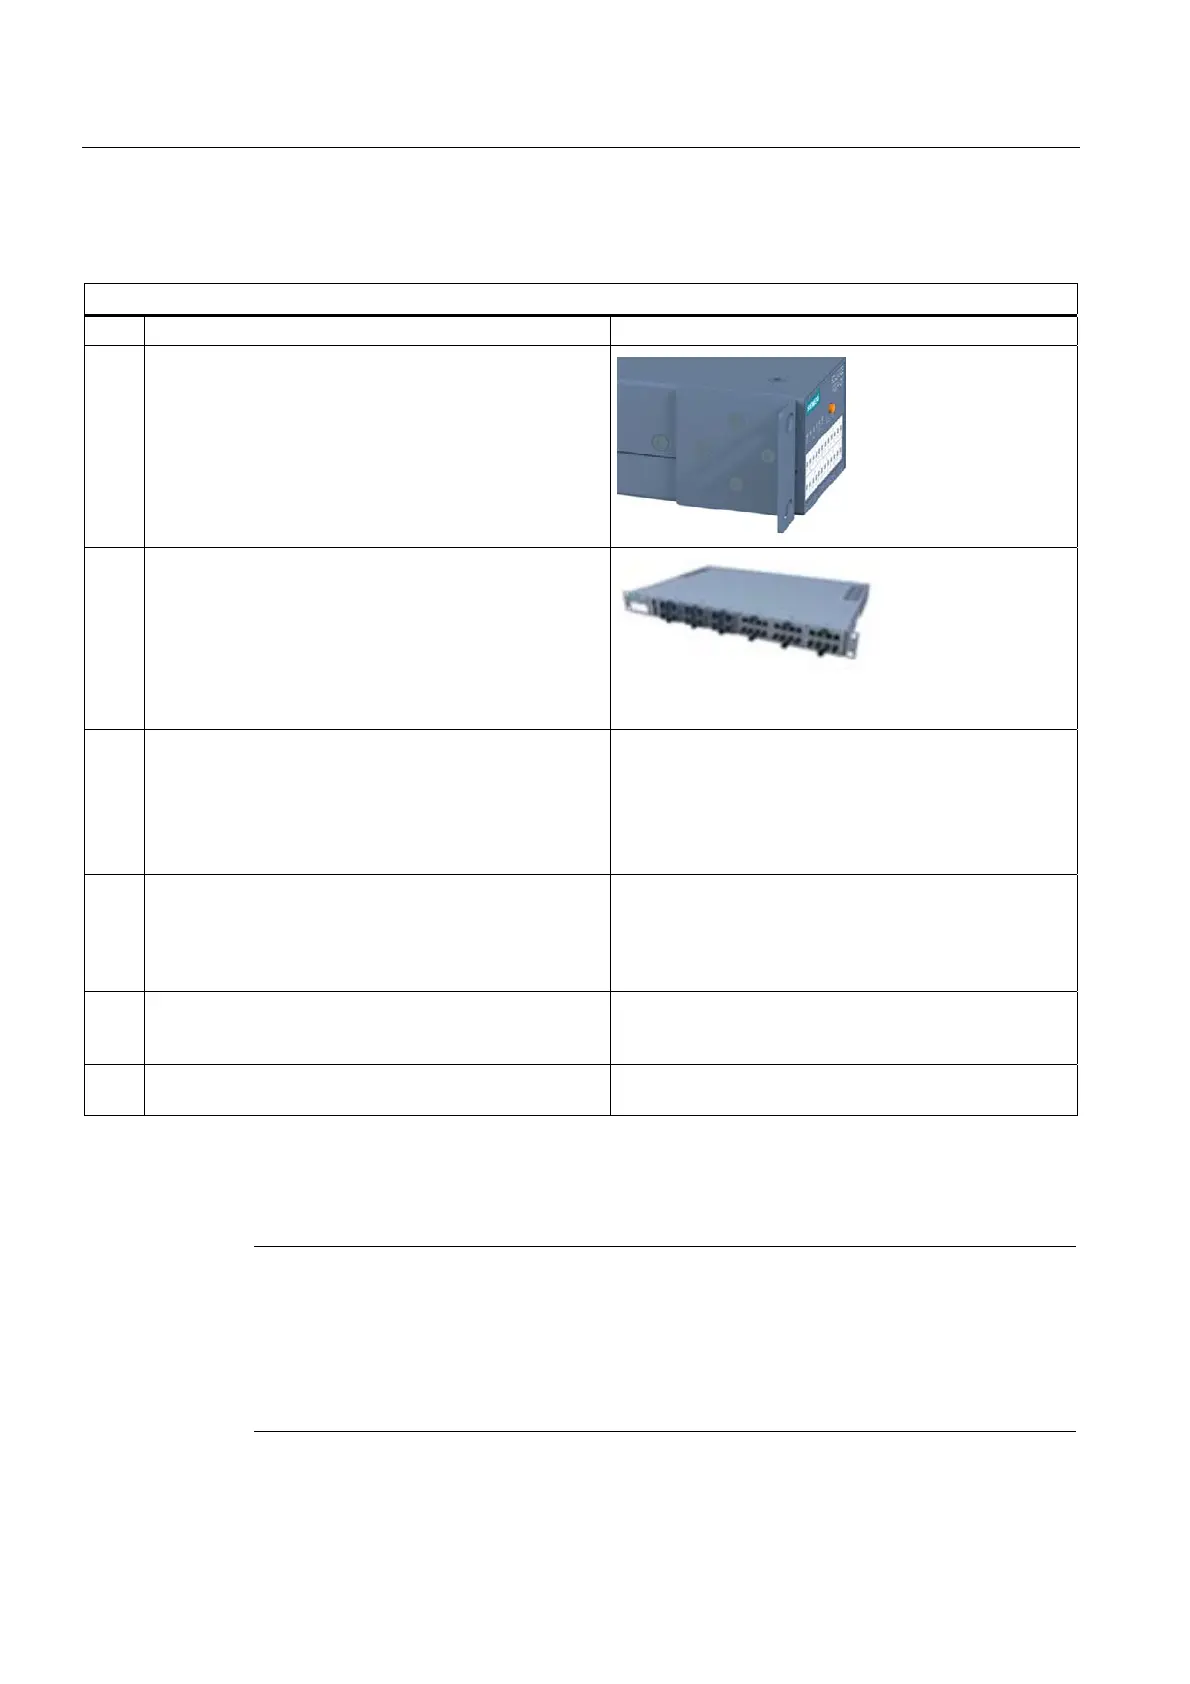
19" rack mounting with standard orientation
19" rack mounting
1. Select the required rack device (R) and the 19" cabinet.
2. Fix the two mounting brackets with 4 screws each to the
sides of the housing. The maximum tightening torque for
these screws is 0.5 Nm.
CAUTION: If you install a rack device (R) with
components inserted.
The locking mechanisms of components installed in the
rack device (R) (for example the handles of media
modules or the clips on the SFP) must be closed.
See also installation of modular devices:
- Installing media modules in a slot
- Installing an SFP in an SFP media module.
3. Insert the rack device (R) in the 19" cabinet and hold the
rack device (R) at the required height. Make sure that
nothing is obstructing air from entering the ventilation
grilles.
Fit the securing screws to the two mounting brackets to
secure the rack device (R) in the 19" cabinet.
4. Connect the grounding bolts. On the SCALANCE X-
300EEC, the PE connector is on the bottom of the
device. On the SCALANCE XR-300M EEC, the PE
connector is on the rear of the device between the
power connectors.
5. Fit the connectors for the power supply.
Note that the SCALANCE X-300 is available for different
power supplies (100 to 240 VAC and 24 VDC variants).
6. Fit the remaining connectors, for example the signaling
contact.
Example of individual installation
Note
Individual inst
allation of the SCALANCE XR-300M
Devices of the XR-300M category can also be installed upright in a cabinet door. In this
case, the LED display is at the front and the cable outlet at the back of the cabinet door.
Make sure that the mounting bracket is correctly positioned on the rack device (R) so that
the rack device (R) can be mounted securely on the cabinet door.
 Loading...