Specifying a reference point
5. If required, specify a zero point.
Contour line
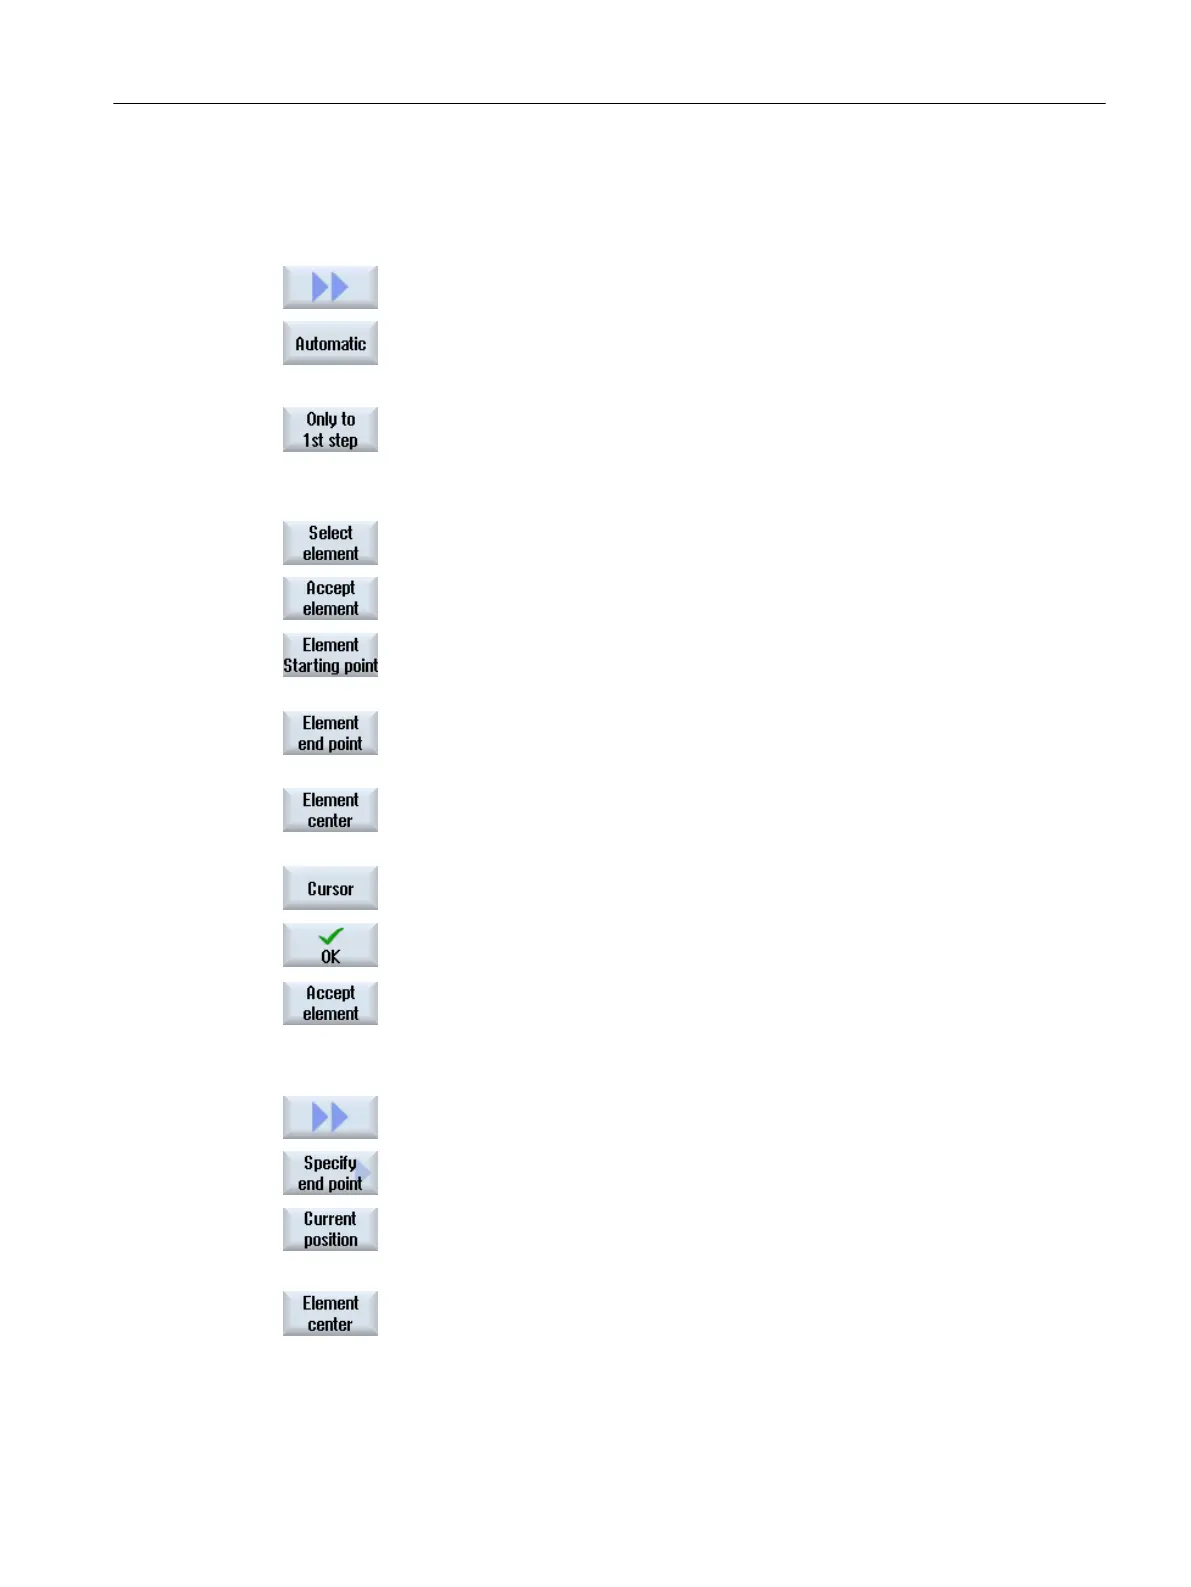
6. Press the ">>" and "Automatic" softkeys if you want to accept the largest
possible number of contour elements.
This makes it fast to accept contours that consist of many individual ele‐
ments.
- OR -
Press "Only to 1st cut" if you do not want to accept the complete contour
elements at once.
The contour will be followed to the first cut of the contour element.
Defining the start point
7. Press the "Select element" softkey to select the desired element.
8. Press the "Accept element" softkey.
9. Press the "Element start point" softkey to place the contour start at the start
point of the element.
- OR -
Press the "Element end point" softkey to place the contour start at the end
point of the element.
- OR -
Press the "Element center" softkey to place the contour start at the center
of the element.
- OR -
Press the "Cursor" softkey to define the start of the element with the cursor
at any position.
9. Press the "OK" softkey to confirm your selection.
10. Press the "Accept element" softkey to accept the offered elements.
The softkey can be operated while elements are still available to be accep‐
ted.
Specifying the end point
11. Press the ">>" and "Specify end point" softkeys if you do not want to accept
the end point of the selected element.
12. Press the "Current position" softkey if you want to set the currently selected
position as end point.
- OR -
Press the "Element center" softkey to place the contour end at the center
of the element.
- OR -
Machining the workpiece
6.11 Working with DXF files
Milling
Operating Manual, 08/2018, 6FC5398-7CP41-0BA0 237