M
Mr. Ricardo KimJul 25, 2025
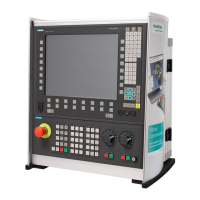
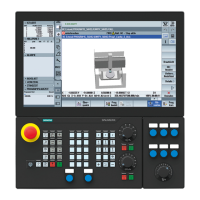
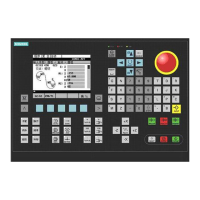
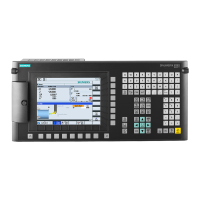
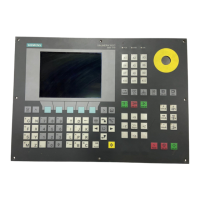
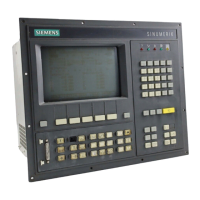
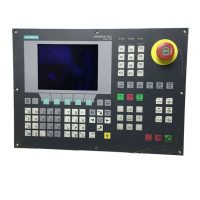
What to do if all four LEDs on the Siemens Controller PLC flash (DI disaster)?
- PPaul CurtisJul 26, 2025
If all four LEDs on the Siemens Controller PLC are flashing, it indicates a system error. Here's what you should do: 1. Stop the PLC (set the "PLC" switch to position 2). 2. Perform a hardware reset. 3. Read the diagnostic buffer using STEP 7 to analyze the error in detail. 4. Relay the diagnostic buffer information to the Hotline / Development Service. 5. If requested after the hardware reset, perform a general reset. You can then read the diagnostic buffer with the PLC in the Stop state. Alternatively, resetting or reloading the PLC program might resolve the issue. Even if the system returns to normal, send the diagnostic buffer content to the Development Office.