10
en
Congratulations on purchasing this
Siemens appliance. You have acquired a
high-quality product that will bring you
a lot of enjoyment.
This instruction manual describes two
models:
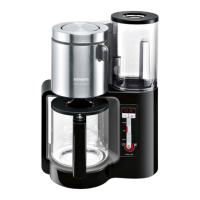
TC863.. Model with glass carafe
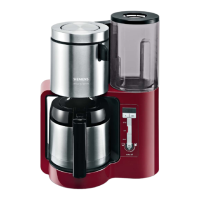
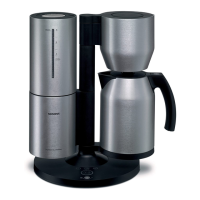
TC865.. Model with thermos carafe
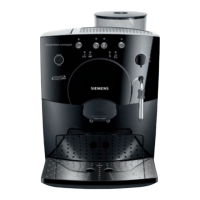
Parts and operating
controls
1
(removable)
2 Water tank cover (removable)
3 Filter housing (swivelling)
4 Filter holder (dishwasher-safe)
5 Drip stop
6 TC863.. Glass carafe with lid
(dishwasher-safe)
TC865.. Thermos carafe with lid
7 O ON/OFF button
8 J Low water volume
(less than approx. 4 cups)
9 L Normal water volume
(more than approx. 4 cups)
10 start button
11 Descale button with indicator calc
12 Cable storage compartment
13 Clock
14 Programming button h
15 Programming button min
16 prog button
17
TC863.. only
18 Hotplate
TC865.. only
19 Release switch (on carafe handle)
General information
Fill water tank 1 with clean, cold water
only. Never add milk or beverages such
the appliance.
1 above the marking
“8
À
” (TC865..) or “10
À
” (TC863..).
(approx. 6 g per cup).
Do not brew less than the minimum
will not have the desired strength and
temperature (1 cup = approx. 125 ml).
Never remove the carafe 6 while the
4
Make sure that carafe’s lid is closed
when you place the carafe 6 on the
Do not use other carafes since the
holder 4 is normal; it does not indicate
Before using
Unroll the right amount of cable from the
cable storage compartment 12 and plug
it in.
Press O ON/OFF button 7; the display
Set the current time by pressing button
14 h for the hour and button 15 min for
the minute.
Note: You can change the time. Press
buttons 14 h and 15 min simultaneously
and set the correct time.
six cups
of water and replace it. Press the start
button 10; cleaning program starts.
Repeat the cleaning process.
 Loading...