7
Screen Calibration
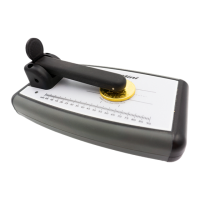
3. A box will appear on the screen. Place the Calibration Disc on the screen
so that the edge of the disc aligns with the top and left edges of the box,
see below:
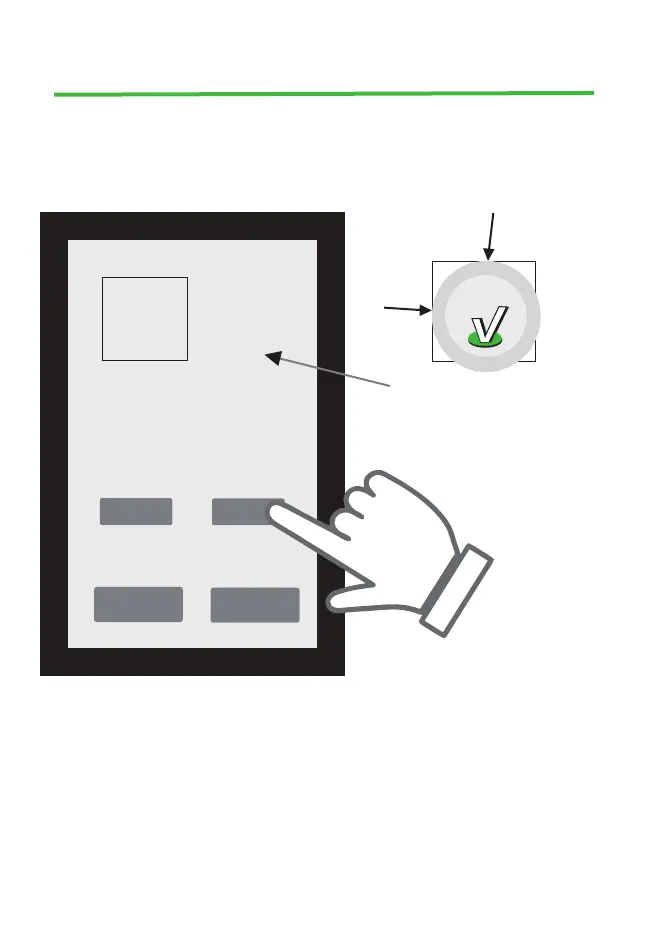
4. Adjust the width and height using the + / - buttons on the screen to
adjust the square size until the bottom and right edge of the calibration
disc are lined up. Accurate calibration is when all 4 edges of the box are
aligned with the caibration disc.
5. Press “Save or Accept” button. The instrument will save the screen scale
to accurately display expected sample size.
+
x
Place disc here
(as shown right)
Use + / - buttons to
adjust size of square
until all edges line up
with calibration disc
Left side
must touch
edge
Top side
must touch edge
Place calibration disc on screen
to line up with top and left side of box
(As shown above)
Calibration
-
Accept
Cancel