Do you have a question about the Sigma Metalytics VERIFIER PMV PRO Mini and is the answer not in the manual?
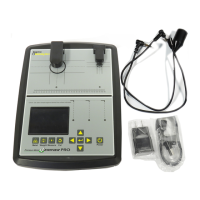
Connect the USB-C cable to charge the instrument. Charging is faster when the instrument is off.
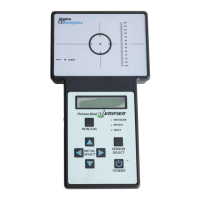
Turn the PRO Mini on by pressing the power button. Turn it off by pressing and holding the button.
The instrument calibrates automatically on power-up. Initiate manual calibration by briefly pressing the power button.
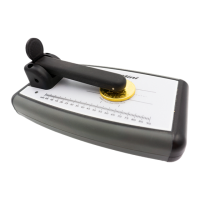
Utilize the included wedge accessory to position the sensor bar for hands-free operation.
Calibrate the touchscreen by aligning a calibration disc with on-screen guides using the +/- buttons.
Familiarize yourself with the PRO Mini's measurement screen, indicating connection status and key readings like thickness.
Input resistance and conductance values via the device menu to prepare for sample analysis.
Select the expected alloy or coin type from the provided list for accurate measurement comparison.
Enter the sample's weight in grams or troy ounces, specifying if it's total or PM weight.
Position the sample on the target under the bridge arm, ensuring it covers the inner circle for accurate measurement.
Understand how to interpret readings based on the color-coded graph indicating expected range.
Measure sample dimensions by aligning round or rectangular samples with on-screen guides.
Learn to identify and resolve common error messages like "Case Thick" or "Sample too thin."
| Type | Precious Metal Verifier |
|---|---|
| Application | Verifying the authenticity and purity of precious metals (gold, silver, platinum, palladium) |
| Test Modes | Gold, Silver, Platinum, Palladium |
| Dimensions | Compact and portable, exact dimensions not specified |
| Weight | Lightweight, exact weight not specified |
| Power Source | Battery powered |
| Display | LCD screen for displaying test results and settings |
| Operating Temperature | Standard operating temperature range for electronic devices |