19
Silhouette Cameo® 4 Pro User Manual
Prepare the Cameo Pro
Place Material on the Cutting Mat
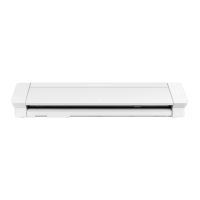
Remove the nonstick liner from the cutting mat. A new mat will be very sticky at first. To avoid damaging any materials
you place on your cutting mat, place the mat, sticky side down on a surface that doesn’t release too much lint, such as
denim or microfiber. This will make the mat less sticky but still allow it to grab on to materials without damaging them.
Position your paper or other media on the cutting mat according to the illustration in Silhouette Studio®.
Turn On the Cameo
Turn the Silhouette Cameo® 4 Pro on by pressing the power button and waiting for the machine to start up. To feed the
cutting mat into the machine
f Lift the lid and slide it back.
f Press the arrow pointing up on the touch panel to load your mat into cutting position. The arrow will flash,
indicating that it is ready to load the material.
f Align the left edge of the mat with the gray alignment mark on the left side of the machine.
f Press the mat against the white rollers. After a few seconds, the machine will grip the material to load it.
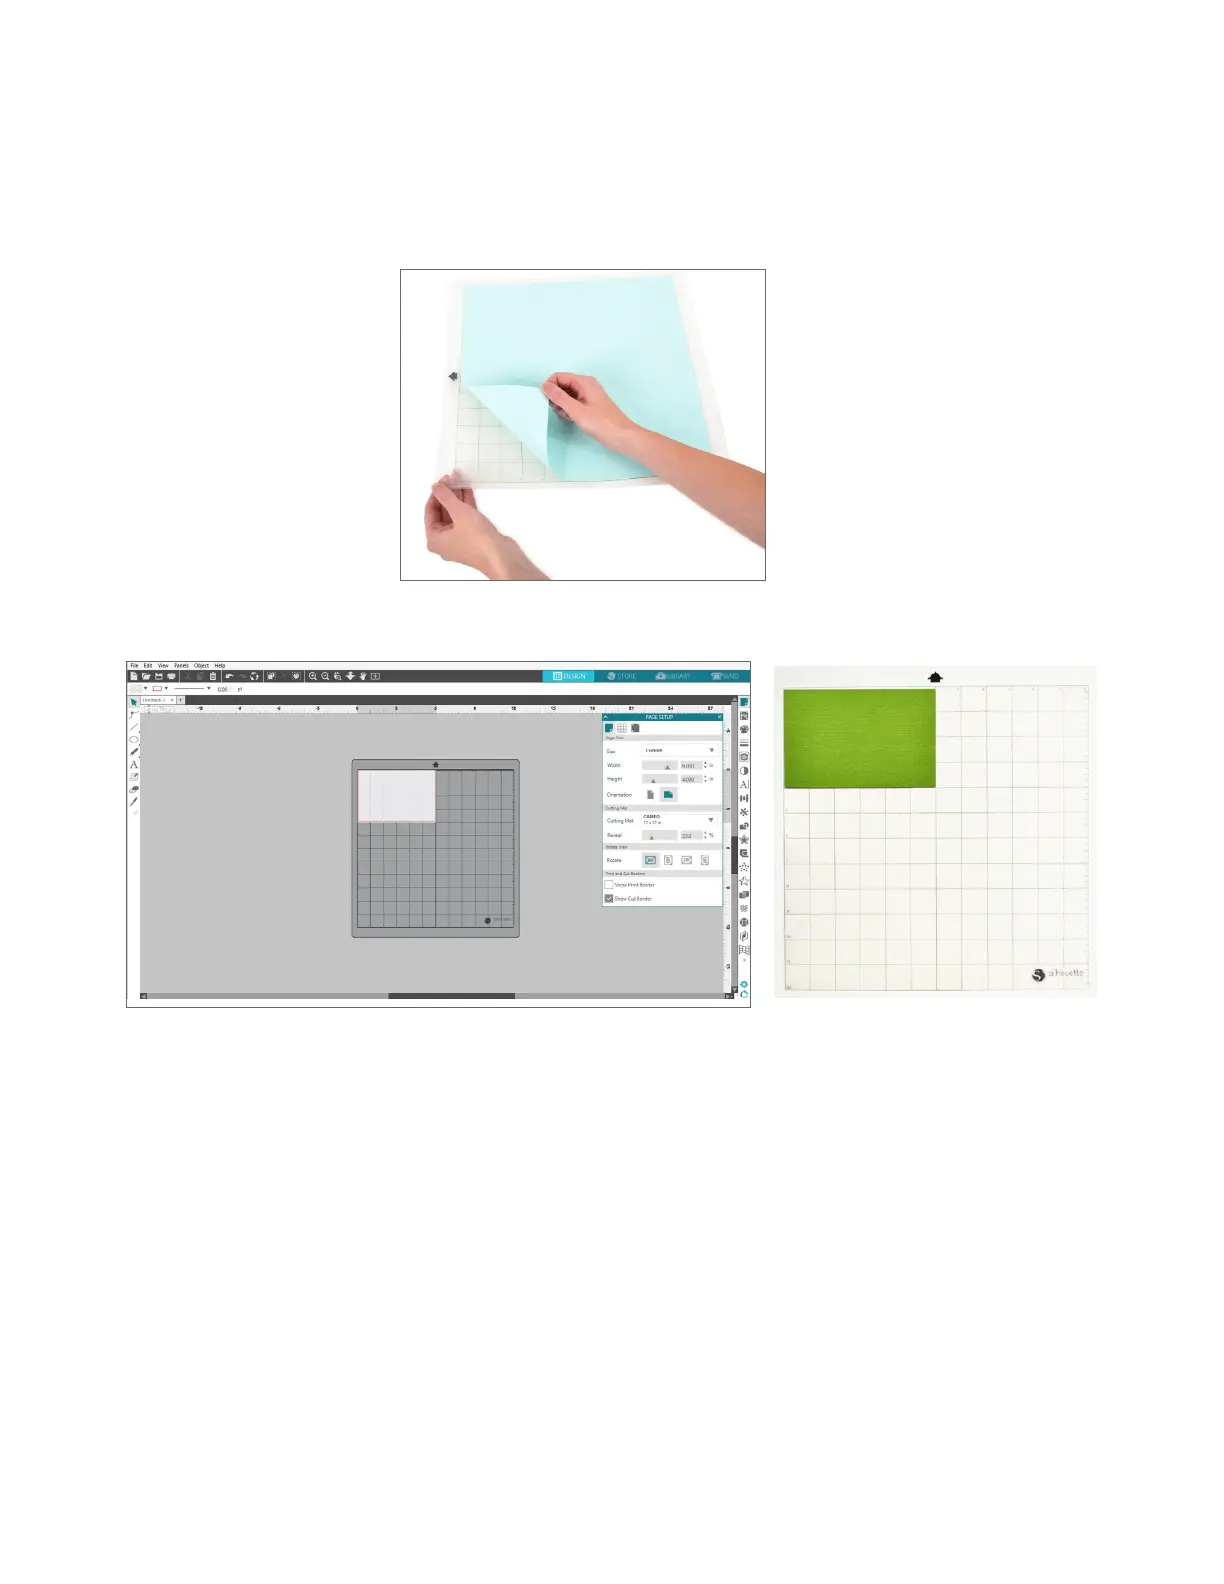
If you don’t see an image of the cutting mat under your document on the screen, click the Page Setup icon at the top of
the Silhouette toolbar on the right-hand side of the window. Under the Cutting Mat section, select the Cameo Pro mat.
Position your image on the screen where you want it to cut on the mat. Be sure to keep your design within the red
margins on your page.
 Loading...