GB/IE/NI 13
Now fix the
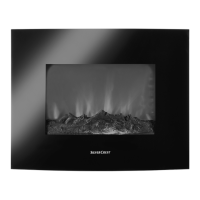
Curved electric built-in fire
with
the additional short mounting plate
6
on the
underside
(see Fig. 3)
. Drill two more holes, 8 mm
diameter and 26 mm deep. Place the dowels
10
in
the holes
once you have cleared them of debris.
Now fasten the short mounting plate
6
to the
wall using the screws
9
and to the appliance
with the screws
8
.
Initial operation
The
Curved electric built-in fire
can be operated both
on the appliance itself and with the remote control
7
.
SUN MON TUE WED THU FRI
°C
SAT
ON
OFF
88
88
:
88
A
On/Off
B
Heating level indicator
C
Temperature display
D
Day display
E
Timer ON
F
Timer OFF
G
Window display
H
Brightness
I
Time display
The functions are shown on the display
3
(see Fig. 4)
on the front of the appliance.
Before using the appliance itself or the remote control
7
, the on/off switch
2
must be operated. The
symbol
A
lights up on the display and a signal
sounds when the appliance is switched on.
Operation on the appliance
The appliance is operated via the control panel
1
on the top of the product (see Fig. 5).
- Switching on the Curved electric built-in fire:
Push this button to start the preheating process. The
fire begins to blaze.
- Setting system time/timer
Press this button to set the current time, day of the week
or timer. Use the “+” and “-” keys to set the weekdays.
Press the button again to set the hours. The minutes
can be set by pressing the button again. The symbols
D
and
H
light up on the display and the set time is
displayed.
4
A
C
B
D
E
F
I
G
H
5
ON/OFF
TIMER
+
-
BRIGHTNESS
3

 Loading...