SFKS 2 B1
GB
│
15 ■
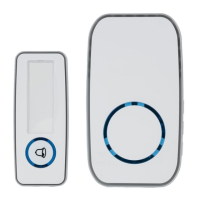
If the synchronisation has been a success, the
receiver notifi es you of the programmed call signal.
Should the receiver not react as described, repeat the
synchronisation.
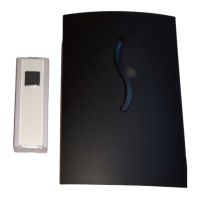
Mounting the transmitter
♦ Select a suitable positioning for the sender, close
to your outer door.
♦ Mark the positions for the required drill holes
with the help of the mounting plate q and drill
the holes for the supplied wall plugs r (6mm
drill).
♦ Push the wall plugs into the drill holes and screw
the mounting plate q onto the wall using the
screws t.
♦ Push the transmitter onto the mounting plate q
until it clicks audibly into place.
NOTE
►
Alternatively, you can mount the transmitter
onto a suitable surface using the double-sided
adhesive tape w.
♦ Label one of the supplied name plates e. If you
label the name plate by hand, make sure you
use a waterproof pen.
 Loading...