7
The SPS and RPS mount onto the right side of an expansion box, and connect to the PDI.
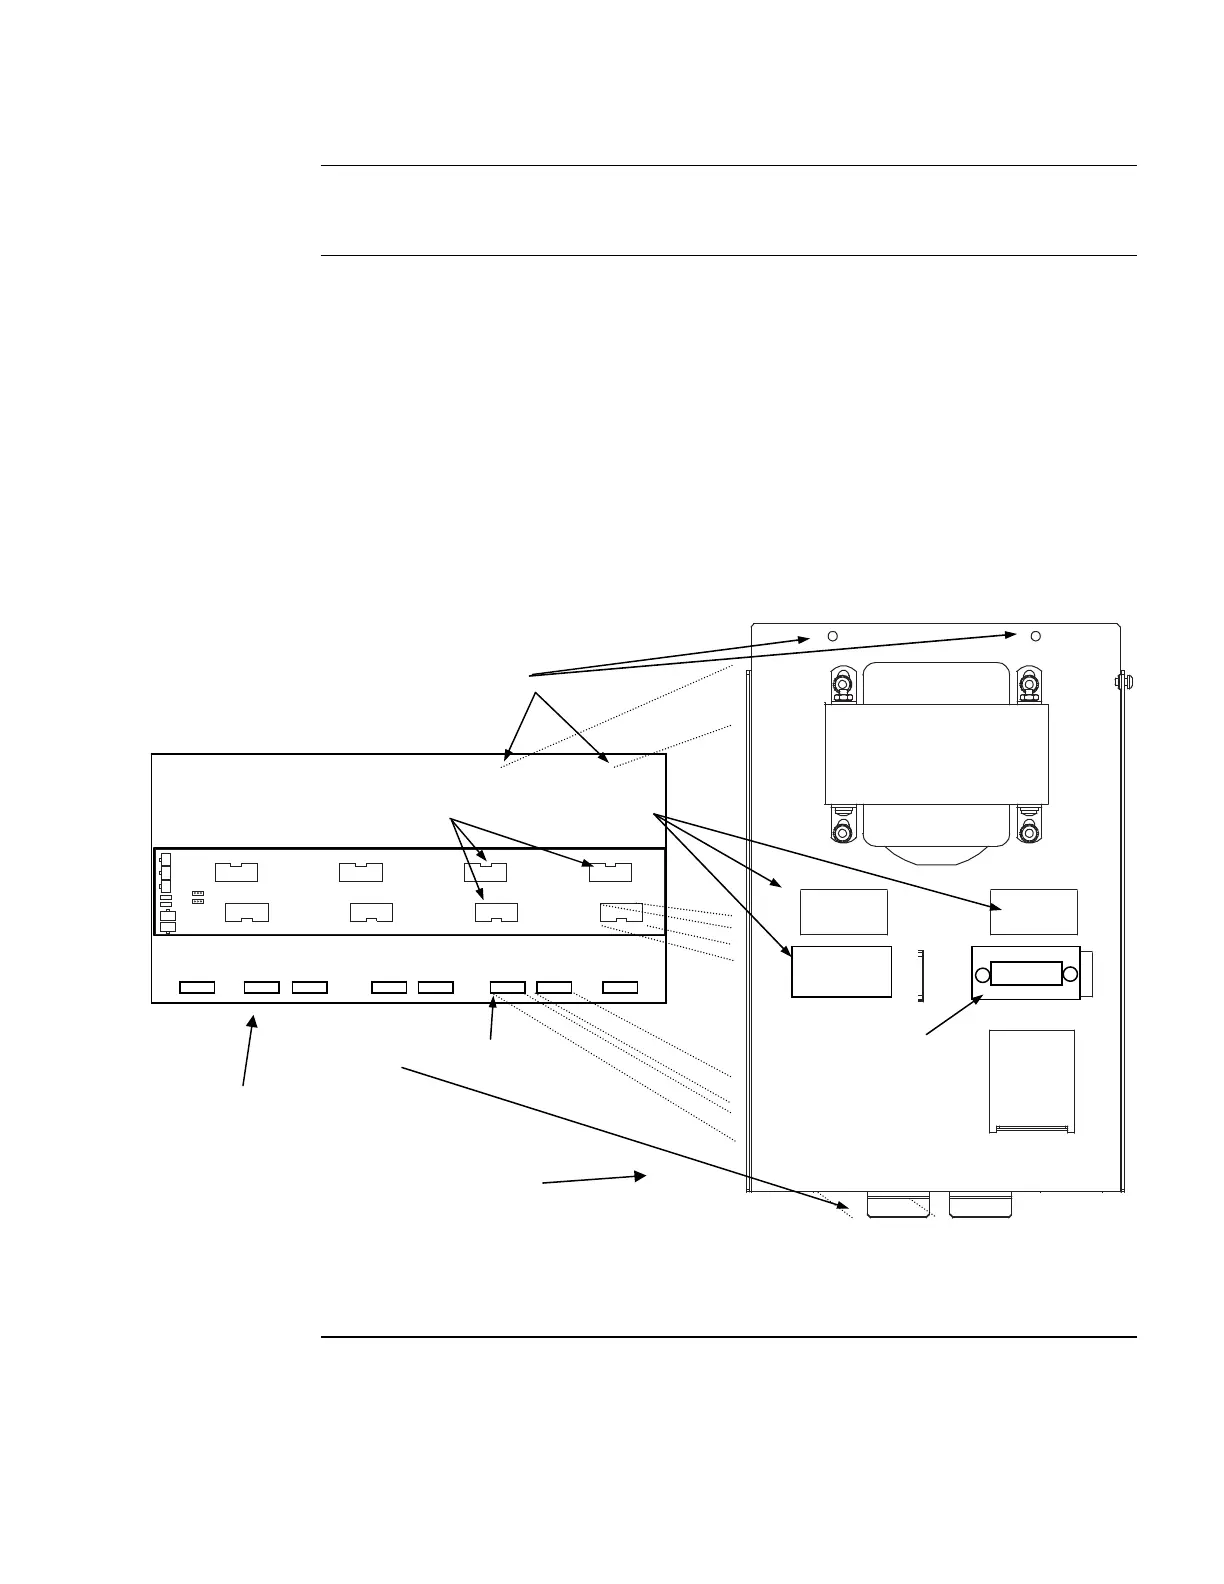
Use this section to mount the SPS or RPS assembly to the box.
Use the following directions and the figure below to mount the SPS or RPS to an expansion cabinet.
1. Slide the two tabs on the bottom of the SPS or RPS into the rightmost two slots in the
expansion cabinet.
2. Push the SPS or RPS assembly against the back of the expansion box.
Connect to the PDI as shown below.
Three PDI headers, as shown below, must be pushed through three open slots in the
back of the SPS/RPS assembly.
Correctly align the two screw holes at the top of the SPS/RPS assembly with the holes
in the cabinet backplane.
3. Use two #6 torx screws to secure the assembly to the expansion box.
Figure 2. SPS/RPS Mounting
Mounting
Overview
Mounting
4100 POWER DISTRIBUTION INTERFACE
ASSY 566-084
PDI Connection
PDI connectors go through assembly
cutouts
Tabs go into slots
Two #6 torx screws
secure assembly to
the cabinet
System Power Supply or
Remote Power Supply
Expansion Cabinet
Backplane with PDI