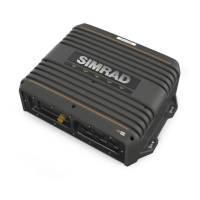
Installation
Mounting location
Choose the mounting locations carefully before you drill or cut.
For overall width and height requirements, refer to "Dimensional drawings" on page 18.
Do not mount any part where it can be used as a hand hold, where it might be submerged,
or where it will interfere with the operation, launching, or retrieving of the boat.
The unit should be mounted so that the operator can easily see the LED status indicators.
Check that it is possible to route cables to the intended mounting location.
Leave sufficient clearance to connect all relevant cables.
The unit can be mounted on a horizontal or on a vertical surface. Create drip loops when the
unit is mounted on a vertical surface with connections exiting upwards.
Before cutting a hole in a panel, make sure that there are no hidden electrical wires or other
parts behind the panel.
Ensure that any holes cut are in a safe position and will not weaken the boat’s structure. If in
doubt, consult a qualified boat builder, or marine electronics installer.
Ú
Note: Where flush mounted, the enclosure should be dry and well ventilated. In small
enclosures, it may be required to fit forced cooling.
Warning: Inadequate ventilation and subsequent overheating of the unit
may cause unreliable operation and reduced service life. Exposing the unit
to conditions that exceeds the specifications could invalidate your warranty.
– refer to "Technical specifications" on page 17.
Transducer installation
For transducer installation information, refer to separate installation instructions included
with the transducer.
2
8
Installation | S5100 Installation Manual

 Loading...