DC Inverter Duct Type Air Conditioner Installation and Operation Manual
8
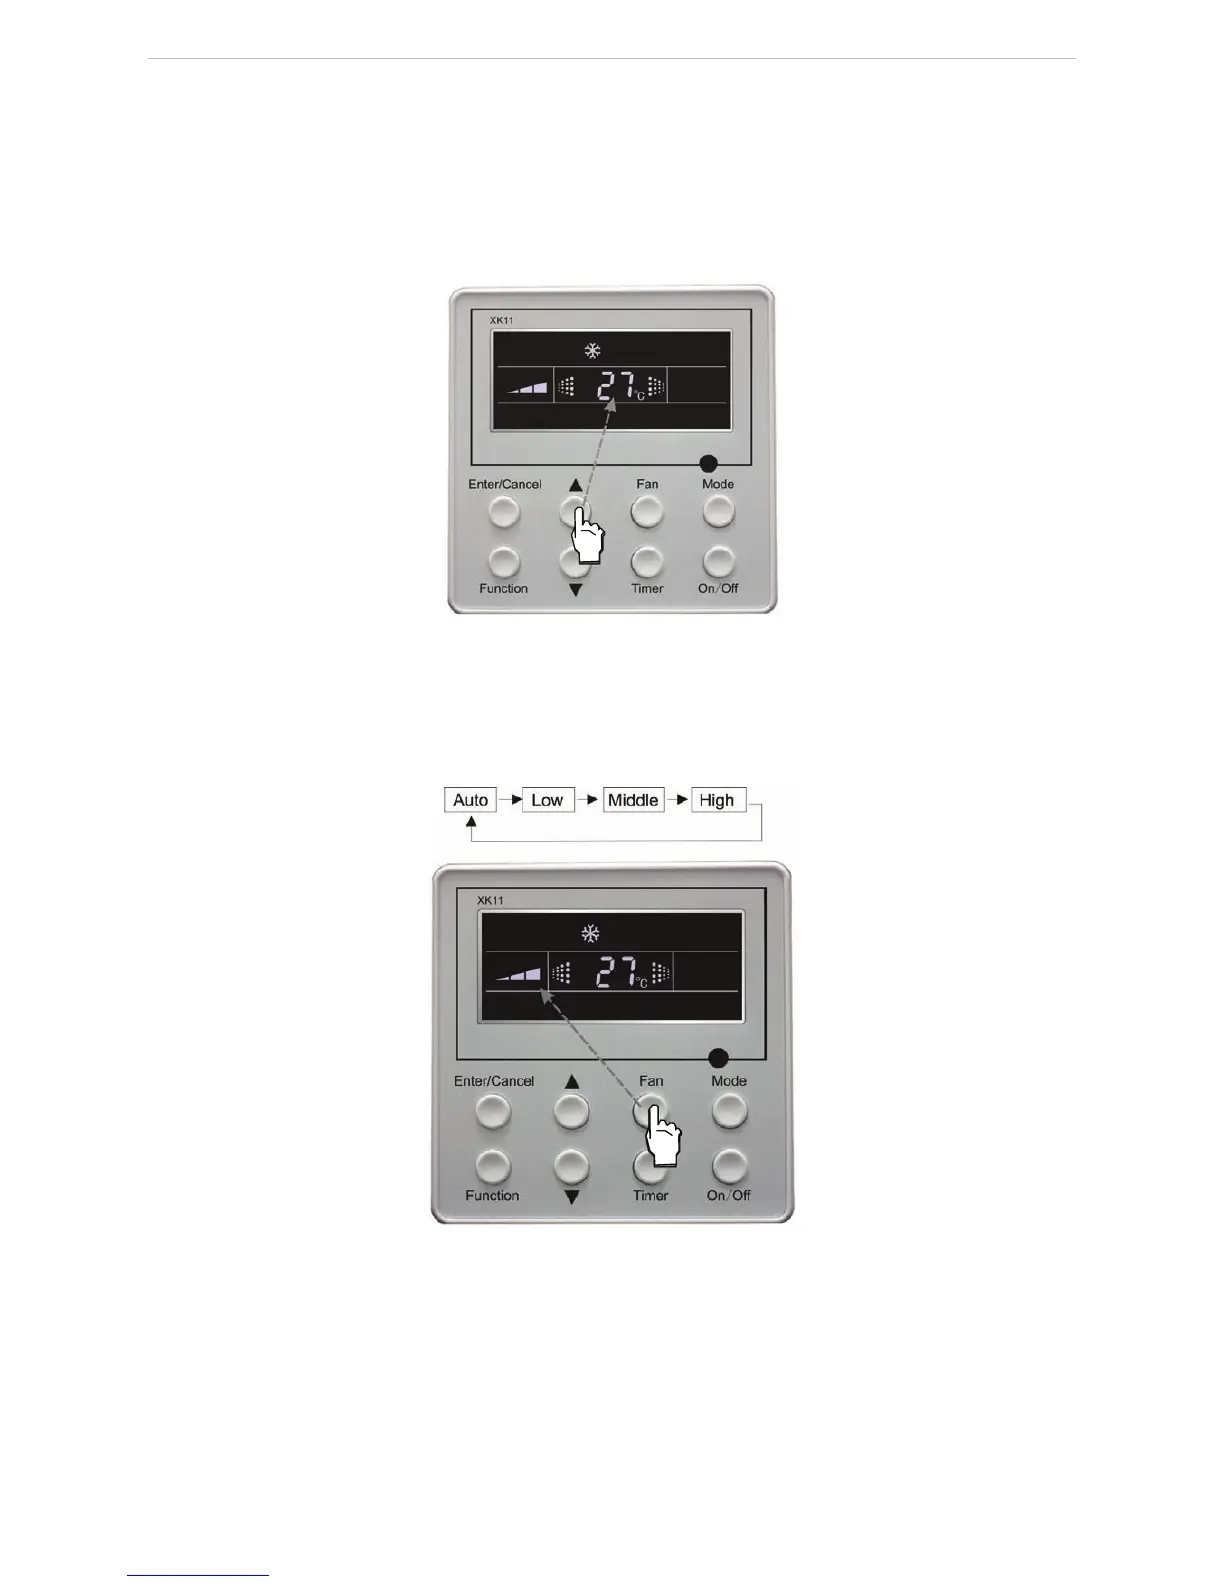
4.3 Temperature Setting
Press ▲ or ▼button to increase or decrease of setting temperature under on-state of the unit. If press either
of them continuously, temperature will be increased or decreased by 1°C every 0.5s.
In Cooling, Dry, Fan and Heating mode, temperature setting range is 16°C~30°C.
In Auto mode, the setting temperature is un-adjustable.
As shown in Fig.8:
Fig. 8
4.4 Fan Speed Setting
Press Fan button, fan speed of indoor unit will change as below:
As shown in Fig.9:
Fig.9
4.5 Swing Control Function
*
Under on-state of unit, press Function button till the unit enters swing control function and then press Enter/
Cancel button to turn on “swing” control function.
During swing function, press Function button till the unit enters swing control function and then press
Enter/Cancel button to cancel swing control function.
Swing control function setting is shown in Fig.10 :