Service Manual
Before hook timing is attempted, needle location (page 70-71), needle to hook relationship
(page 72-73) and hook drive belt tension (page 80-81) must be correct.
1. Remove face plate, presser foot, needle, needle plate and bobbin case.
2. Insert a size 18 needle.
3. Set the machine for straight stitch, center needle position.
4. Turn the hand wheel toward the front of the machine to bring the needle bar to its lowest
position.
5. Observe the position of the center timing mark (A) with relation to the upper needle bar
bushing.
6. Turn the hand wheel toward the front of the machine to bring the lower timing mark (B)
to the same relative position as previously occupied by the center needle bar timing
mark. In this position, the point of the hook (C) should be in the center of the needle
blade.
1. Remove the free arm extension table, bed bottom cover, extension table bottom cover,
needle plate, bobbin case and presser foot.
2. Loosen the two screws (E) in the belt drive pulley (D).
3. Turn the hand wheel toward the front of the machine to bring the lower timing mark (B)
to the position the center needle bar timing mark was previously located (A). In this
position, the point of the hook (C) should be in the center of the needle blade. Turn the
pulley (D) until the hook point is located behind the needle.
4. Press up with finger presser on pulley (D) and tighten the two screws (E).
5. Recheck and readjust if necessary.
6. Check needle bar height.(See pages 62-63).
Check:
Adjustment:
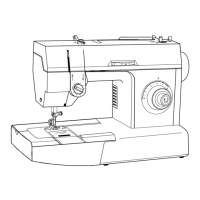
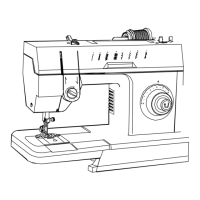
Hook Timing (Hook and Needle Synchronism)
81
Rev. n .
o
358487-001 Mar./2005