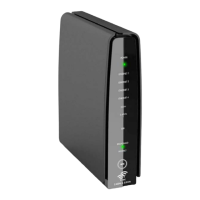
Quick Installation Guide | 54 | Quick Installation Guide
2.2 For Singtel Business Broadband (ADSL) Customers
2.2.1 DSL Connection Setup
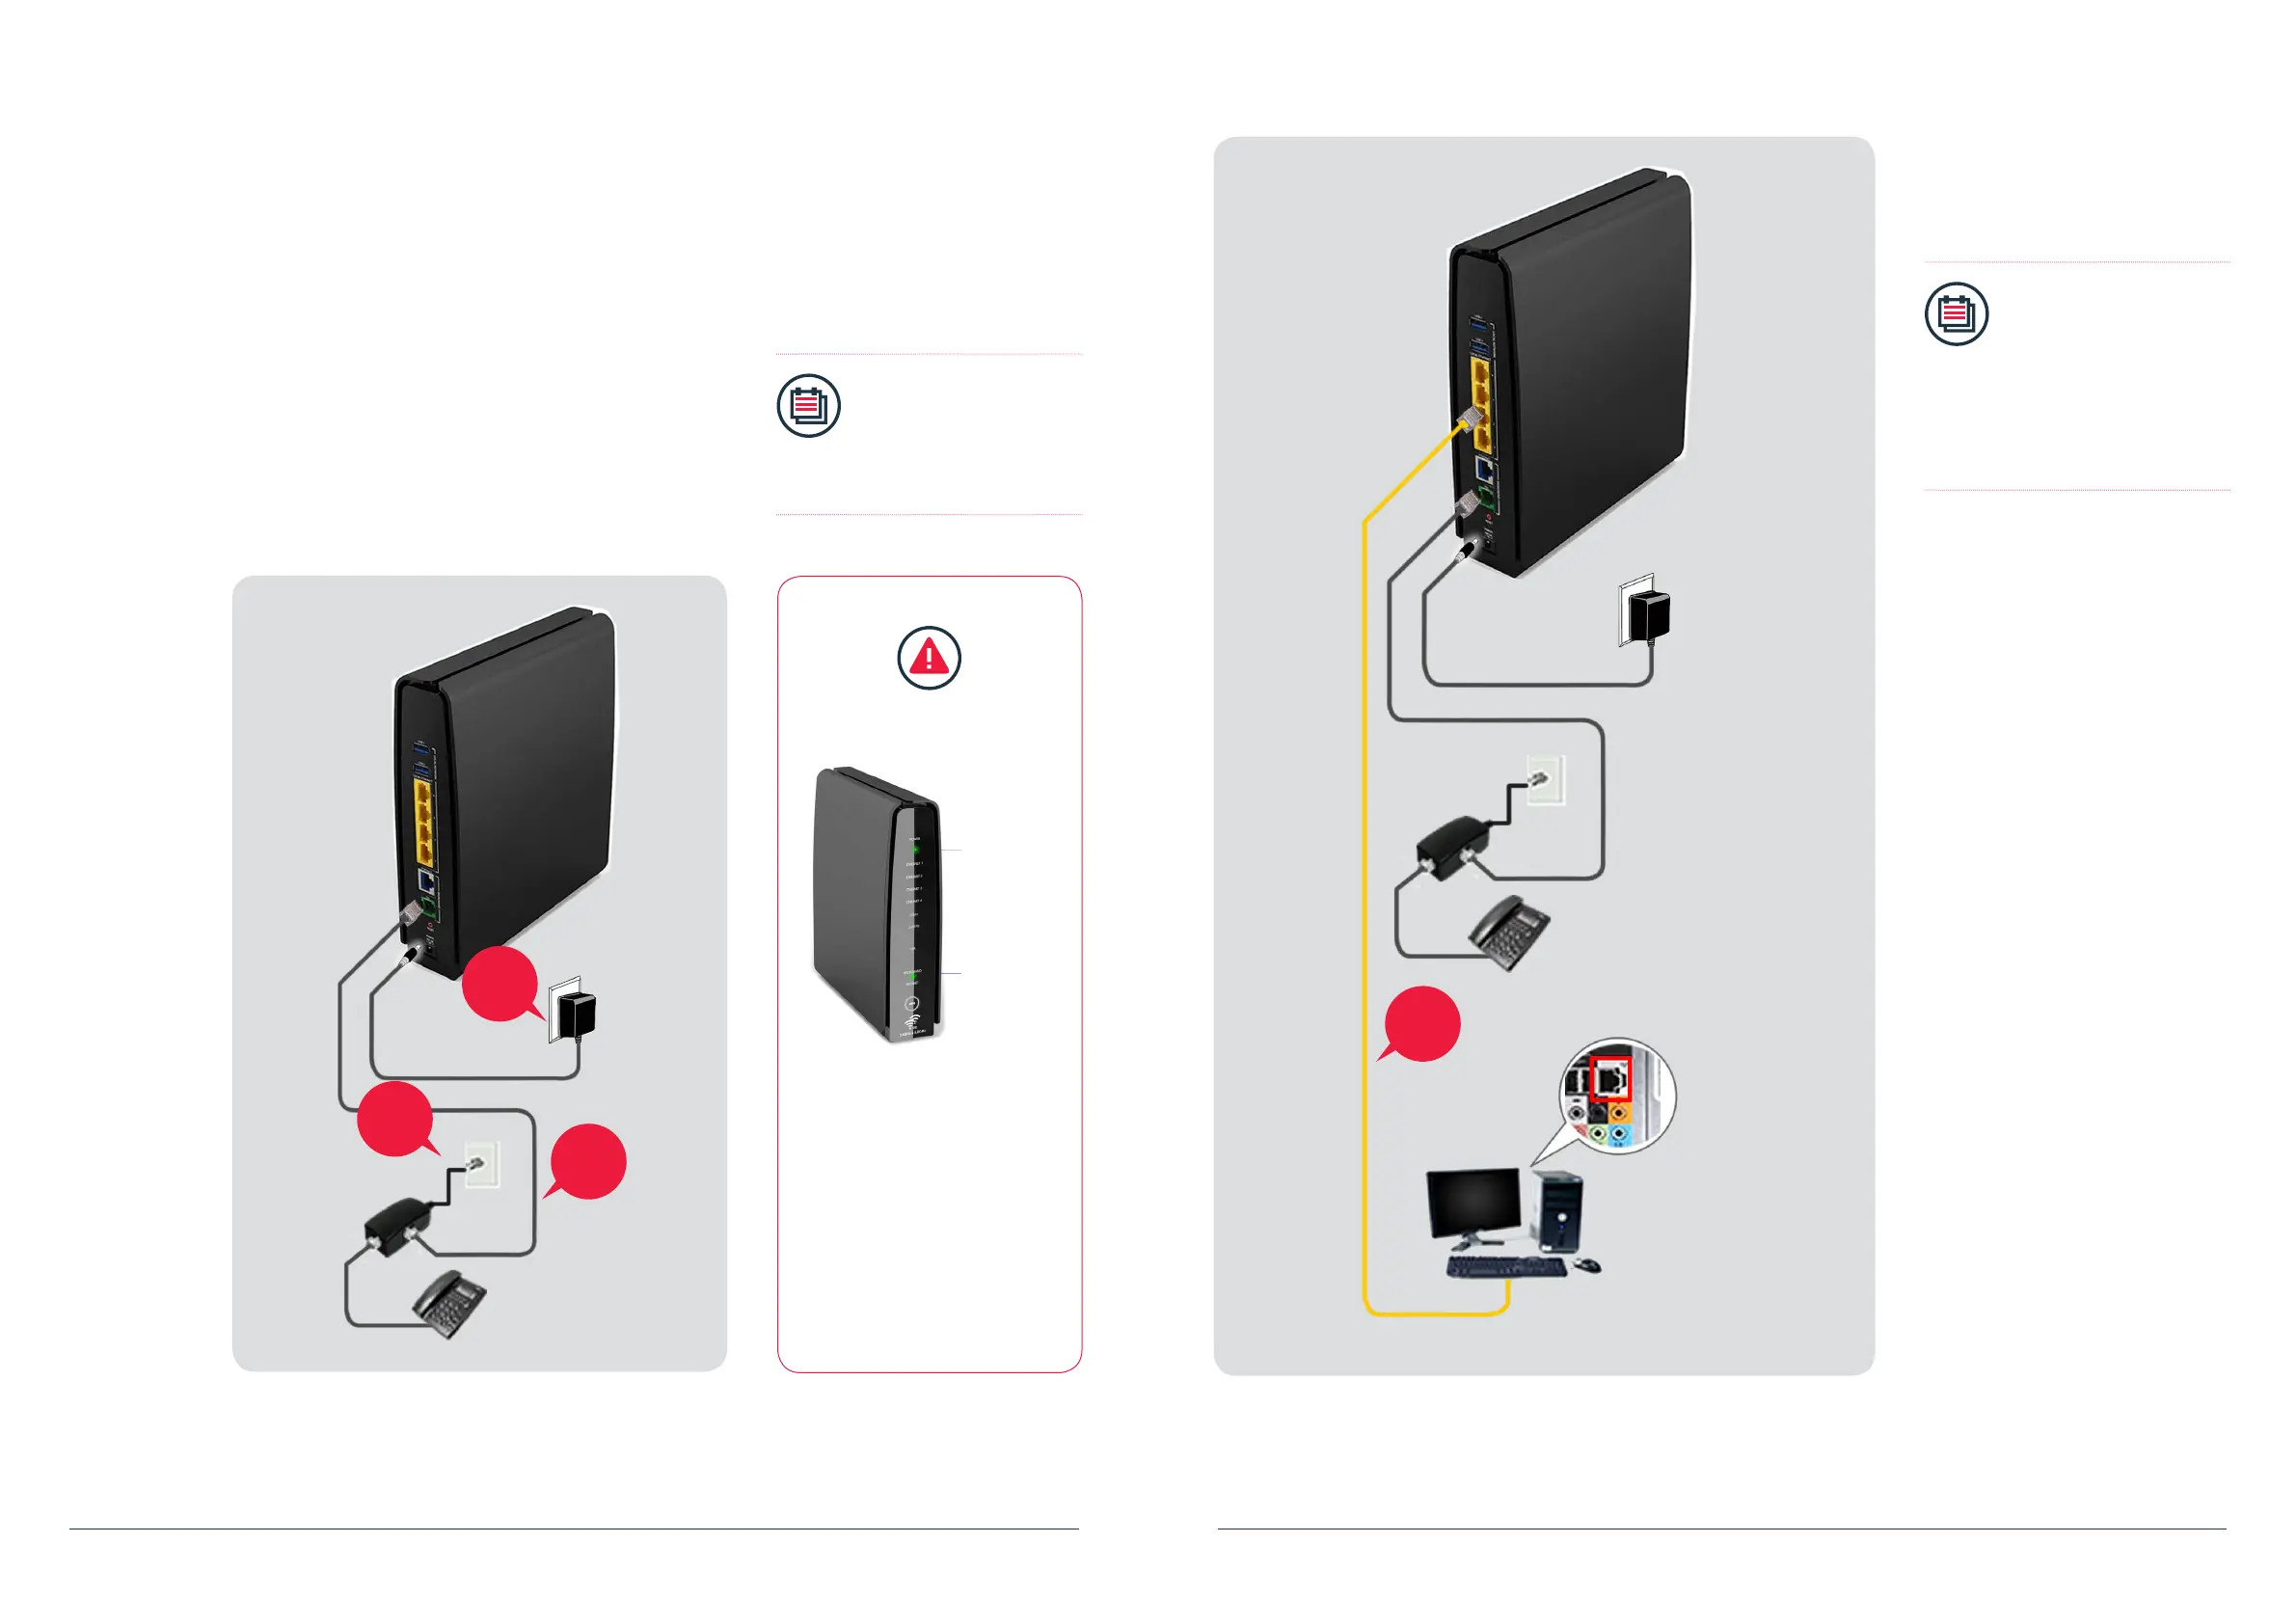
Step 1
Using the Telephone Cable (RJ11), connect the
Router’s“DSL” Port to the DSL Microlter’s “DSL” port.
Step 2
Insert the head of the DSL Microlter into the telephone
socket on the wall.
Step 3
Connect the Power Adapter to your Router’s “POWER“ port
and to the nearest electrical outlet. Switch on the power at the
electrical outlet.
Note:
To share the telephone
socket for your xed
telephone line, plug the
phone set to the “Phone”
port on the DSL Microlter.
Step 1
Step 3
Router
Power
Adapter
Telephone
Set (Optional)
Wall
Socket
Step 2
DSL
Microlter
LED Check
Please wait for approximately
5 minutes. The “POWER“ and
the “BROADBAND“ LEDs
should now be stable GREEN
(not blinking), if not,
please check connections
Step 1 to 3.
Do NOT proceed to the next
section until you have done so.
Stop before proceeding
Power
Broadband
Step 4
Verify that the “ETHERNET” and
“BROADBAND” LEDs found in front of
the Router turns GREEN.
Note:
If the LEDs mentioned
in Step 4 does not light
up, please check your
connections again based
on 1 to 4. You may now
proceed to logging in
into Singtel Business
Broadband.
Step 4
Power
Adapter
Router
Wall
Socket
Telephone
Set (Optional)
DSL
Microlter
Back of computer
Connect to
computer’s
network card
Ethernet port