10
ENGLISH
- If a leak is detected, tighten the pipe connections and repeat leak test.
- Light the main burner.
- With the main burner in operation, paint all piping connections from the valve with a soap and
water solution.
- If another leak is detected, tighten the connection.
- If after tightening the connections the leak is still present, replace the leaky part or valve. Shut off
the main gas supply before attempting replacement of parts or the valve.
- Using the soap and water solution, test the pressure test ports to verify that no leak is present.
- If a leak is detected, tighten the screw and retest.
- If after tightening the pressure test port screw and the leak is still present, shut off main gas
supply, then replace the valve.
SHUTDOWN PERFORMANCE TEST
WARNING:
Fire or Explosion Hazard.
Can cause severe injury or death.
Perform the safety shutdown check any time work is done on a gas system.
1. Place appliance in operation with the pilot and main burners lit.
2. Place gas control knob in “PILOT” position. Main burner should extinguish and pilot should
remain lit.
3. Extinguish pilot flame. Pilot gas safety shutoff proves complete shutdown due to the fact the
safety shutoff valve prohibits main burner and pilot gas flow.
4. Wait at least five minutes for the safety magnet to reset and residual gas to clear from the
combustion chamber.
5. Relight pilot burner and operate the system through one complete cycle to ensure all functions
operate correctly.
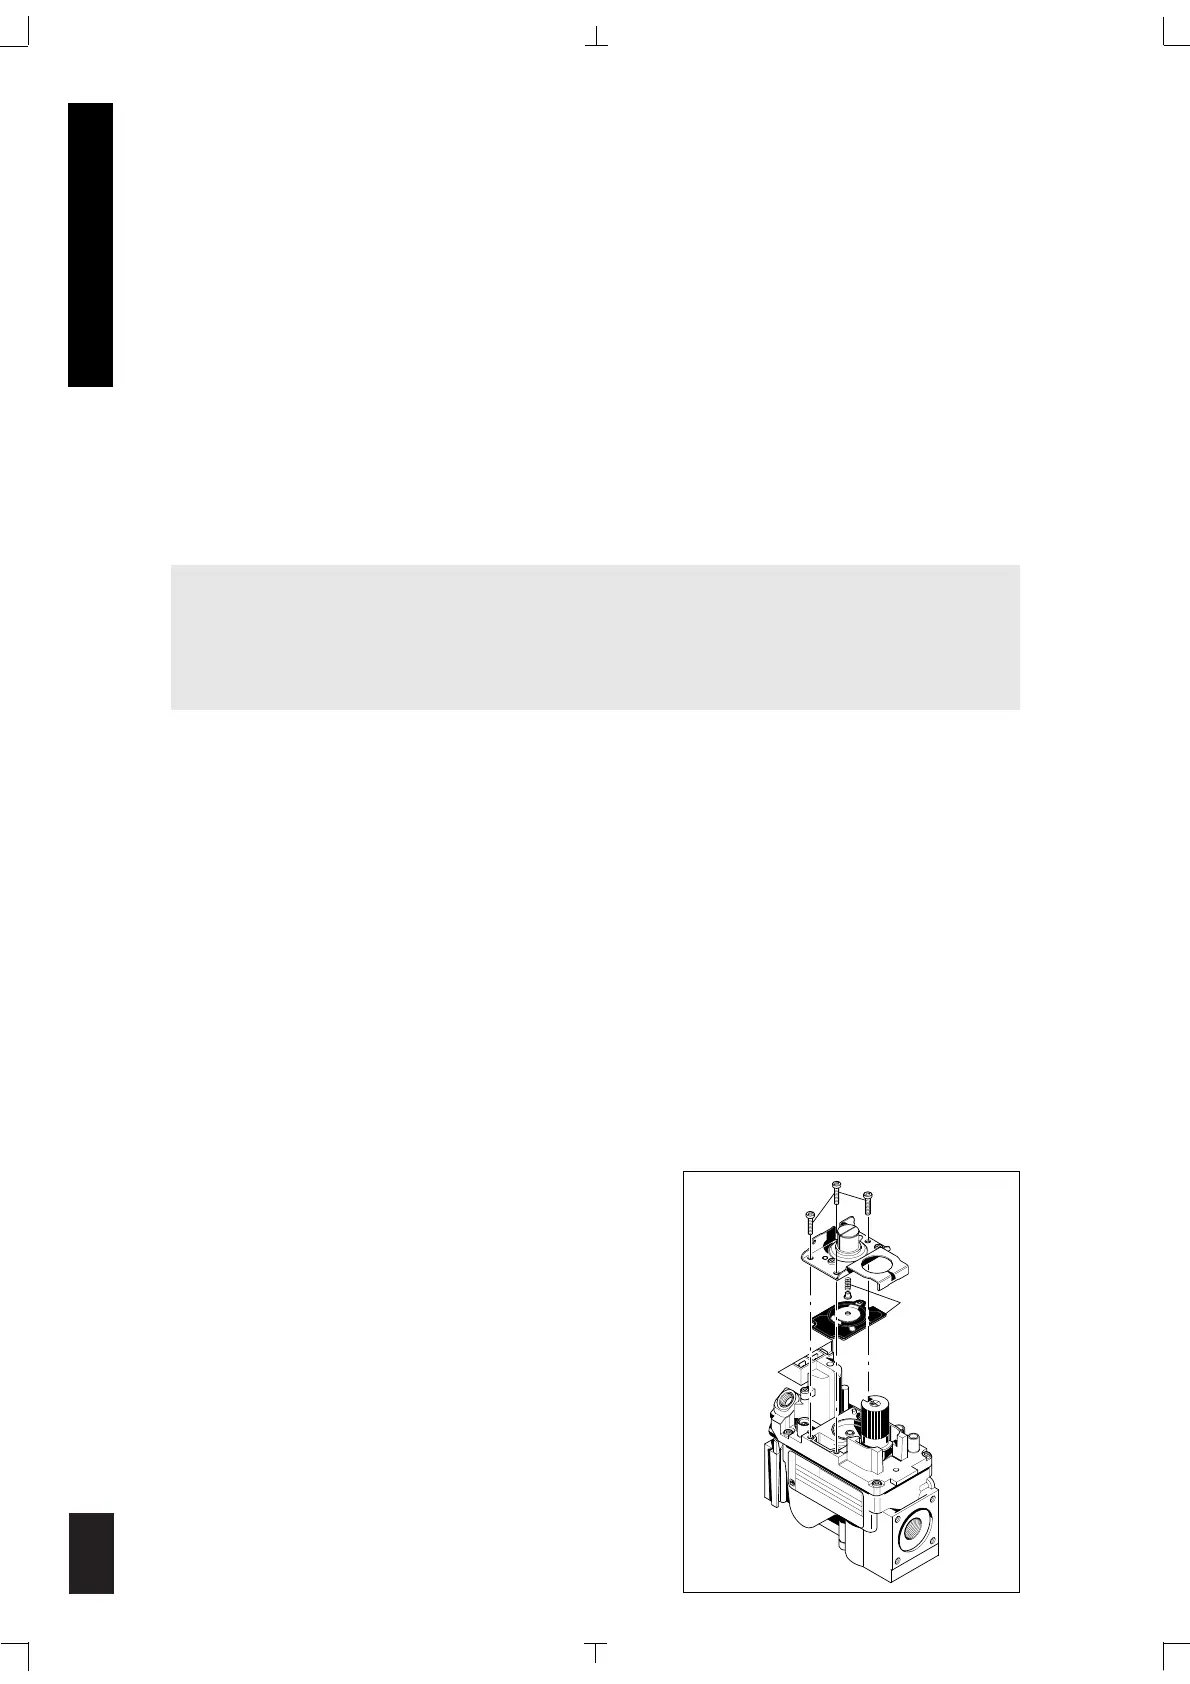
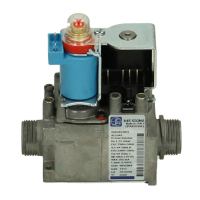
Fig. A
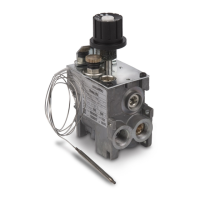
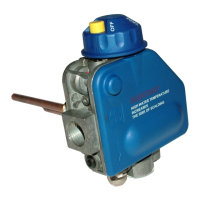
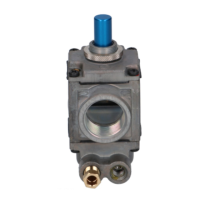
VALVE CONVERSION
- Turn control knob to the “OFF” position, and shut off
the gas supply to the valve.
- Using a Torx T20 or Slotted screwdriver, remove and
discard the three regulator assembly mounting
screws, pressure diaphragm and the spring and
diaphragm assembly. (fig. A)
- Insure that the rubber gasket is present and properly
positioned, then install the new regulator assembly to
the valve using the new screws supplied with the kit
(fig. B) Tighten screws securely to 25 in/lbs torque.
- Install the enclosed identification label to the
valve body where it can be easily seen. (fig. B)
- Apply gas to system and re-light appliance
VALVE CONVERSION WITH CONVERSION KIT