-1--2--3-
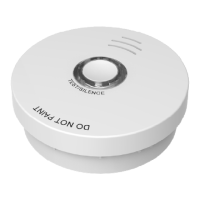
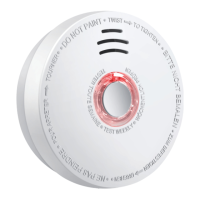
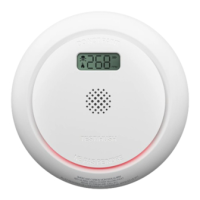
Thank you for purchasing our smoke alarm!
Before using the device, please read these instrucons carefully to
ensure poper usage and store them in a safe place during the enre
lifeme of the product.
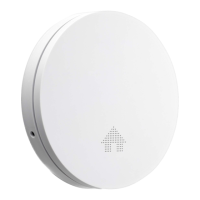
Product descripon and intended use
This is a smoke alarm with an opcal sensor for installaon in residenal
buildings, apartments and rooms with residenal-like use. Smoke alarms
are designed to provide an early warning of fire smoke and fires to
persons present, so that these persons can react appropriately to the
hazardous event. Always consult local regulaons for smoke alarms.
Product specificaons
Detecon method : Opcal sensor
Power supply : Sealed baery 3 V DC (included)
Baery lifeme:10 years
Alarm volume : ≥ 85 dB (A) at 3 meters
Alarm sensivity : 0,11 - 0,16 dB/m
Monitored area : 40 m²
Operang temperature : 0 °C - 40 °C
Operang humidity : < 93 %
Date of replacement : See product label
Individual alarm indicator : Yes
Alarm silence facility : Yes | Hush me: 5-15 minutes
Low baery warning : Yes
Low baery silence facility : Yes | Hush me : 10 hours
Installaon in leisure
accommodaon vehicles : Yes
Mounng locaon : Ceiling or wall
Interconnectable : No
Warnings
•To prevent injury, this apparatus must be securely aached to the
ceiling/wall in accordance with the installaon instrucons.
•Baeries should not be exposed to excessive heat such as sunshine,
fire or the like.
•Do not paint or cover the smoke alarm.
Where to install a smoke alarm
Smoke alarms must be installed in such a way that they can be reached
unhindered by the fire smoke so that fires can be reliably detected during
the development phase.
•Install at least in sleeping areas (especially children's rooms).
•Install at least in escape routes.
•In the middle of the ceiling of a room.
•At least 50 cm away from the wall and other objects.
•Maximum installaon height of 6 meters.
•If ceiling installaon is not possible, the smoke alarm can be installed
on the wall. The distance to the ceiling should be between 30 and 50
cenmeter.
Where to install a smoke alarm in rooms
with special geometries
• Corridors with a maximum width of 3m: Max. 15m between 2 smoke
alarms. Max. 7,5m to the front side of the gallery and smoke alarms
at edges/crossings of corridors.
• Rooms with sloping ceilings:
- Ceiling inclinaon is > 20° to the horizontal: Smoke alarms must be
installed at least 0.5 m and at most 1 m from the ceiling top.
- Paral roof slopes: If the flat ceiling is ≤ 1m wide, consider as ceiling
inclinaon is of > 20°. If the flat ceiling is >1m wide, consider as flat
ceiling.
•Rooms with subdivided ceilings:
- Height of the subdivisions is ≤ 0.2 m: Beams without consideraon:
smoke alarm may be installed on the beams or the ceiling.
- Height of subdivisions is > 0.2 m and area of ceiling panels > 36 m² :
Smoke alarm should be installed in each ceiling panel.
- Height of subdivisions > 0.2 m and area of ceiling panels ≤ 36 m²:
Individual ceiling without consideraon.
Where not to install a smoke alarm
•In an environment with a high risk of draught (e.g. close to air
condioning, fans and venlaon outlets). The movement of air can
impair the penetraon of fire smoke into the smoke alarm.
•Areas where combusons regularly occurs, such as kitchens.
•Areas with high humidity such as bathrooms, or close to devices such
as dish washers or washing machines.
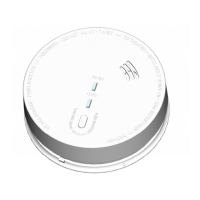
Acvaon
Before commissioning the smoke alarm, it is important to acvate it and
test it for correct operaon.
•Press the test buon and hold it for approximately 3 seconds unl the
led indicator lights up. Release the test buon immediately aer this.
The smoke alarm will generate a beep to indicate that it's acvated.
•Test the correct acvaon of your smoke alarm by pressing the test
buon. If no sound is generated, the smoke alarm is not acvated
properly and should not be used!
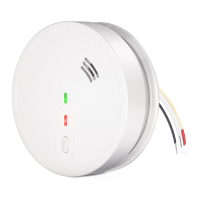
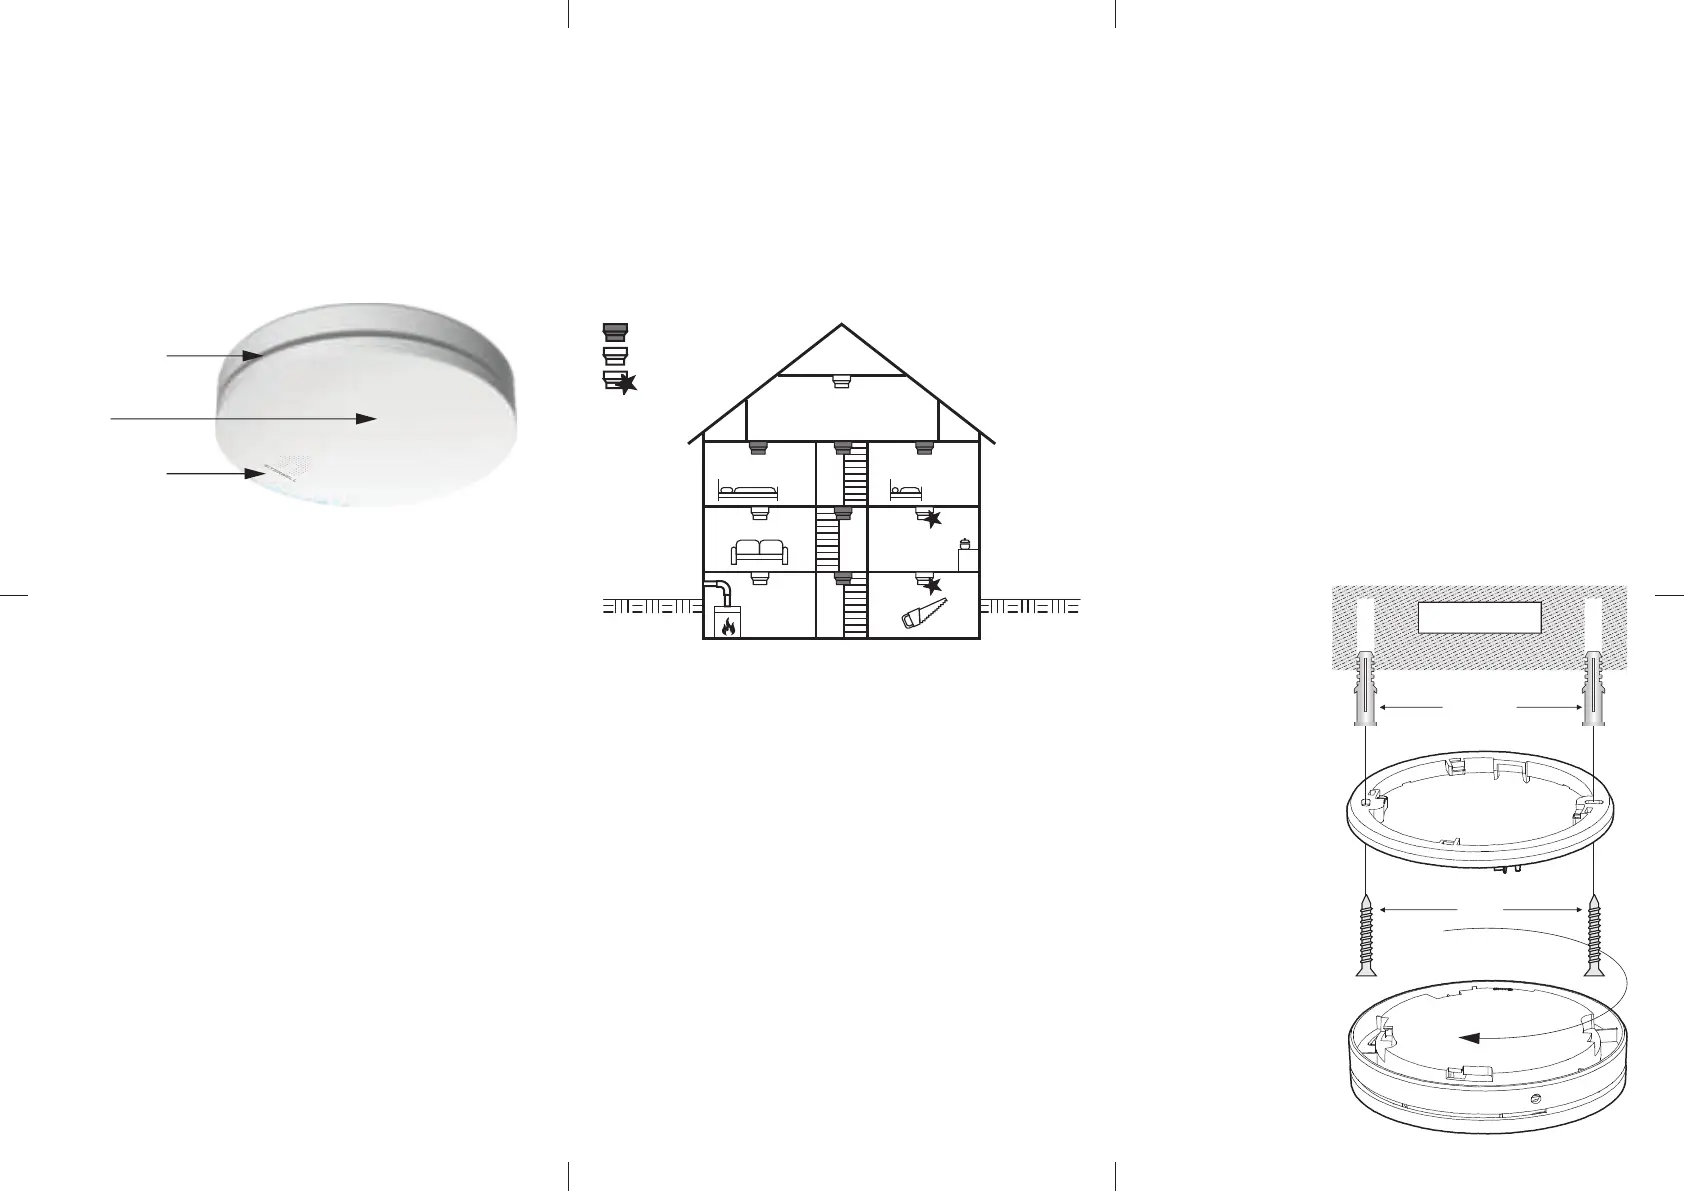
Mounng
•Place the mounng plate on the desired installaon locaon and mark
where the holes should be drilled.
•Drill two holes with a diameter of 5 millimetres.
•Push the plasc plugs into the holes.
•Remove the fixing plug from the mounng plate (if necessary, use a
screw driver for this).
•Insert the screws into
the mounng plate,
and ghten them
firmly into the plugs.
•Place the smoke alarm
on the mounng
bracket and secure it
by turning it clockwise.
•Insert the fixing plug
into the hole between
the mounng plate and
the smoke alarm to fix
your alarm.
•Test the correct
operaon of your
smoke alarm by
pressing the test
buon. If no sound is
generated, the smoke
alarm is not
funconing properly
and should not be
used!
Test &
acvaon buon
Led indicator
Sound output
Ceiling
Alarmbody
Bracket
Plasc plugs
Screws
Minimal
Opmal
Restricons
 Loading...