K
Kyle HernandezAug 6, 2025
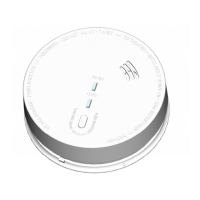
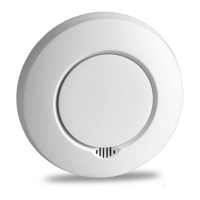
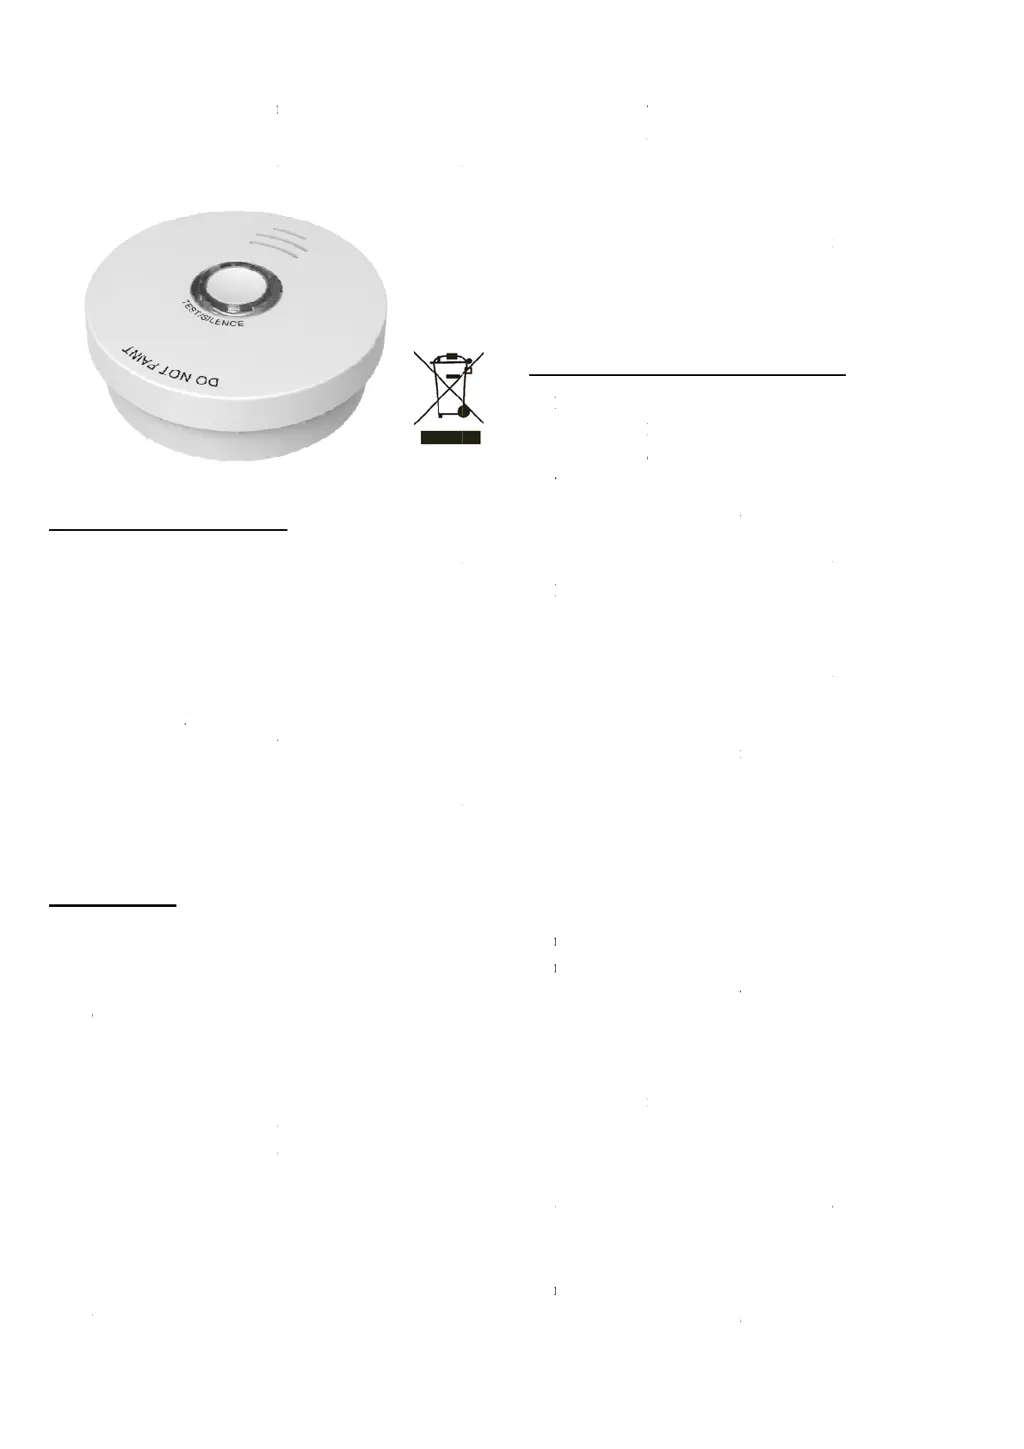
How to fix Siterwell GS508C chirp every 40 seconds?
- AAustin NicholsAug 6, 2025
If your Siterwell Smoke Alarm chirps every 40 seconds and goes into fault mode, clean the smoke alarm, referring to the “maintenance and cleaning” section. If the problem persists, replace the smoke alarm.