Automatic leveling laser 515
INTRODUCTION
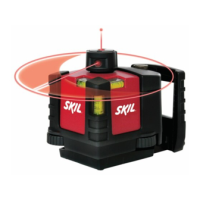
● This tool is intended for the defining and checking of
exact horizontal, vertical and crossed lines by projecting
self-leveling laser beams
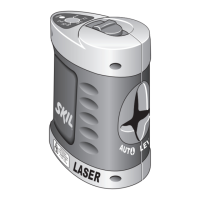
● Carefully read this instruction manual as well as the
warning label on the tool, before you use the tool 1
● Pay special attention to the safety instructions and
warnings; failure to follow these may result in
serious (eye) injury
● Save this instruction manual for future reference
TECHNICAL SPECIFICATIONS
Laser type 650 nm
Laser class 2
Power output < 1 mW
Power supply 3 x AA (LR6) / 1,5V battery
Estimated battery life 30 hours
Operating temperature -10ºC to 55°C
Storage temperature -20ºC to 60°C
Self-leveling range ≤ ±5º
Leveling time 5 seconds
Weight 0,46 kg
Accuracy +/- 0,5 mm/m
SAFETY
● Do not look into the laser beam (laser radiation) 2
● Do not point the laser beam at persons or animals
● Do not place the tool in a position that may cause
anyone to look into the laser beam intentionally or
unintentionally
● Do not use any magnifying optical tools (such as
magnifying glasses, telescopes, or binoculars) to view
the laser beam
● Do not remove or damage the warning label on the tool
● Do not operate the tool in the presence of flammable
liquids, gases or dust
● Do not operate the tool with children around
● This tool should not be used by people under the age of
16 years
● Do not use the tool for any purpose other than those
mentioned in this instruction manual
● Only use the original accessories which are intended for
this tool
● Always switch off the tool when not in use
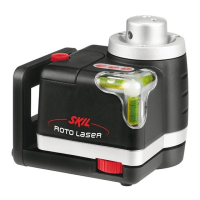
TOOL ELEMENTS 3
A On/off switch
B Green LED light
C Projection mode button
D Laser light opening
E Battery department cover
F Warning label
USE
● On/off 4
- switch on the tool by pushing switch A forward
- green light B will turn on indicating that the tool is
ready for operation
- switch off the tool (= lock the self-leveling system) by
pushing switch A backwards
! do not look into the laser beam
! do not point the laser beam at persons or animals
! always switch off the tool after use
● Mounting of batteries 5
! ensure that the tool is switched off
- turn tool upside down
- open cover E
- insert 3 x AA (LR6) / 1,5V batteries (pay attention to
correct polarisation)
- close cover E and ensure it is in place securely
- always remove the batteries from the tool, if the tool
is not used for a long period
- always replace the complete set of batteries
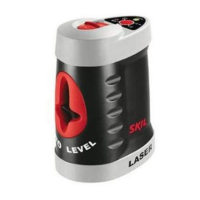
● Operating the tool 6
- position the tool on a horizontal surface
- switch on the tool
! if the surface inclines more than ± 5º, an acoustic
warning signal indicates that the tool is out of its
self-leveling range
! before projecting a line shake the tool somewhat
in order to activate the self-leveling system and
wait for 5 seconds
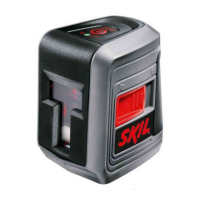
- project a horizontal line by pressing button C for the
first time
- project a vertical line by pressing button C for the
second time
- project a crossed line by pressing button C for the
third time
- for using the tool manually project a crossed line by
pressing button C for the fourth time (the acoustic
warning signal will not occur, even if the tool is out of
its self-leveling range)
- shut off the laser line by pressing button C for the
fifth time (green light B will stay on)
- by pressing button C for the sixth time, the tool will
go back to projecting horizontal lines again
- obstructions in front of the tool will not affect the line
projection 7
- use the tool manually for quick reference of a straight
line or alignment of two points of reference 8
- make measurements using the projected line as
reference 9
● Aligning objects using the crossed line projection 0
● Aligning objects horizontally on adjacent walls !
● Aligning objects vertically on adjacent surfaces @
● Laser viewing glasses #
- for improving the view of the laser line
! these glasses will not protect your eyes against
laser radiation
● Tripod $
- unfold the tripod
- adjust length of 3 legs with knobs F
- adjust length of rod G with knob H
 Loading...