4
PART I : Setting up the SolarQuest
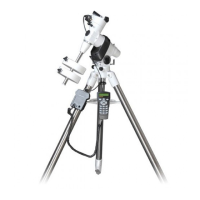
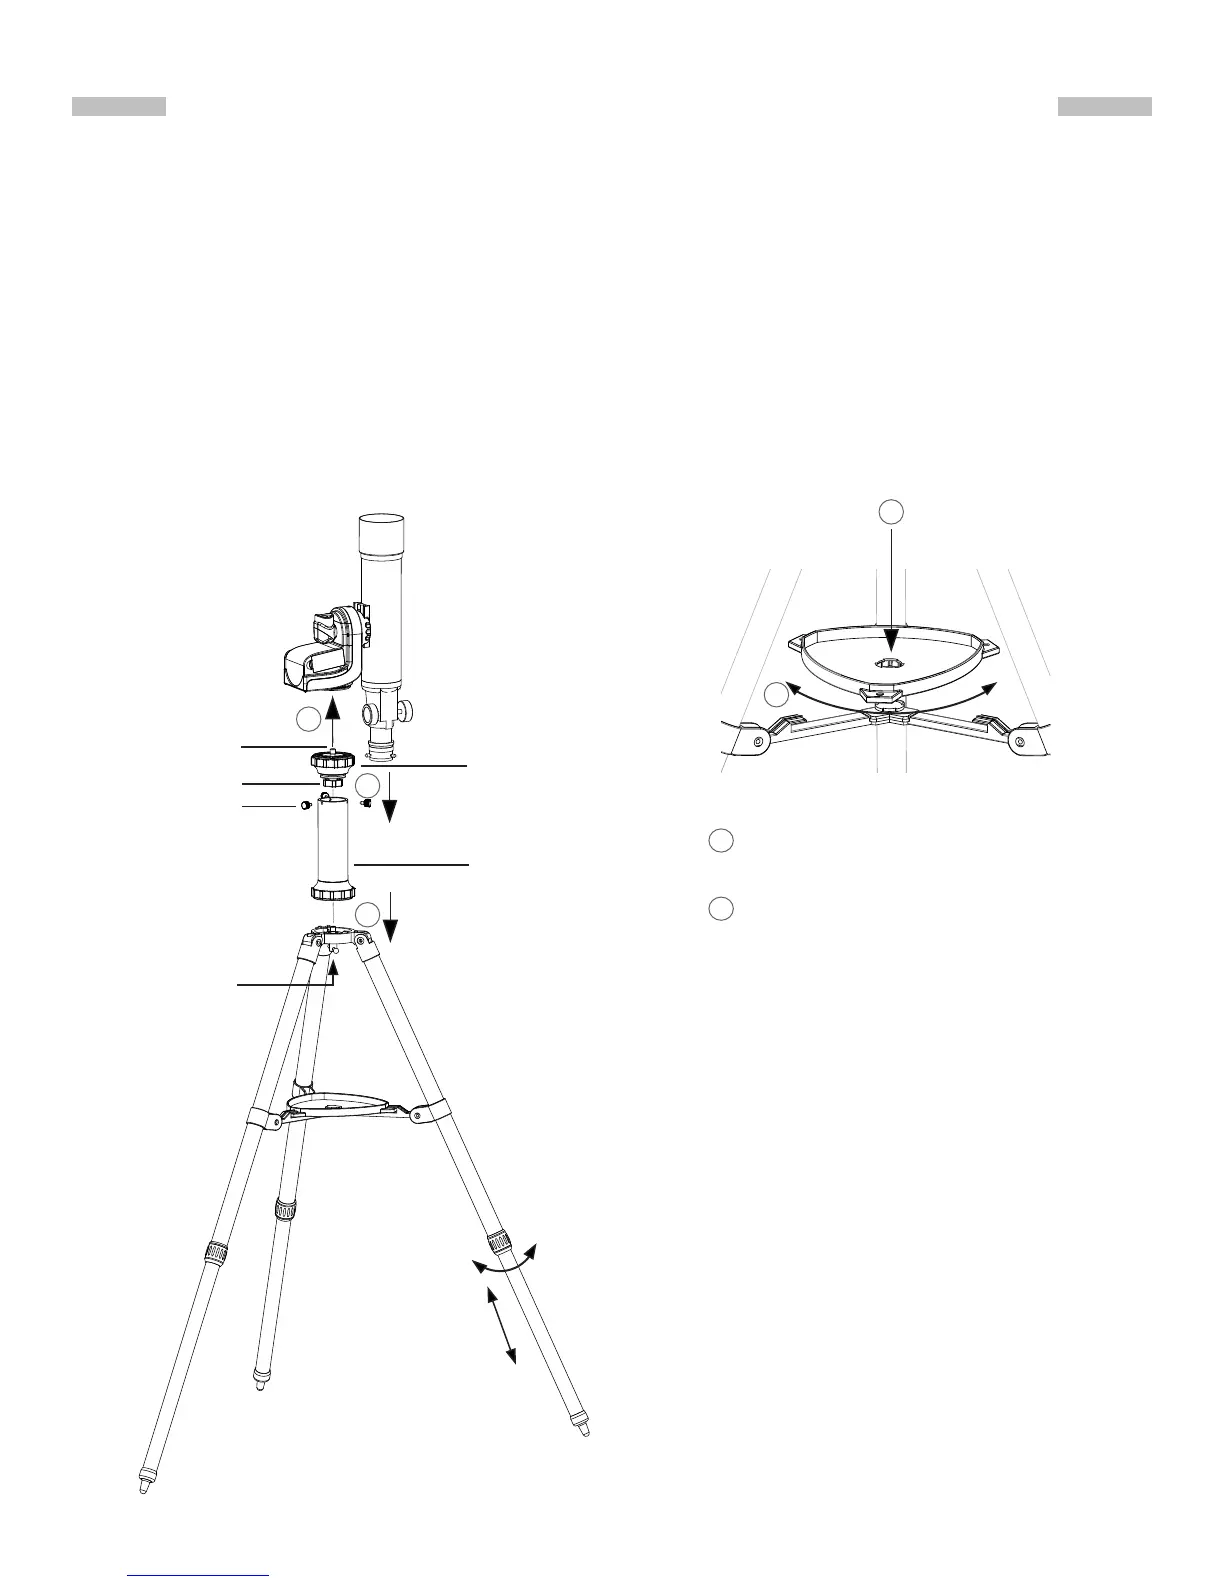
1.1 Setting Up on a Skywatcher Tripod
1. Fully expand the three legs of the tripod on level ground.
2. Install the accessory tray on the tripod as shown in Fig. 1.1a.
3. Attach the pier extension onto the tripod tightly with the locking bolt on the tripod head.
4. Remove the mounting head on the pier extension by loosen the 3 small locking screws.
5. Attach the SolarQuest mount to the mounting head tightly with the locking knob.
6. Place the mounting head onto the pier extension and x it with the 3 locking screws.
7. Adjust the lengths of the tripod legs. Extend the legs to the desired height and center the
bubble level on top of the SolarQuest mount.
WARNING: The accessory tray
of a Skywatcher tripod ensures
that the tripod legs are rmly
expanded, which prevents the
tripod from accidentally tipping
over. When using the SolarQuest
mount on a Skywatcher tripod,
an accessory tray should always
be used to ensure stability.
Lock
Loose
3/8” Bolt
Mounting Head
Fig. 1.1b
1
2
Align the accessory tray and push
down on it while holding onto the
bottom supports
Rotate the tray to lock it into place.
1
2
Fig. 1.1a
Pier Extension
Locking screws
Locking Knob
Locking Bolt
1
2
3