10
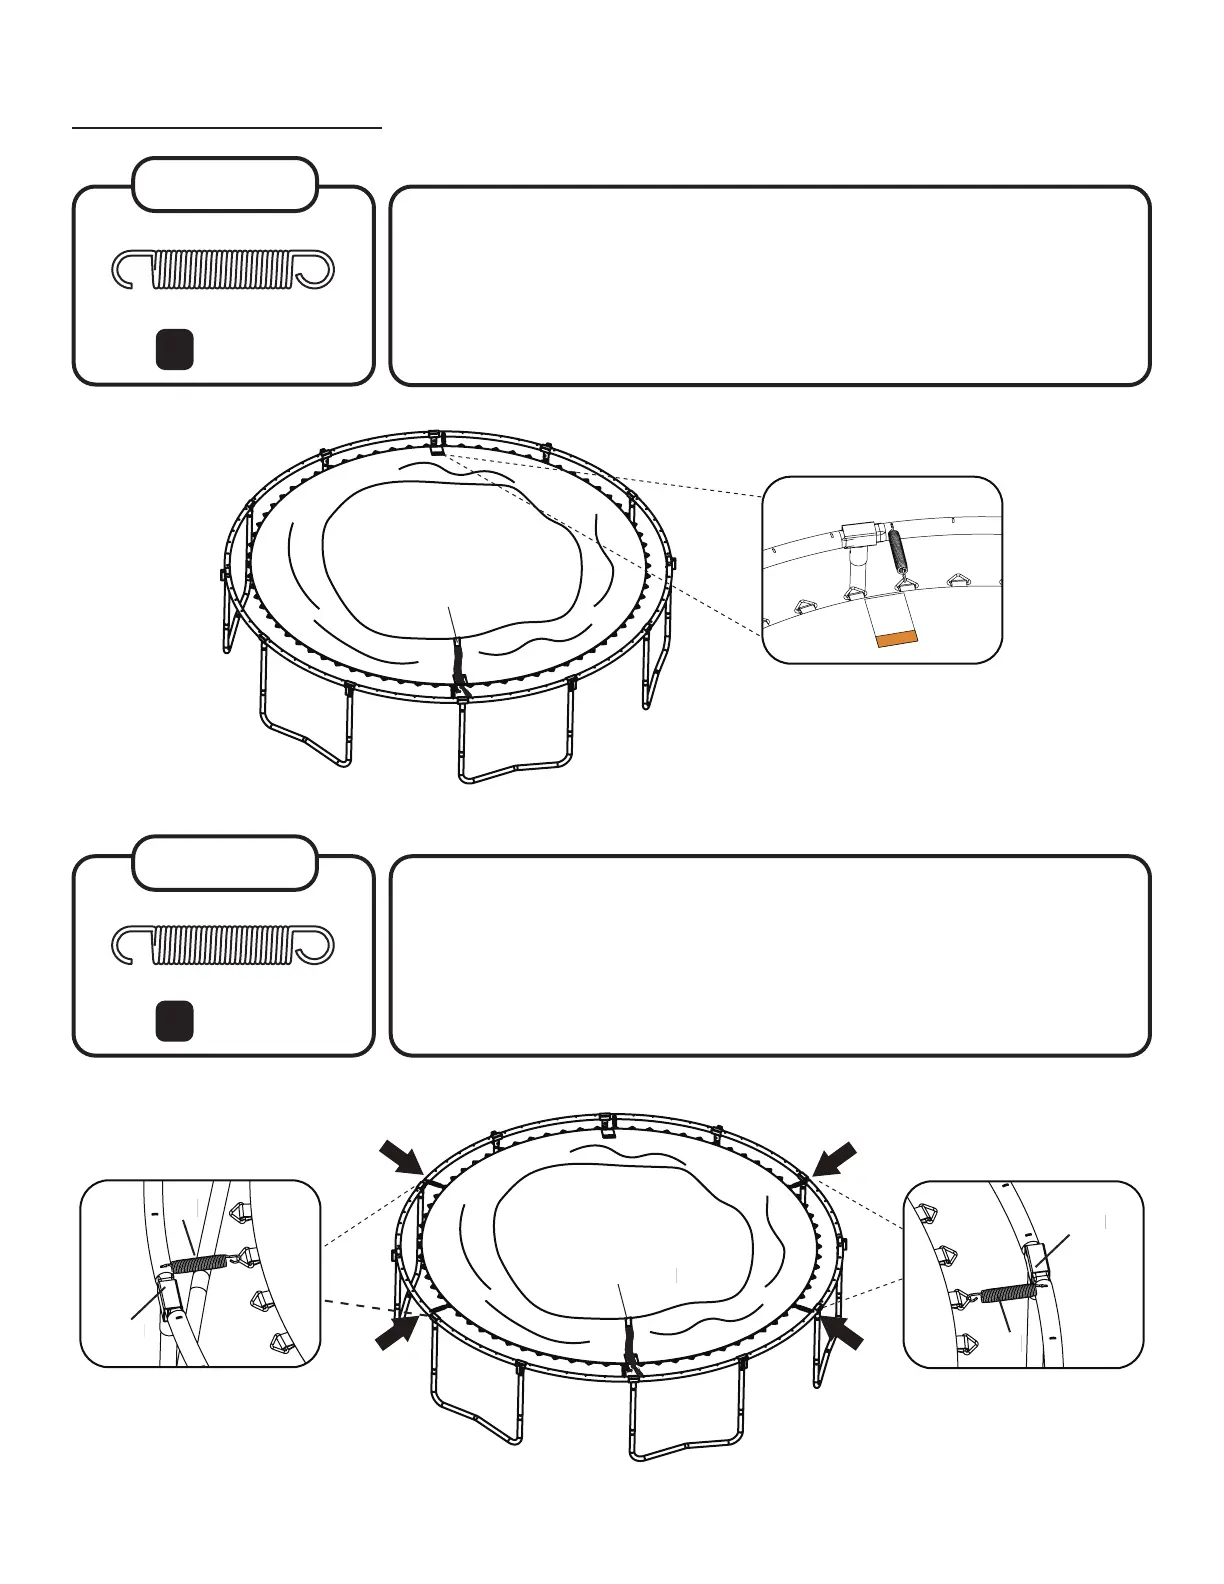
STEP 7
Now, repeat step 6 on the other side of the trampoline placing the hook of
the smaller end of a spring into the V-ring just left of the warning label then
stretch the free end of the spring until it reaches the frame hole just left of
the T-joint.
You have now attached two springs.
Springs (x1)
8
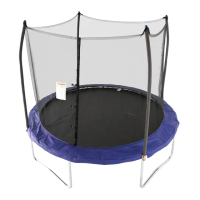
STEP 8
Next, locate the remaining T-joints. Place springs into the V-rings just left of
the T-joints, and stretch the springs until they reach the frame holes just left
of the T-joints.
Pro-Tip: Starting from a previously placed spring, count the number of
v-rings and frame holes to ensure they are lining up.
You now have attached 6 springs.
Springs (x4)
8
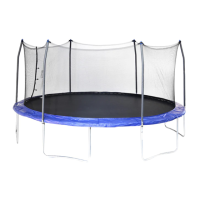
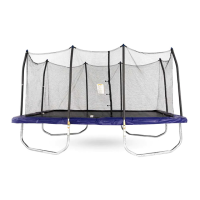
Enclosure door
(8)
T-joint
T-joint
(8)
Enclosure door
ASSEMBLY