11
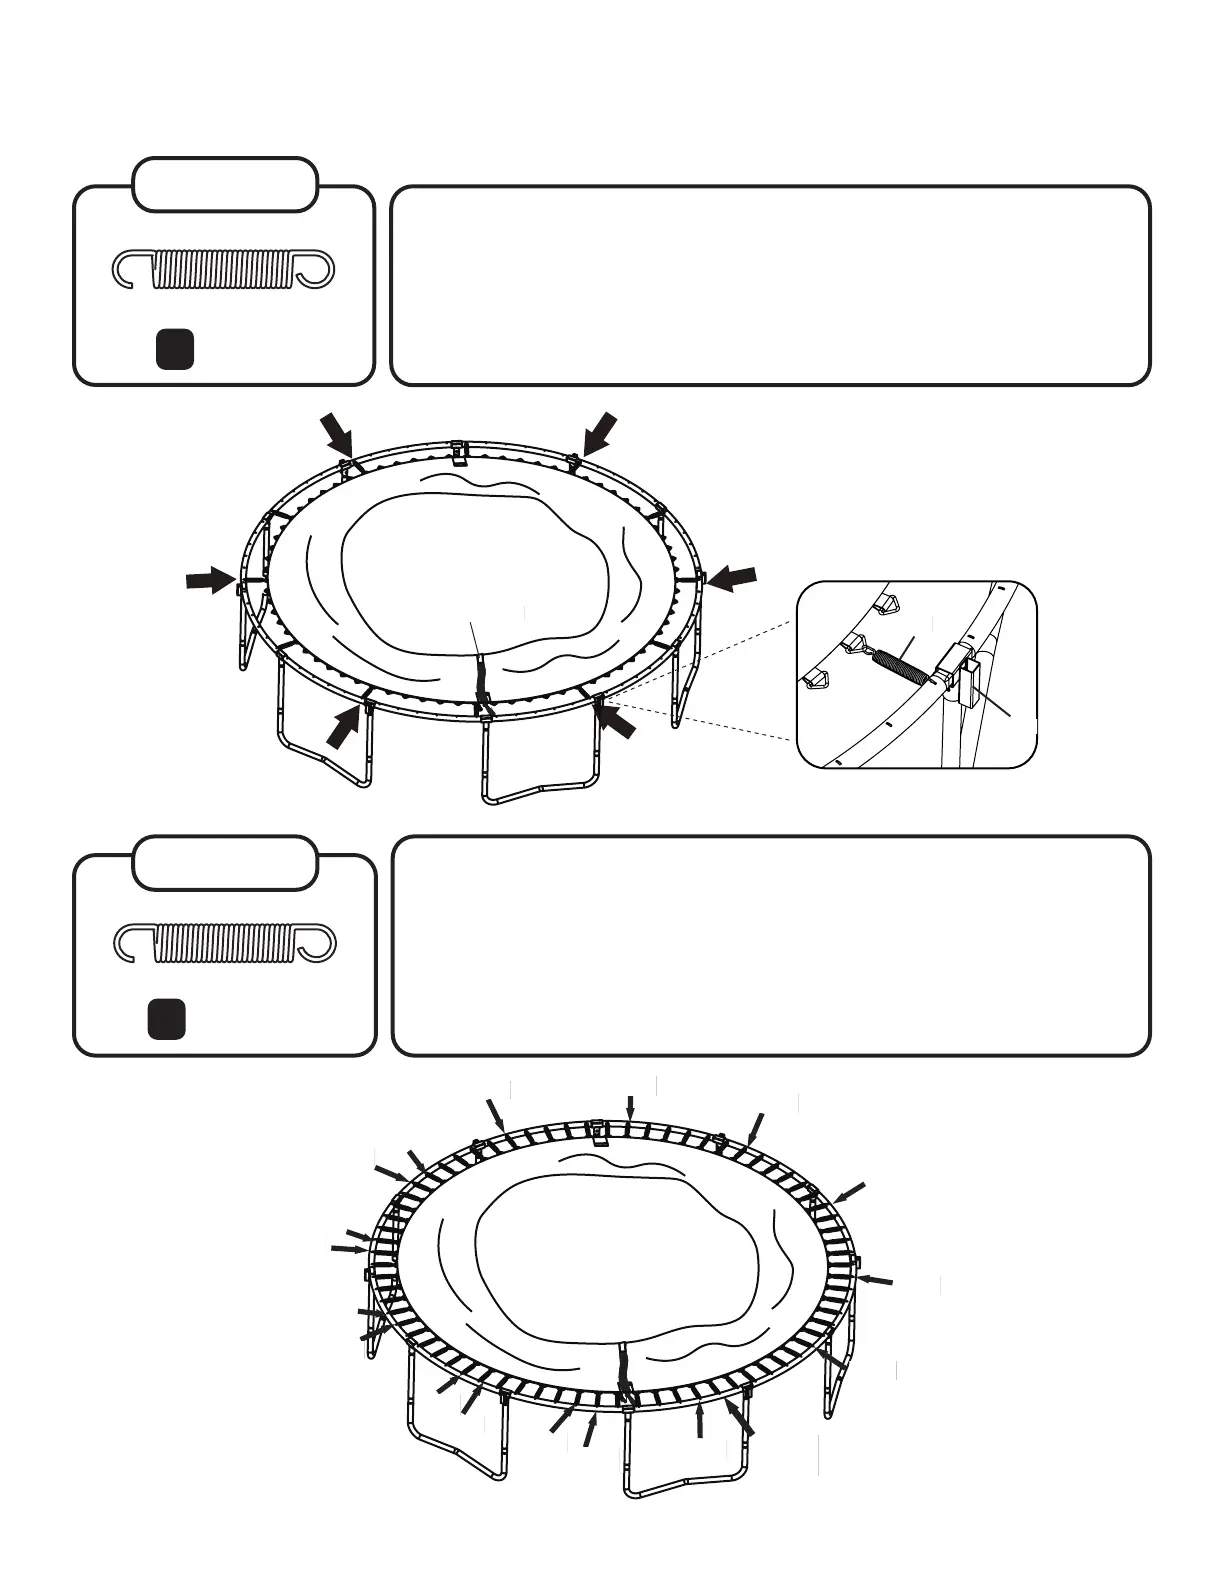
STEP 9
Next, place 6 springs into the V-rings just left of the sockets, and stretch the
springs until they reach the frame holes just left of the sockets.
Remember to count v-rings and frame holes so everything lines up!
You now have attached 12 V-rings to the frame holes using 12 springs. There
should be 5 V-rings and 5 frame holes in between each spring.
Springs (x6)
8
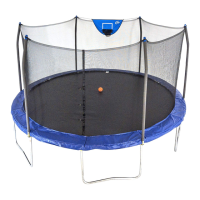
STEP 10
Now, place one spring directly to the left of each spring already placed.
Continue this pattern in a clock-wise direction, attaching the remaining
springs until all 72 springs have been placed.
Pro-tip: Follow the pattern here (placing a spring to the left of an already
placed spring.) Placing springs one directly after the other can increase
tension causing springs to become increasingly difficult to place.
Springs (x60)
8
Socket
(8)
Enclosure door
13th
14th
15th
16th
17th
18th
19th
20th
21st
22nd
23rd
24th
25th
26th
27th
28th
29th
30th