M
Michael ZamoraAug 1, 2025
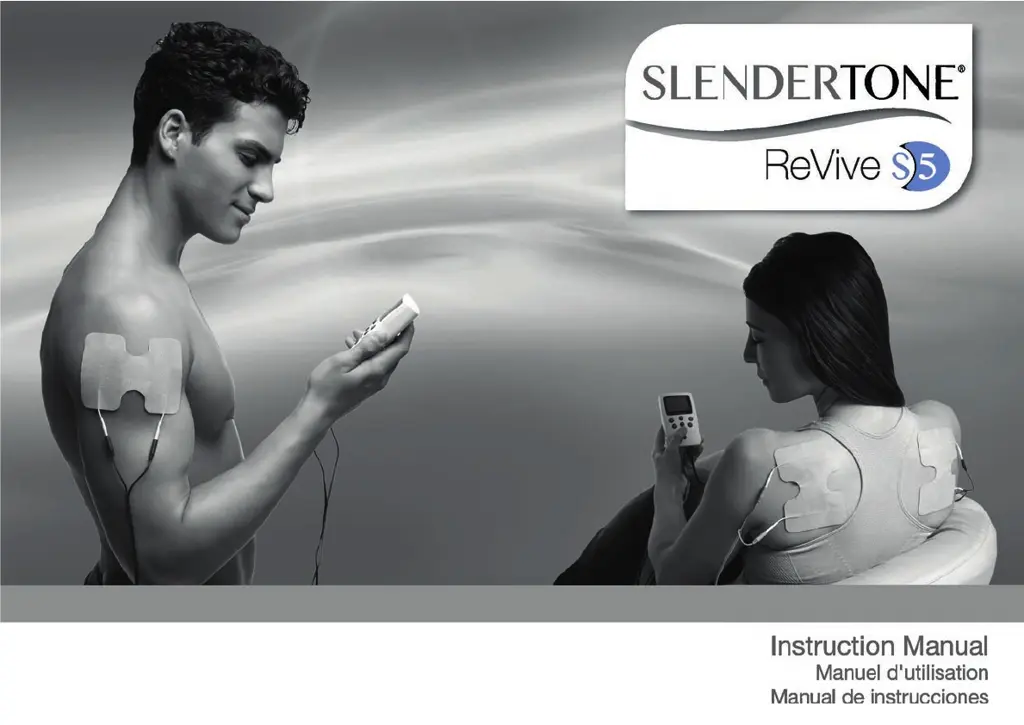
What to do if GelPad contact symbol appears on Slendertone ReVive S5 Medical Equipment?
- SSandra LeonardAug 1, 2025
If the GelPad contact symbol appears on the display of your Slendertone Medical Equipment, it might be due to leads not being fully inserted into the sockets, the GelPads not connected to the leads, or the GelPads being worn. Try re-inserting the leads correctly, reconnecting the GelPads, or consider getting new GelPads.