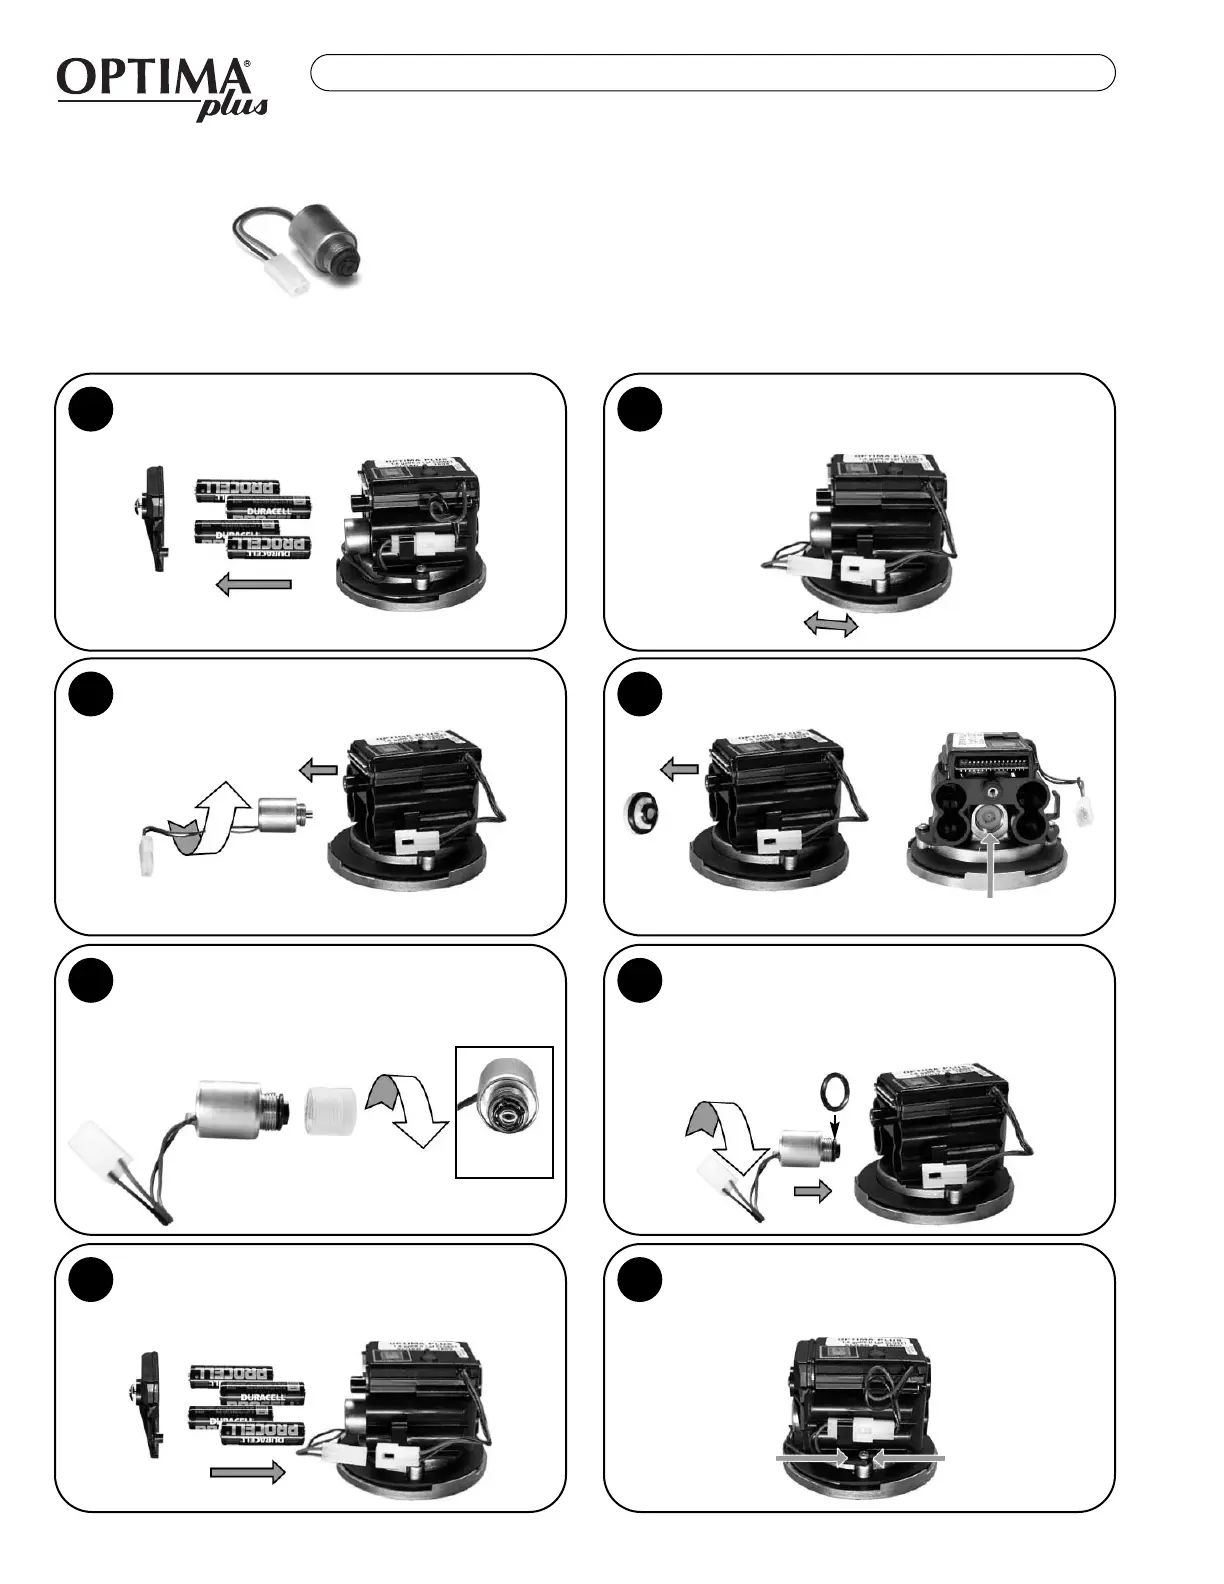
4
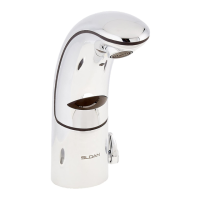
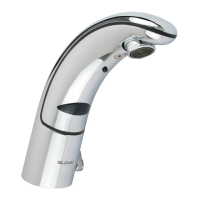
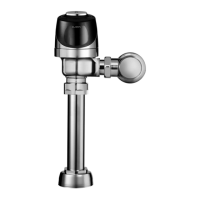
SENSOR OPERATED FLUSHOMETERS
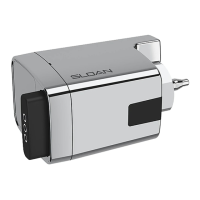
Remove Battery Cover and Batteries from existing
Sensor Module.
1
2
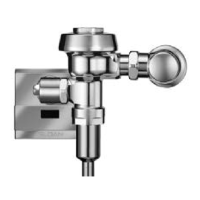
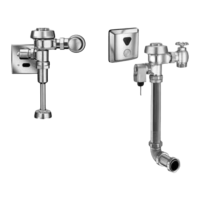
Unscrew (counterclockwise) the existing
Solenoid Valve from the Base Plate.
3
Remove White Plastic Seat and O-rings that are
located inside the Housing.
4
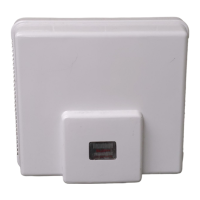
Back View
Remove Clear Plastic Housing from the threaded
end of new Isolated Operator by unscrewing
(counterclockwise). It is normal to find water
inside this housing.
5
6
Reconnect the White Plastic Connectors on the
side of the Module. Slide the White Connector
into the Clip to secure. Tuck Wiring in close to
Module.
8
Reinstall batteries in the correct position and
reattach Battery Door.
7
Front View
Make sure O-ring is installed on the Black
Housing of the new Isolated Operator. Install
Isolated Operator by threading it (clockwise) into
the Housing. Tighten with fingers beyond just
snug.
For use with Black Optima Plus EBV-26-A Modules only (produced 1992-2003)
For G2 Optima Plus Modules (identified by a Blue Module) use the EBV-136-A Solenoid
Disconnect the White Plastic Connector that
connects the Black and Red Wires on the side of
the Module.
EEBBVV--114444--AA
CCOODDEE ##33332255446622
IISSOOLLAATTEEDD SSOOLLEENNOOIIDD OOPPEERRAATTOORR
SOLENOID REPLACEMENT