www.smartdigital.com.au
Edition 1.2
required.
4. Under ‘Display’ tab in the menu in use the keystone feature to square up the image if extra
tilting of the image was required.
5. For rear projection, go to “Set-up”, then to projection. Use the arrows to select rear projection
(when image is backwards).
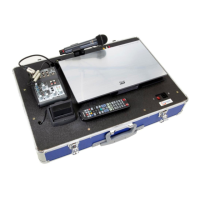
Using Preview Monitor
1. Preview monitor will automatically power on when the Smartbox
has power
2. Press the button to open the screen
3. Close the screen when packing up.
Note: Closing and reopening the screen quickly will result in the image
being flipped upside down. Repeating will return the image up the right
way
CONNECTING ACCESSORIES
Input & Output Connections
1. Media Player Input (Pre-Wired)
2. AUX Input (iPod, MP3, Laptop)
3. Speaker Output (L/R)
4. DVD Volume control
5. AUX Input Volume control
6. MAIN Output Volume control
Live TV
1. Connect a digital antenna to the antenna in at the rear of
the Blu-ray Player
2. Using the Samsung remote Select TV from the main menu
to start watching! (Channels will need to be scanned for on
the first use)
IPod, MP3, MiniDisk
1. A special audio cable is provided with two 6.5 mm jack plugs at one and mini stereo 3.5 mm jack plug at
the other end
2. Plug the mini jack plug into the iPod/MP3 player
3. Connect the 6.5 mm jack plugs into AUX Input of the mixer
Laptop Computer
Laptop Video Connection
1. Connect the computer to the projector using the supplied VGA Cable into the VGA-1 connector on the
rear panel of the projector, alternatively HDMI can also be used if your laptop has this available.
2. The projector should automatically select the correct input, otherwise press the Source button on top
of the projector