-12-
Setting Limits – Dual Leaf Gate
Dual Motor Selection
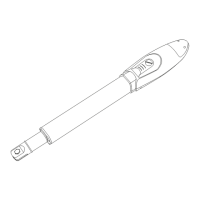
Note: Make sure that limit cams are installed and in the
desired open and closed positions.
1. Open the gate leafs approximately half way, make
sure that the drive motors are engaged.
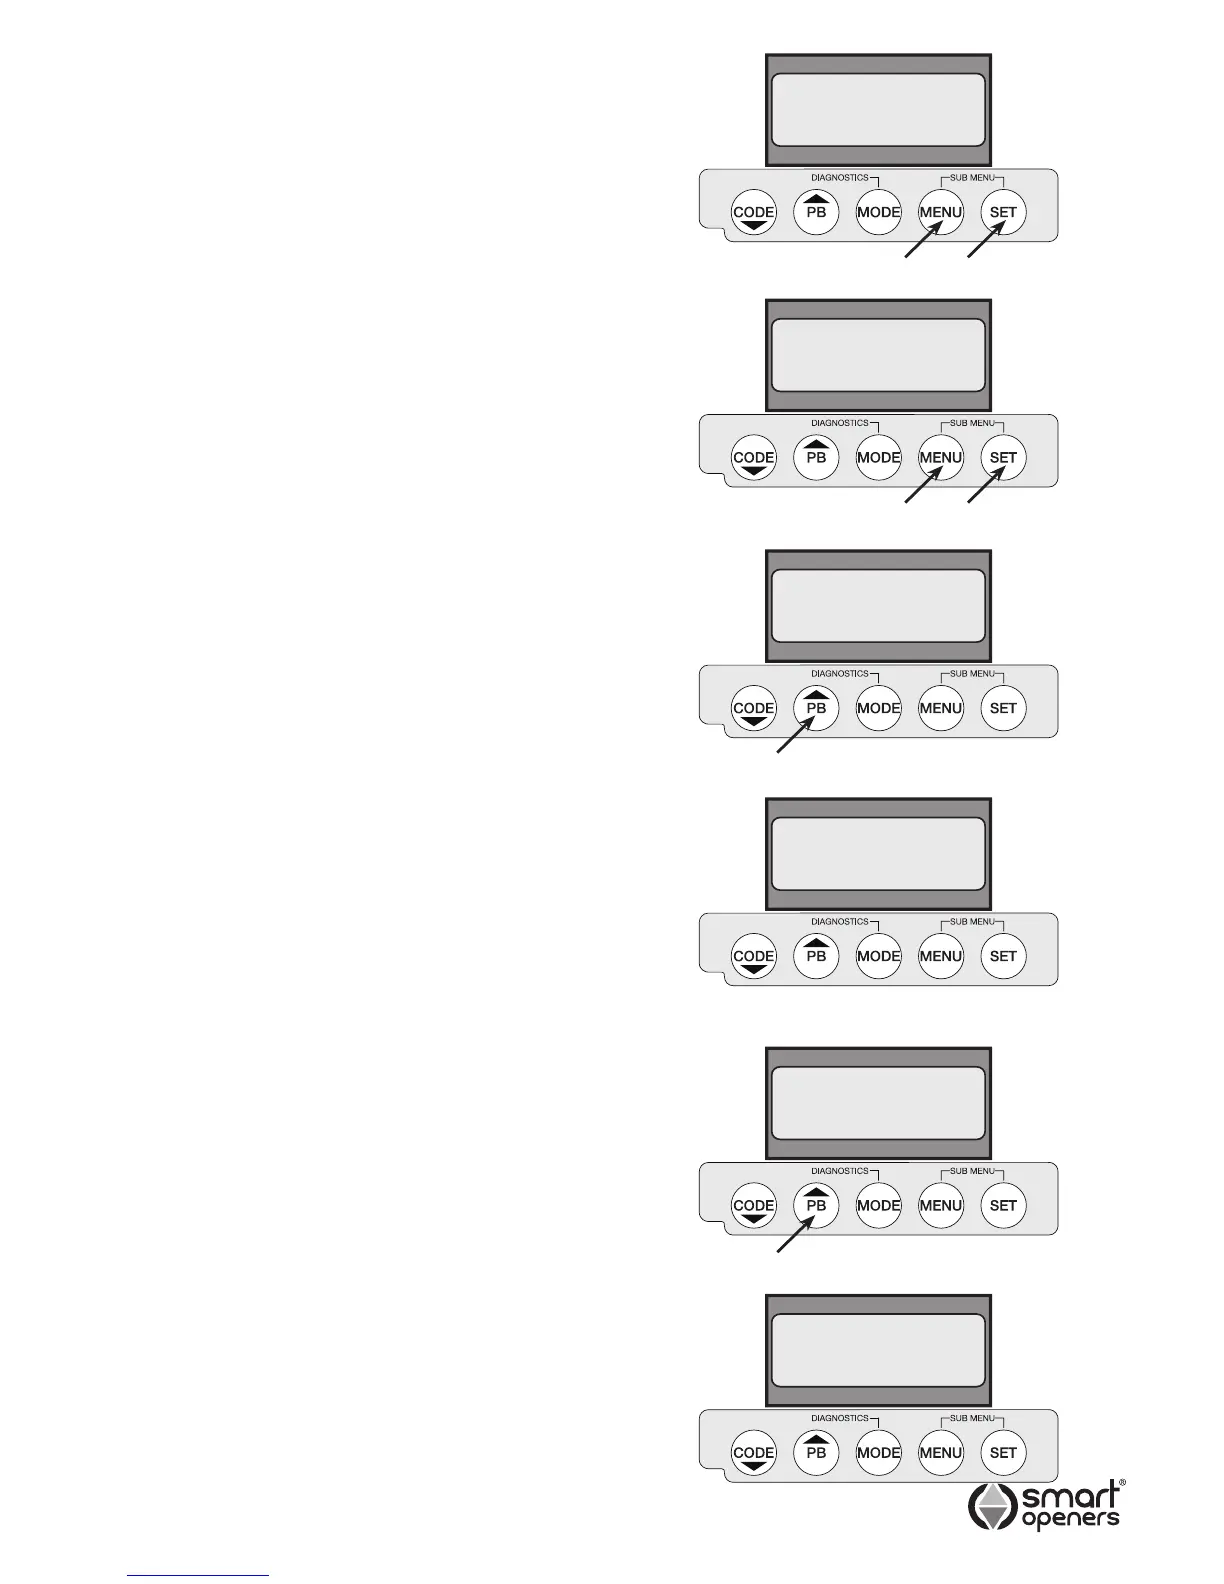
2. Press SET for 3 secs to enter set up. The display will
show Right Hand Installation (Fig. 16) (default). If
this is correct and MOTOR 1 (the Master Drive Unit
with the control board) is on the right press SET to
conrm.
OPTION: To change to Left Hand Installation, press
MENU then press SET to conrm.
3. The display will show Single Motor (Fig. 17) (default).
Press MENU to change to Dual Motor then press
SET. The display will show Motor 1 Set Up (Fig. 18).
Setting Limits
Note: Press MENU to abort limits set up at any time.
1. Press a coded TX button or PB once. Motor 1 will
automatically open, close and then reopen to record
limit cam positions. M1 will pause in the fully open
position.
2. The display will show Motor 2 Set Up (Fig. 19). There
is no need to press any buttons. M2 will record limit
cam positions and pause in the fully open position.
3. Then the gate will perform a full cycle to measure
force margin. Both leafs will close, open and return to
the closed position.
4. The display will show Set Up Complete (Fig. 21).
Note: Gate leaf delay will be automatically preset at this
time.
Aborting Limits Set Up
To abort limits set up whilst in progress – press MENU.
To return to set up mode press SET for 3 secs and repeat
initialising procedure as per above.
Resetting Limits
If you are not happy with the limits positions – reposition
the limit cams, then press SET again for 3 secs and
repeat initialising procedure as per above.
© March 2008 Smart Openers Pty Ltd
Right Hand
Installation
Motor 1
Set Up
Dual
Motor
Motor 2
Set Up
Set Time
Delay
Set Up
Complete
Fig. 16
Fig. 18
Fig. 17
Fig. 19
Fig. 20
Fig. 21


 To Next Page