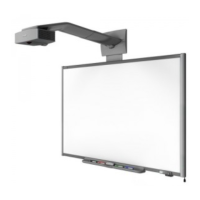
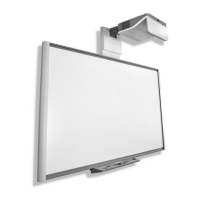
Locate a stud (if FRAMED WALL) near the location where you plan to mount the
projector, and mark it. You should attach one (1) of the two (2) spacers near the
center of the assembly to this stud.
Contrary
to the regular 600i installation, you should install the SMART board on
the
KOH rail system before you mount the projector. Because the distance
between
the top of the smart board (top of the frame) to the bottom of
SMART’s “mounting plate” should be 3“ inches.
Prepari
ng for the installation
Proceed to Installation
You should install the Smart board on the KOH rail system before you install the KOH
mounting spacers and projector.
1.
Install KOH rail per instructions. (Above the whiteboard/blackboard if that is the
application).
2. Attach brackets to SMART board, and hang it on the rail.
NOT
E: The KOH brackets allow for 8 different height settings of the SMART board.
You should use the top holes.
Keep
in mind you need 3” from the top of
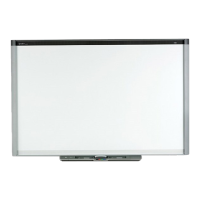
Guidelines for Installing Interactive Whiteboard 600i system with K.O.H. Rail
system
page 2 of 3 K.O.H. installation manual for SMART 600i
the SMART board to the bottom of the projector mount.