Do you have a question about the SMART 600i and is the answer not in the manual?
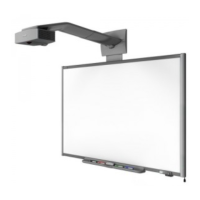
Plan projector position at a safe height, ensuring adequate airflow above the unit.
Mount projector bracket/spacers at least 5" (12.7 cm) from the ceiling for proper airflow.
Locate a wall stud for attaching one of the two spacers near the assembly center.
Install SMART board on KOH rail before projector; maintain 3" between board top and projector mount.
Install KOH rail, attach brackets to SMART board, and hang on rail using top holes for height.
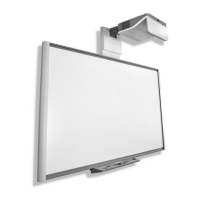
Measure 3" from board frame, install mounting block, drill holes, and mount assembly to wall.
Attach SMART mounting plate using screws/bolts and proceed with SMART's regular 600i instructions.
| Projector | Not included |
|---|---|
| Connectivity | USB |
| Operating System | Windows, macOS |
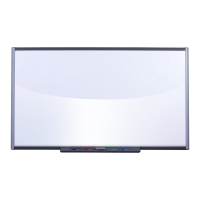
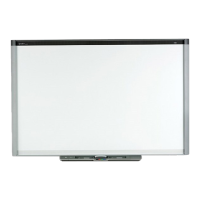
| Display Size | 77 in. (195.6 cm) |
| Weight | 88 lb (39.9 kg) |