5 PE20MAN-REV 01.032018
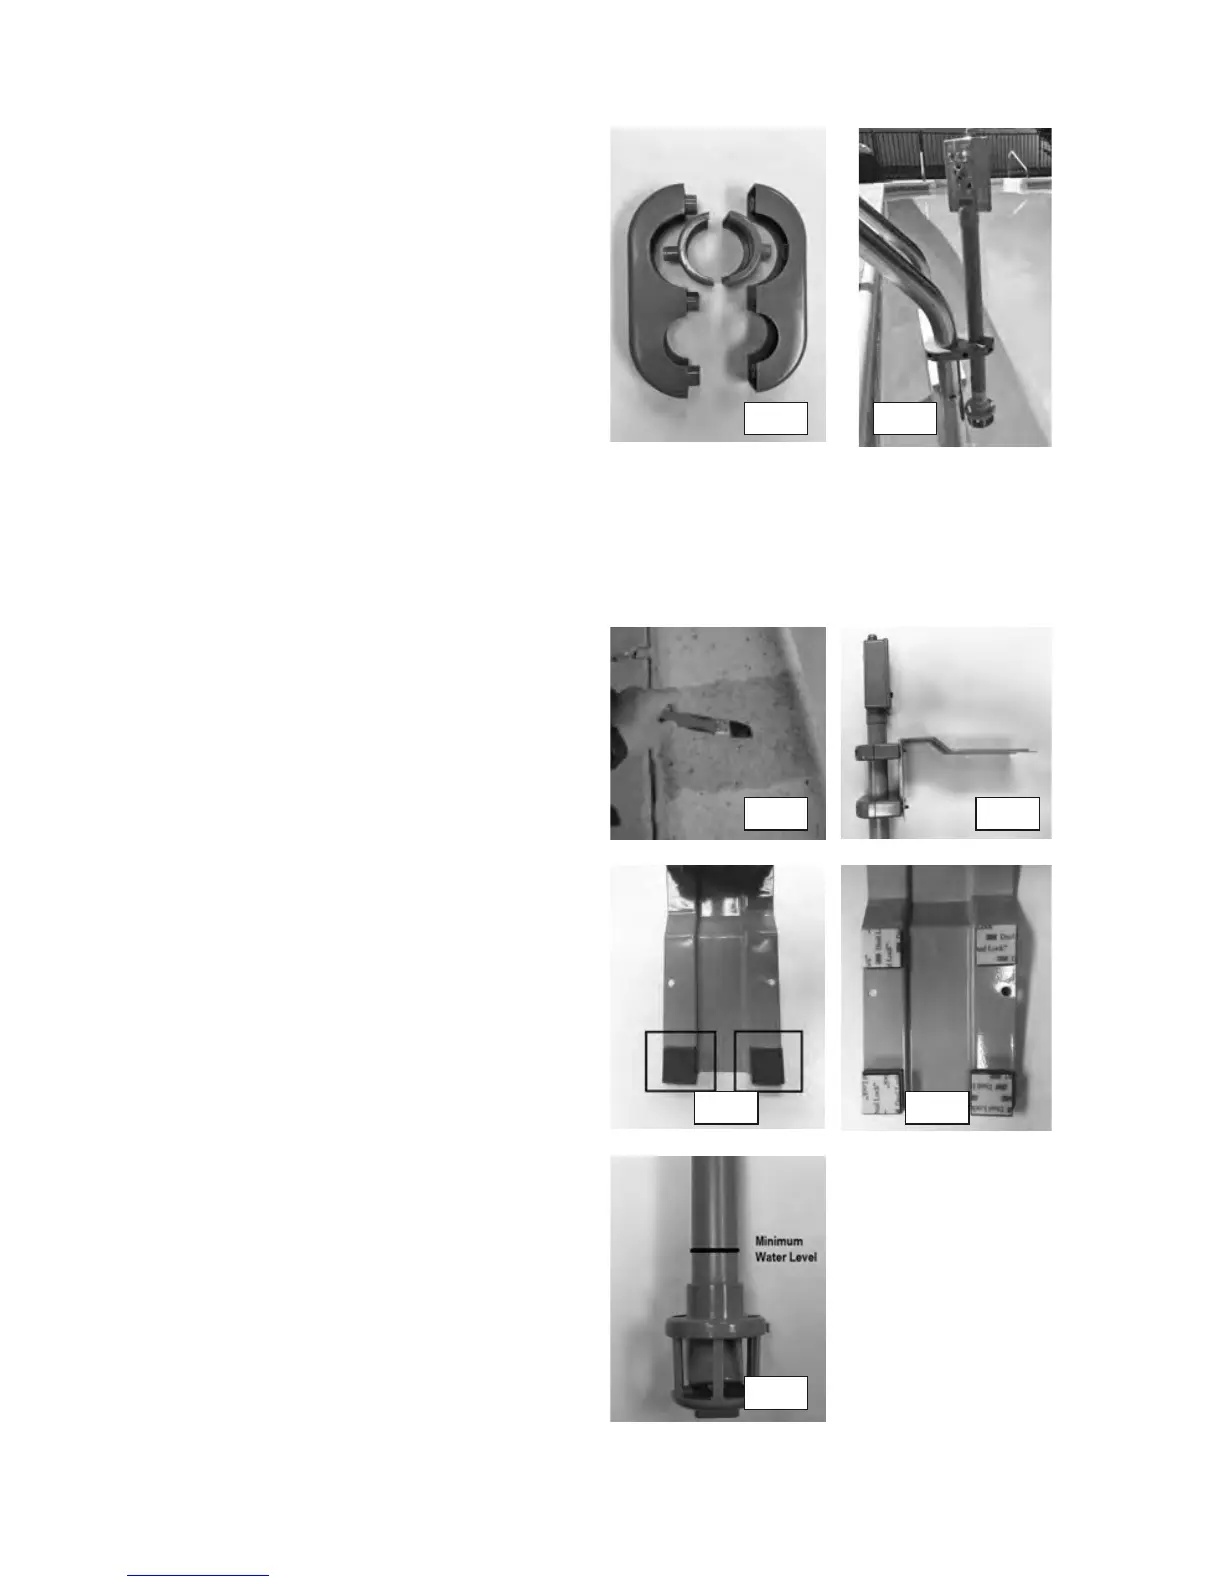
1. Using the "W" shaped Ladder Mount Clamps, place
(1) clamp around the alarm and the top, vertical
portion of ladder, ensuring a tight fit around the
ladder. If the clamp is loose around the ladder, insert a
set of Ladder Shims to tighten the fit around the
ladder (Fig 4 & 5).
2. Use the self tapping screws and loosely secure the
clamp to the ladder and alarm.
3. Maneuver the Alarm Body to ensure the sensor depth
and Sensor Float are correctly positioned as indicated
on the Alarm Body (Fig 10).
4. Install the second clamp further down the ladder to
support the alarm.
1. Identify the location of the where the alarm will be
installed.
2. Using a water-proof paint/concrete sealer, paint the
area where the alarm will be installed that is 1" wider
and longer than the metal Mounting Plate (Fig 6).
3. Loosely attach the Alarm Body to the Mounting Plate
using the machine-threaded screws and the "U"
shaped Plate Brackets (Fig 7).
4. After the area dries, place the alarm in the installation
area and confirm that the Alarm Body is parallel with
the pool wall. If the Mounting Plate needs to be
leveled, use the (2) Plate Shims to level the
Mounting Plate by securing to the back of the plate
with small screws provided (Fig 8).
5. Attach the adhesive pads to the corners of the
Mounting Plate (Fig 9).
6. Center the Mounting Plate in the installation area and
press the plate down firmly to secure it to the deck.
7. Maneuver the Alarm Body to ensure the sensor depth
and Sensor Float are correctly positioned as indicated
on the Alarm Body (Fig 10).
8. Tighten the screws to the Mounting Plate to secure the
Alarm Body.
IMPORTANT: Check Sensor Float positioning, sensor
depth and ensure the Alarm Body is parallel with the pool
wall (vertical).
LADDER MOUNT
DECK MOUNT (CONCRETE)
Fig 4 Fig 5
IMPORTANT: Check Sensor Float positioning, sensor
depth and ensure the Alarm Body is parallel with the pool
wall (vertical).
Fig 6
Fig 8 Fig 9
Fig 7
Fig 10