21
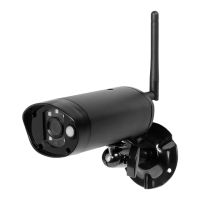
6. Managing your camera using your PC
C
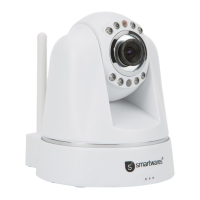
To be able to manage your camera from your PC, you need to be logged in to the “Network
Camera” browser screen, with the aid of your web browser (see section 4.4). This screen
contains the camera’s control panel
C1
, a number of tabs
C2
, a channel overview
C3
and a
settings menu for the camera
C4
.
7. Camera control panel
C
To be able to manage your camera from your PC, you need to be logged in to the
“Network Camera” browser screen with the aid of your web browser (see section 4.4). This
screen contains the camera’s control panel
C1
, a number of tabs
C2
, a channel overview
C3
, a settings menu for the camera
C4
and the control panel that you use to determine
the rotation of the camera.
C5
7.1. Camera control panel
C1
You can use the control panel when you have selected the "live video" tab. This control
panel provides the following options:
Play: Press "Play" to view your camera images live.
Stop: Press "Stop" to stop the live streaming of your camera
images.
Record: Press "Record" to make a recording. Press record again to
stop recording.
Please note! To be able to make recordings, you have to indicate where to save the
recordings in the "Other" tab. This is explained in section 6.2.3.
Audio: Click on "Audio" to activate the sound. Click on audio
7.2. Tabs
C2
advise you to consult the manual on the CD-ROM.
7.2.1. Live video
Click on the live video tab to view images from the set camera.
7.2.2. Network
Wireless Lan settings: This lets you set the wireless access to your camera. You
H
.
DDNS Service settings: This lets you make your camera accessible via the Internet.
Consult the manual on the CD-ROM for more information
about this.
 Loading...