I
NITIAL
C
ONFIGURATION
5
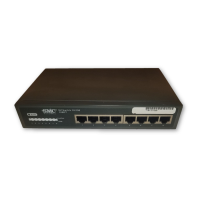
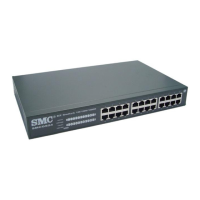
2. Connect the Ethernet port of your PC to any port on the front panel
of your Smart Switch, start your PC (if it is not already running),
connect power to the switch and, when your PC has finished its
start-up sequence, verify that you have a link by checking the LEDs on
the front-panel of the switch (see the Hardware Description for more
information).
3. The default IP address of the switch is 192.168.2.10 and the subnet
mask is 255.255.255.0. If your PC has a different address from the
switch but is on the same subnet (i.e. the PC and switch both have
addresses that start 192.168.2.x but are different thereafter) you can
skip directly to step 4. Otherwise you will have to set your PC’s IP
address manually. If you are unfamiliar with this process, please refer
to the “Changing PC’s IP Address” on page 7.
4. After changing your PC's IP address, open your web browser and
enter the address http://192.168.2.10. If your PC is properly
configured, you will see the login page of your Smart Switch. If you do
not see the login page, please check your settings and repeat step 3.
5. Enter the password (the default is “smcadmin”) and click on the Login
button.
6. Click on the SYSTEM menu-choice then click on LAN Settings when
it appears. On the LAN Settings page, enter the IP address, Subnet
Mask and Gateway IP Address for the switch then click on the APPLY
button.
No other configuration changes are required at this stage but it is
recommended that you change the administrator’s password before
logging out. To change the password click on the SYSTEM¬ Password
menu-choice and fill in all the fields on the Password Settings page before
clicking on the APPLY button.
 Loading...