Do you have a question about the Smeg SI2M7643FX and is the answer not in the manual?
Covers risks of personal injury and damaging the appliance.
Contains crucial safety warnings for operating the hob, including heat and fire risks.
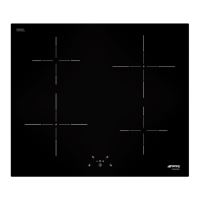
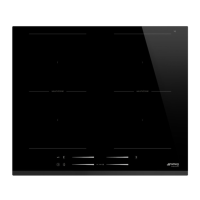
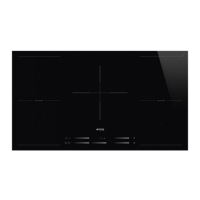
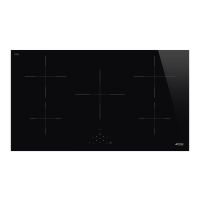
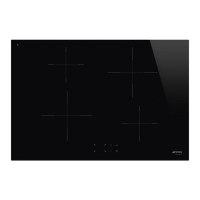
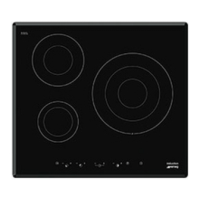
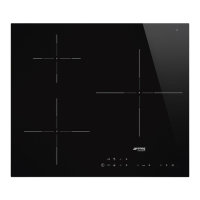
Explains how to operate the hob controls, power levels, and basic functions.
Details types of cookware suitable and unsuitable for induction cooking.
Step-by-step guide to activating individual cooking zones.
Method for turning off individual cooking zones.
Safety warnings and precautions for cleaning the hob.
Troubleshooting guide for common hob issues like not working or smoking.
Details electrical connection requirements and safety precautions.
Safety precautions related to heat production and ventilation during operation.
Provides dimensions for cutting the countertop opening for hob installation.
Instructions for mounting the hob over a built-in oven or empty unit.
This document outlines the instructions for a cooking hob, covering its functions, usage, and maintenance. The appliance is designed for cooking food in a domestic setting and is not intended for external timers or remote-control systems. It can be used by children aged 8 and above, as well as individuals with reduced physical or mental capacity, provided they are supervised or instructed by adults responsible for their safety.
During operation, the appliance and its accessible parts become very hot, so never touch the heating elements. Children under eight years old should be kept at a safe distance unless constantly supervised, and they must never play with the appliance. Metallic objects such as knives, forks, spoons, and lids should not be rested on the appliance during use. The appliance should be switched off immediately after use. In case of fire, do not use water; instead, turn off the appliance and smother the flames with a fire blanket or other appropriate cover. Cleaning should not be performed by unsupervised children. Installation and maintenance should be carried out by qualified personnel according to current standards.
Do not modify the appliance or insert pointed metal objects (cutlery or utensils) into its slots. Repairs should only be performed by a qualified technician. If the power supply cable is damaged, contact technical support for replacement. Abrasive or corrosive detergents (e.g., powder products, stain removers, metallic sponges) should not be used on glass parts. Only wooden or plastic utensils are recommended. Do not sit on the appliance or use steam jets for cleaning. Ventilation openings and heat dispersal slots must not be obstructed. The appliance should never be left unattended during cooking, especially when fats or oils are present. Avoid leaving objects on the cooking surface. The appliance is not to be used for heating rooms.
If the hob has a cookware detector, do not rely on it exclusively. Any liquid traces on the lid (if fitted) should be removed before opening, and the cooking surface should be allowed to cool before closing the lid. In case of cracks, fissures, or breakage of the glass ceramic cooking surface, turn off the appliance immediately, disconnect the power supply, and contact Technical Support. Individuals with pacemakers or similar devices should ensure that the inductive field (frequency range 20-50 kHz) does not interfere with their devices. The appliance complies with electromagnetic compatibility provisions, falling under group 2 and class B (EN 55011).
The manufacturer disclaims liability for damage to persons or property resulting from:
The appliance must be disposed of separately from other waste, in accordance with Directives 2002/95/EC, 2002/96/EC, and 2003/108/EC. It does not contain hazardous substances in quantities that pose a risk to health or the environment. To dispose of the appliance, cut the power supply cable and remove it with the plug, disconnect the main power supply, and unplug the appliance. Packaging materials are non-polluting and recyclable and should be delivered to an appropriate recycling centre. Plastic packaging poses a suffocation risk, so it should not be left unattended or played with by children.
The identification plate, bearing technical data, serial number, and brand name, is visibly positioned on the appliance and should not be removed. This user manual is an integral part of the appliance and must be kept accessible for the entire working life of the appliance. It should be read carefully before using the appliance.
The manual uses specific conventions:
The hob is equipped with an induction generator for each cooking zone. Each generator, located under the glass ceramic cooking surface, creates an electromagnetic field that induces a thermal current in the base of the pan. This means heat is generated directly inside the pan by the inductive current, rather than being transmitted from the hob.
A scraper is provided for cleaning the hob. Accessories that come into contact with food are made of materials compliant with current legislation. Original and optional accessories can be requested from Authorised Assistance Centres; only original accessories supplied by the manufacturer should be used.
To remove any moisture accumulated during manufacturing and ensure proper functioning of electronic circuits and the control keypad:
Upon first connection to the electrical mains, an automatic check will turn on all indicator lights for a few seconds. All control and monitoring devices are located on the front panel, controlled by Touch Control sensor keys. A light touch on a symbol on the glass ceramic surface will be confirmed by a beep.
Cookware must be made of metal, have magnetic properties, and a sufficiently large base.
To check suitability, bring a magnet to the bottom of the pan; if it attracts, the pan is suitable. Alternatively, place a small amount of water in the pan on a cooking zone; if the symbol "U" appears, the pan is not suitable. Only cookware with a perfectly flat bottom should be used; irregular bottoms can jeopardise heating efficiency and prevent detection.
The hob has an automatic device that limits use duration. If settings are not changed, the maximum operation duration depends on the selected power level. When activated, the cooking zone turns off, a short alert sounds, and the "H" symbol appears if the zone is hot.
If the hob is used on full power for extended periods, and room temperature is high, the electronics may overheat. To prevent this, power to the cooking zone is automatically reduced.
Power levels can be adjusted, with a table showing suitable levels for various cooking types:
Press the On/Off key (①) for at least 1 second to activate the hob. Hold the key for at least 2 seconds to deactivate. If no power value is selected within a few seconds, the hob automatically deactivates.
After switching on the hob:
This function quickly sets cooking zones to maximum power. After switching on the hob:
Supervise children carefully as they may not readily see the residual heat indicator. Cooking zones remain hot for a period after being turned off. Ensure children do not touch the hob. If a cooking zone is still hot after being switched off, the "H" symbol will be displayed until the temperature drops below 40°C.
This function allows maximum power for a cooking zone. After activating the desired cooking zone:
This function sets a minute minder timer (1 to 99 minutes). A beep sounds at the end of the pre-set time. After activating the hob:
This function programs automatic switch-off for each cooking zone (1 to 99 minutes).
After activating the hob:
A table shows power values and corresponding food types, which may vary by food amount and taste:
Clean surfaces regularly after use, allowing them to cool first.
Clean the hob weekly with a glass cleaning product, following manufacturer instructions. Silicon in these products creates a protective, water-repellent membrane that resists dirt. Marks stay on the membrane and are easily removed. After cleaning, dry with a clean cloth. Ensure no detergent remains, as it can cause corrosive reactions when heated.
Aluminium-based pan smudges can be cleaned with a vinegar-dampened cloth. After cooking, remove burnt residues with the provided scraper, rinse with water, and dry thoroughly. Regular scraper use reduces the need for chemical detergents. Immediately remove any dirt (e.g., from lettuce or potatoes) that falls on the hob to prevent scratching when moving pans.
Colour changes do not affect glass operation or stability; they are residues that have carbonised. Shiny surfaces can form from pan bases (especially aluminium) rubbing on the surface and from unsuitable detergents. These are difficult to remove with conventional products and may require repeated cleaning. Corrosive detergents or rubbing pan bases can wear away decoration and contribute to stains.
After installation, perform a brief inspection test. If the hob fails, after checking instructions, unplug and contact Technical Support.
This operation requires building/carpentry work by a competent tradesman. Installation can be done on masonry, metal, solid wood, or plastic laminated wood if heat resistant (>90°C). Create an opening with dimensions shown in the figure.
Clearance between hob and kitchen furniture/other appliances must ensure sufficient ventilation and air discharge. If installed above an oven, a space must be left between the bottom of the hob and the top of the appliance below. If installed on top of an oven, the oven must have a cooling fan.
If other furniture (lateral walls, drawers, dishwashers, fridges) are under the hob, a double-layer wooden base must be installed at least 30 mm from the bottom of the hob to avoid accidental contact. The double-layer base must only be removable with suitable equipment. Failure to install this base exposes the user to sharp or hot parts.
Illustrations show suitable and incorrect installation examples for proper ventilation.
To prevent liquid leakage between the hob frame and countertop, place the provided adhesive seal along the entire outer edge of the hob before assembly. Do not use silicone to secure the hob, as this would make removal impossible without damage.
| Type | Induction |
|---|---|
| Number of Cooking Zones | 4 |
| Control Type | Touch |
| Power Levels | 9 |
| Boost Function | Yes |
| Timer | Yes |
| Total Power | 7.4 kW |
| Color | Black |
| Material | Glass-ceramic |
| Safety Features | Child Lock, Overheat Protection |
| Dimensions (WxD) | 598 x 510 mm |