16
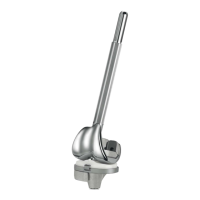
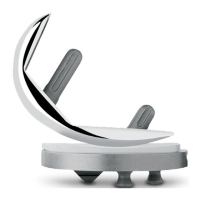
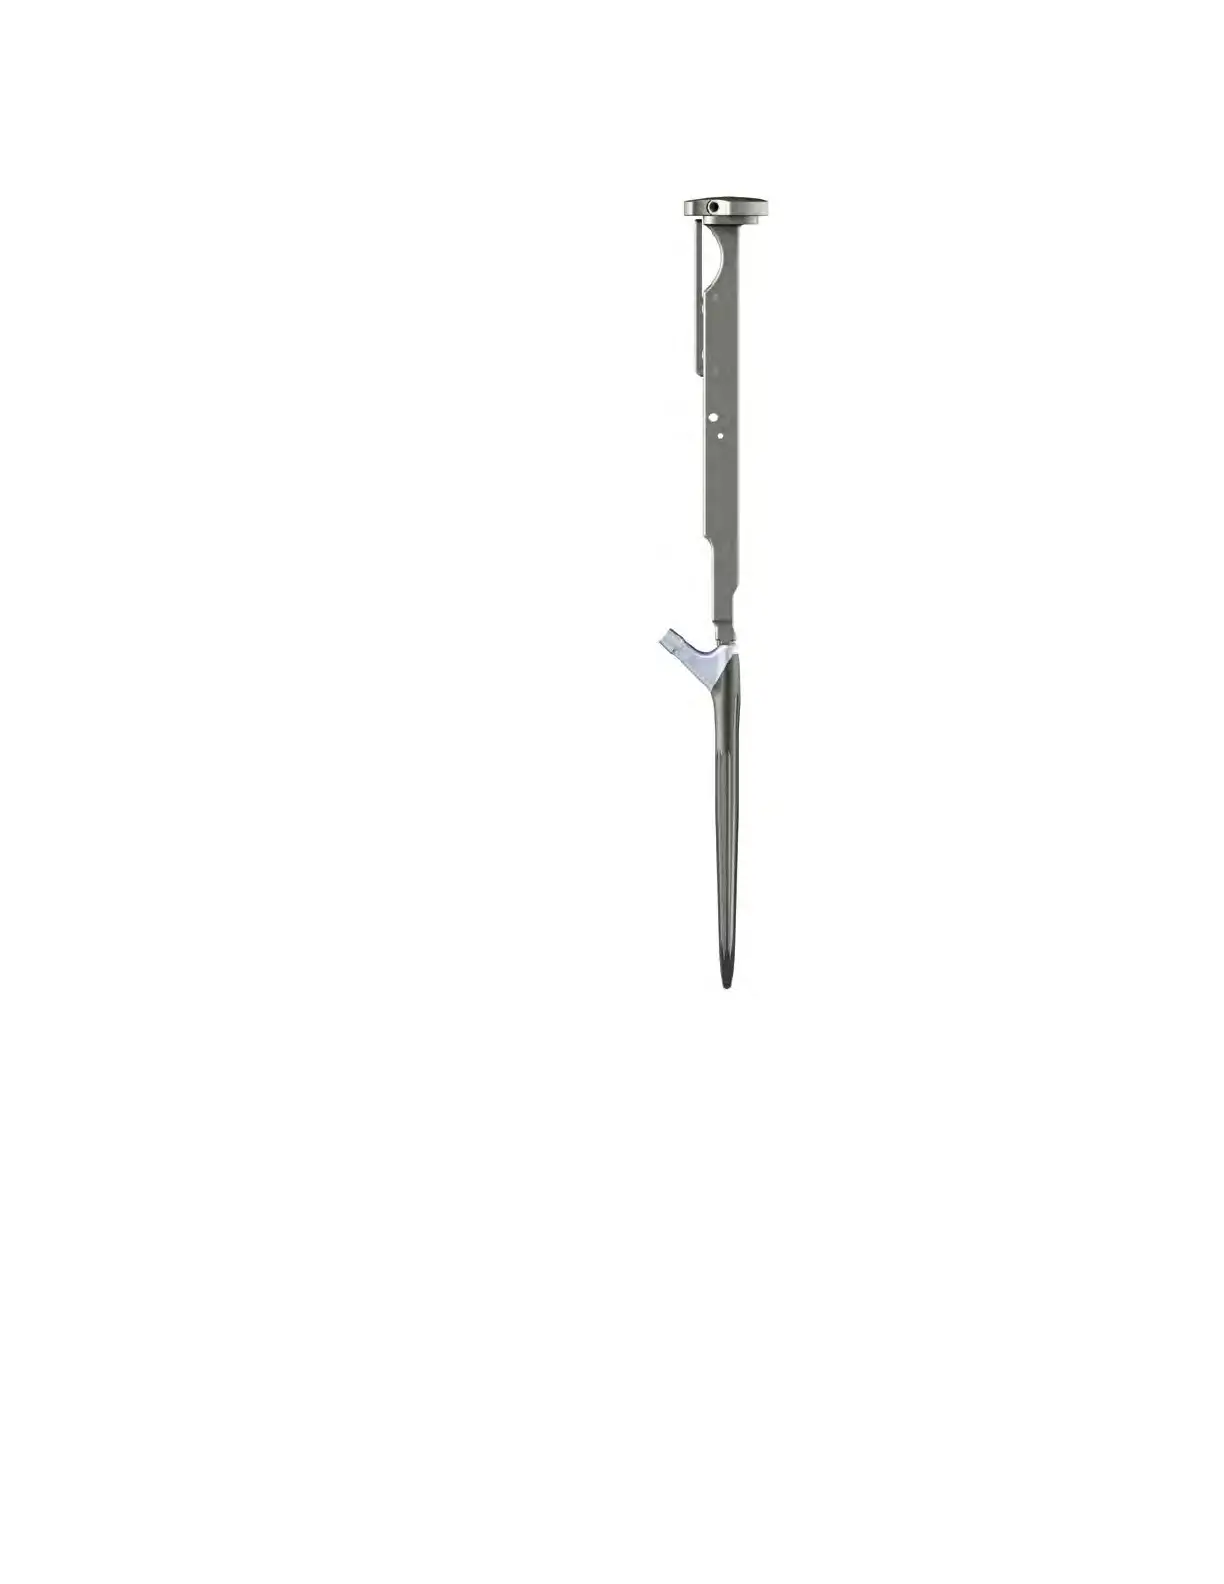
Figure 17
Surgical Technique continued
Implant assembly and insertion
Attach the implant driving platform of the stem
inserter to the proximal end of the stem implant
(Figure 17). To attach, stand the stem inserter
upright so that the threaded tip is pointed up.
Ensure that the lever handle is open on the stem
inserter and screw the implant onto the threaded
tip as far as possible. Flip the assembly over so
that the stem tip is now pointing down. Engage
the frame tines into the slots adjacent to the
threaded hole on the stem. Rotate the pommel
until the assembly is secure.
Caution Prior to use, inspect the inserter to
ensure that the threads are not damaged and
the tip is not bent. Do not over tighten the
pommel as this may cause it to lock up during
repeated impacting. Close the lever handle to
lock the pommel.
Note Take care to protect the taper during the
attachment of the stem inserter.
Orient the stem to achieve the desired version.
Insert the stem into the femoral canal using
hand pressure. Once the stem is in the desired
position, use a mallet to seat the stem. Once
the stem is implanted, raise the lever on the
inserter and unscrew the pommel to release
the instrument from the stem. Trialing may
be repeated with a trial head on the implant
if desired.
Ensure the stem taper is clean and dry before
placing the desired femoral head implant on
the trunnion. Impact head implant component
with the head impaction tool. Correct selection
of the head length, cup and stem positioning
are important. Muscle looseness and/or
mal-positioning of components may result in
loosening, subluxation, dislocation and/or
fracture of the component and/or bone. Perform
nal ROM with implants in position.