5
Mode Cycle Count
Mode cycle count feature is used to indicate number of times wrench
has reached target torque in torque measurement mode or target
angle in angle measurement mode.
Torque and Angle Mode Cycle Counting
1. Numerical counter located in top right of target torque or target angle screen will increment after
each torque or angle cycle if applied torque or angle has reached target value.
2. When toggling between torque mode or angle mode using ENTER button or if target is changed,
numerical counter will reset back to 00. Counter WILL NOT reset when re-zeroing, on menu
entry/exit or power down.
3. Memory icon will turn on indicating at least one torque or angle cycle data has been stored in
memory.
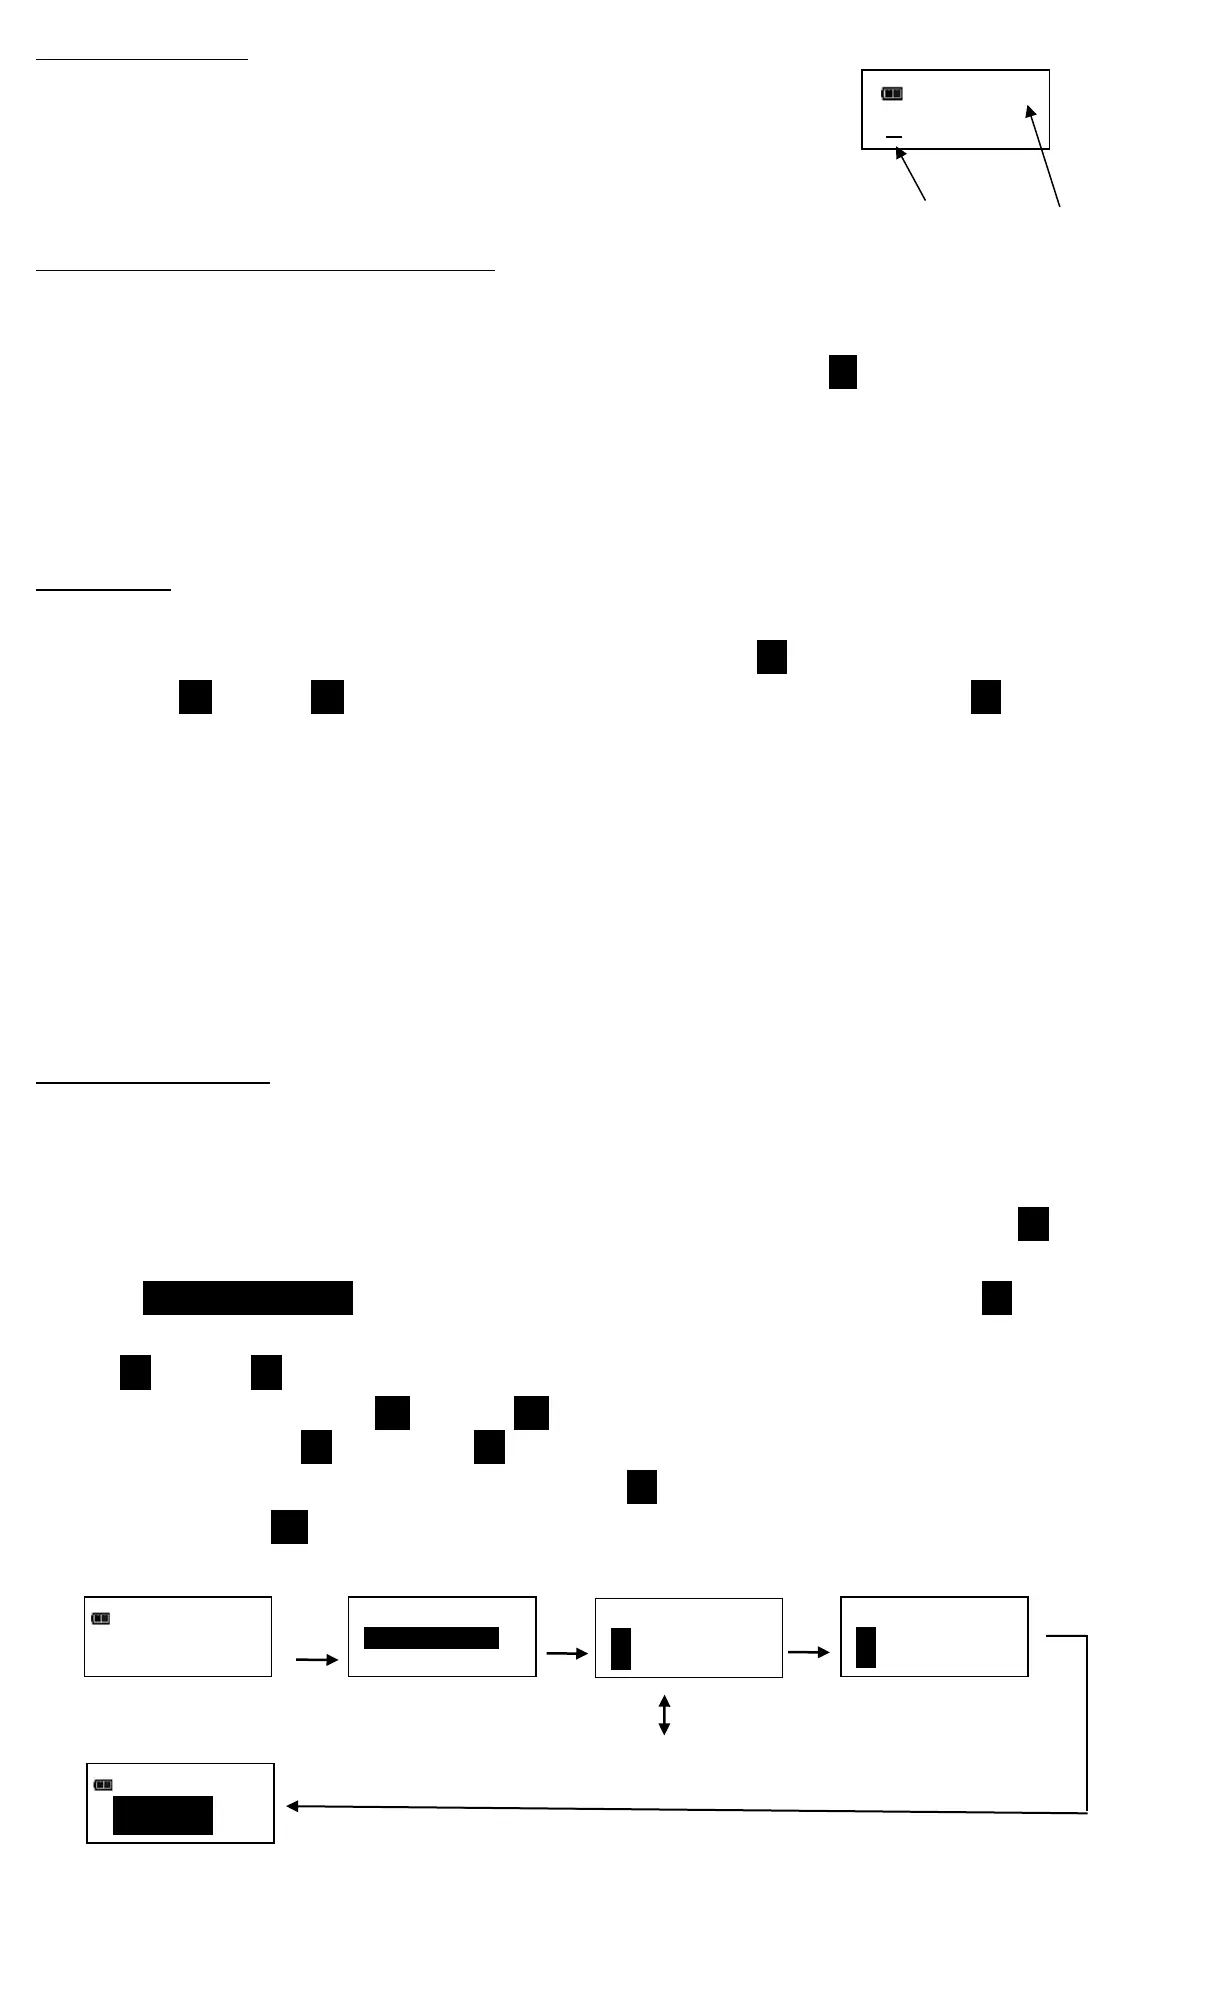
Main Menu
Main menu displays wrench operational information.
1. From target torque or angle screen, press and hold ENTER button for 3 seconds.
2. Use UP /DOWN buttons to highlight menu selection then press ENTER button.
Menu Selections:
EXIT - Exits Main menu and returns to target screen.
SET HEAD LENGTH - Displays wrench head length entry screen.
SHOW DATA - Displays stored torque and angle data.
CLEAR DATA - Clears stored torque and angle data.
CYCLE COUNT - Displays torque/angle cycle count screen.
LANGUAGE - Displays language selection menu.
SETTINGS - Displays advanced settings menu (see Advanced Settings Section).
CONFIGURE - Displays advanced configuration menu (see Advanced Configuration Section).
Setting Head Length
Note: If an adapter or extension is added to wrench, length of adapter/extension being used can be
entered to correct for a different length than head used to calibrate wrench without requiring
re-calibration.
1. To enter a head length, from target torque or angle screen, press and hold ENTER button for 3
seconds.
2. With SET HEAD LENGTH menu selection highlighted, momentarily press ENTER button.
3. Set Head Length screen is displayed next. Default head length is length of head at calibration. Use
UP /DOWN buttons to increment/decrement head length.
4. Pressing and holding UP /DOWN buttons will progressively increment/decrement value
faster. Pressing UP and DOWN buttons simultaneously will reset head length to zero.
5. Default units of length is in inches. Press UNITS U button to change to millimeters.
6. Pressing ENTER button after length is set returns to main menu. If length is changed from
default, "OFFSET IN USE" message will be displayed on target screen.