Page 15 Operation Manual
3.1 PRESETTING OF CLAMPING JAWS
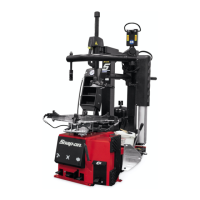
MAKE SURE ALL FOUR CLAMPING JAWS ARE
POSITIONED IDENTICALLY (FIG. 3.1-1, ITEMS 1 OR
2). OTHERWISE THE RIM MIGHT NOT BE CLAMPED
PROPERLY, COME OFF THE CHUCK AND HURT THE
OPERATOR!
A Depress f rst pedal from the left smoothly up to the
centre position. If the pedal is released the clamping
jaws stop in the position they have reached at the time
.
B Set the clamping diameter according to the dimensions
of the rim.
C. To reposition the jaws free the lock pin by applying
pressure on the lever ( C) on the right side of each
jaw. Slide the jaws towards the required position and
release the lever: make sure the jaw is now locked
f rmly. Repeat the procedure on all the turntable jaws.
With the jaws in position 1 (1, Fig. 3.1-1), the operative
diameter is exactly as indicated by the scale ( A-B)
on the turntable.
With the jaws in position 2 (2, Fig. 3.1-1), add 4” to the
value represented by the scales to obtain the effective
setting diameter.
Note: Turntable capacity can be changed before
pedal control.
EACH JAW NEEDS TO BE SET AT THE SAME
POSITION.
EEWH311B Air-Electric Tire Changer